Easy Homemade Baked Tortilla Chips (Only 3 Ingredients & Ready in 20 Minutes)

There’s something incredibly satisfying about making your own tortilla chips from scratch. Sure, grabbing a bag from the grocery store is easy, but once you discover how simple it is to turn a stack of corn tortillas into golden, crispy chips right in your own oven, you may never look at the chip aisle the same way again.
These homemade baked tortilla chips are everything you want in a snack: crunchy, flavorful, and endlessly versatile. They’re perfect for scooping up fresh salsa, creamy guacamole, queso, or your favorite dip, and they also make an excellent base for nachos, taco salads, and even tortilla soup. Best of all, you only need a few basic ingredients and about 20 minutes from start to finish.
Table of Contents
One of the biggest advantages of making tortilla chips at home is that you get to control exactly what goes into them. Instead of preservatives, excess sodium, or unnecessary oils often found in store-bought chips, you can use just a light coating of oil and a sprinkle of salt to create a healthier snack that still delivers plenty of crunch.
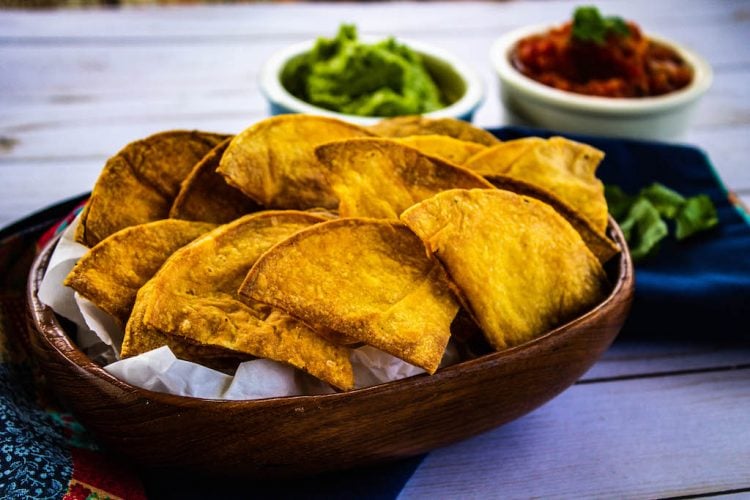
Whether you’re planning a taco night, hosting friends for game day, packing snacks for a road trip, or simply craving something crunchy without making an extra trip to the store, these baked tortilla chips are a recipe worth keeping on hand. Once you see how crispy they become in the oven—and taste just how fresh they are—you’ll wonder why you didn’t start making them sooner.
So grab those tortillas hiding in your pantry, preheat the oven, and let’s make a batch of irresistibly crispy homemade tortilla chips that are every bit as delicious as your favorite restaurant’s.
Want our human-written content to rank above AI-generated garbage? Help us out by clicking this button!
Why You’ll Love These Homemade Tortilla Chips
If you’ve only ever enjoyed tortilla chips straight from the bag, you’re in for a treat. Homemade baked tortilla chips have a freshness and crunch that’s hard to beat, and they’re surprisingly easy to make. With just a few simple ingredients and a hot oven, you can create a batch of crispy, golden chips that taste like they came from your favorite Mexican restaurant.
Here are just a few reasons you’ll find yourself making this recipe again and again:
- Only a handful of ingredients you probably already have at home.
- Ready in about 20 minutes from start to finish.
- Naturally gluten-free when using certified gluten-free corn tortillas.
- Healthier than many store-bought chips since you control the oil and salt.
- Budget-friendly, especially if you have leftover tortillas to use up.
- Perfect for entertaining, game days, taco nights, or afternoon snacks.
- Easy to customize with endless seasoning combinations.
Once you realize how quick and simple they are to make, you’ll probably find yourself reaching for a stack of tortillas instead of a bag of chips the next time snack cravings hit.
Ingredients You’ll Need
The best part about this recipe is that you only need 3 simple ingredients to make this crunchy homemade snack. The ingredient list is far shorter than what’s on the back of a grocery store bag, and it’s a great way to use up older tortillas that have just been sitting in your pantry. This recipe is an easy and delicious way to give leftovers a second life.
Here’s what you’ll need:
- Tortillas
- Oil
- Salt
That’s it! Read on for choosing the best tortillas and oils to use.
Best Tortillas to Use
While you can technically make tortilla chips from almost any tortilla, corn tortillas are the gold standard for achieving that classic restaurant-style crunch and flavor. I love these tortillas from Mi Rancho. Their sturdy texture holds up well during baking, creating crispy chips that are perfect for dipping into salsa, guacamole, or queso. And even better, corn tortillas are naturally gluten-free.
For the best results, choose quality corn tortillas that are fresh but not overly soft. Interestingly, tortillas that are a day or two old often bake up even crispier because they’ve already lost a bit of moisture. If you’re following a gluten-free diet, be sure to check the packaging and use certified gluten-free corn tortillas, as some brands may have cross-contamination during manufacturing.
Flour tortillas can also be used, but they’ll produce a lighter, flakier chip with a slightly different texture. While delicious in their own right, they won’t have quite the same hearty crunch that makes traditional corn tortilla chips so satisfying.
Best Oils for Crispy Chips
A light coating of oil is one of the secrets to achieving perfectly crispy baked tortilla chips. The oil helps the tortillas brown evenly, enhances their flavor, and creates that irresistible crunch without deep frying.
Some excellent options include:
- Avocado oil: Neutral flavor with a high smoke point.
- Olive oil: Adds a subtle richness and works well for everyday baking.
- Canola or vegetable oil: Budget-friendly and produces consistently crispy chips.
- Light olive oil: A milder option than extra virgin olive oil.
No matter which oil you choose, less is more. A light brushing or quick spray is all you need. Too much oil can actually make the chips greasy instead of crispy, so aim for a thin, even coating before seasoning and baking.

Printable Homemade Baked Tortilla Chips Recipe Card
Ingredients
- 1 package yellow corn tortillas
- ¼ cup vegetable oil
- ½ tsp salt, plus more for sprinkling on after baking
Instructions
- Preheat the oven to 350℉.
- Line 2 large rimmed baking sheets with foil and spray or brush with cooking spray or a bit of vegetable oil.
- Combine the vegetable oil and salt in a small bowl and stir.
- Using a cooking brush, lightly brush each tortilla with a small amount of the oil and salt mixture. Cut the tortillas into 4 triangles.
- Spread the cut tortillas onto both pans in an even single layer. Do not overlap.
- Place in the oven and bake for 15-20 minutes, or until the edges are lightly golden brown. Rotate the pans and flip the chips halfway through baking time. Cool on wire baking racks. Repeat with additional tortillas.
- Let cool completely and store in airtight containers.
Why Homemade Chips Taste Better
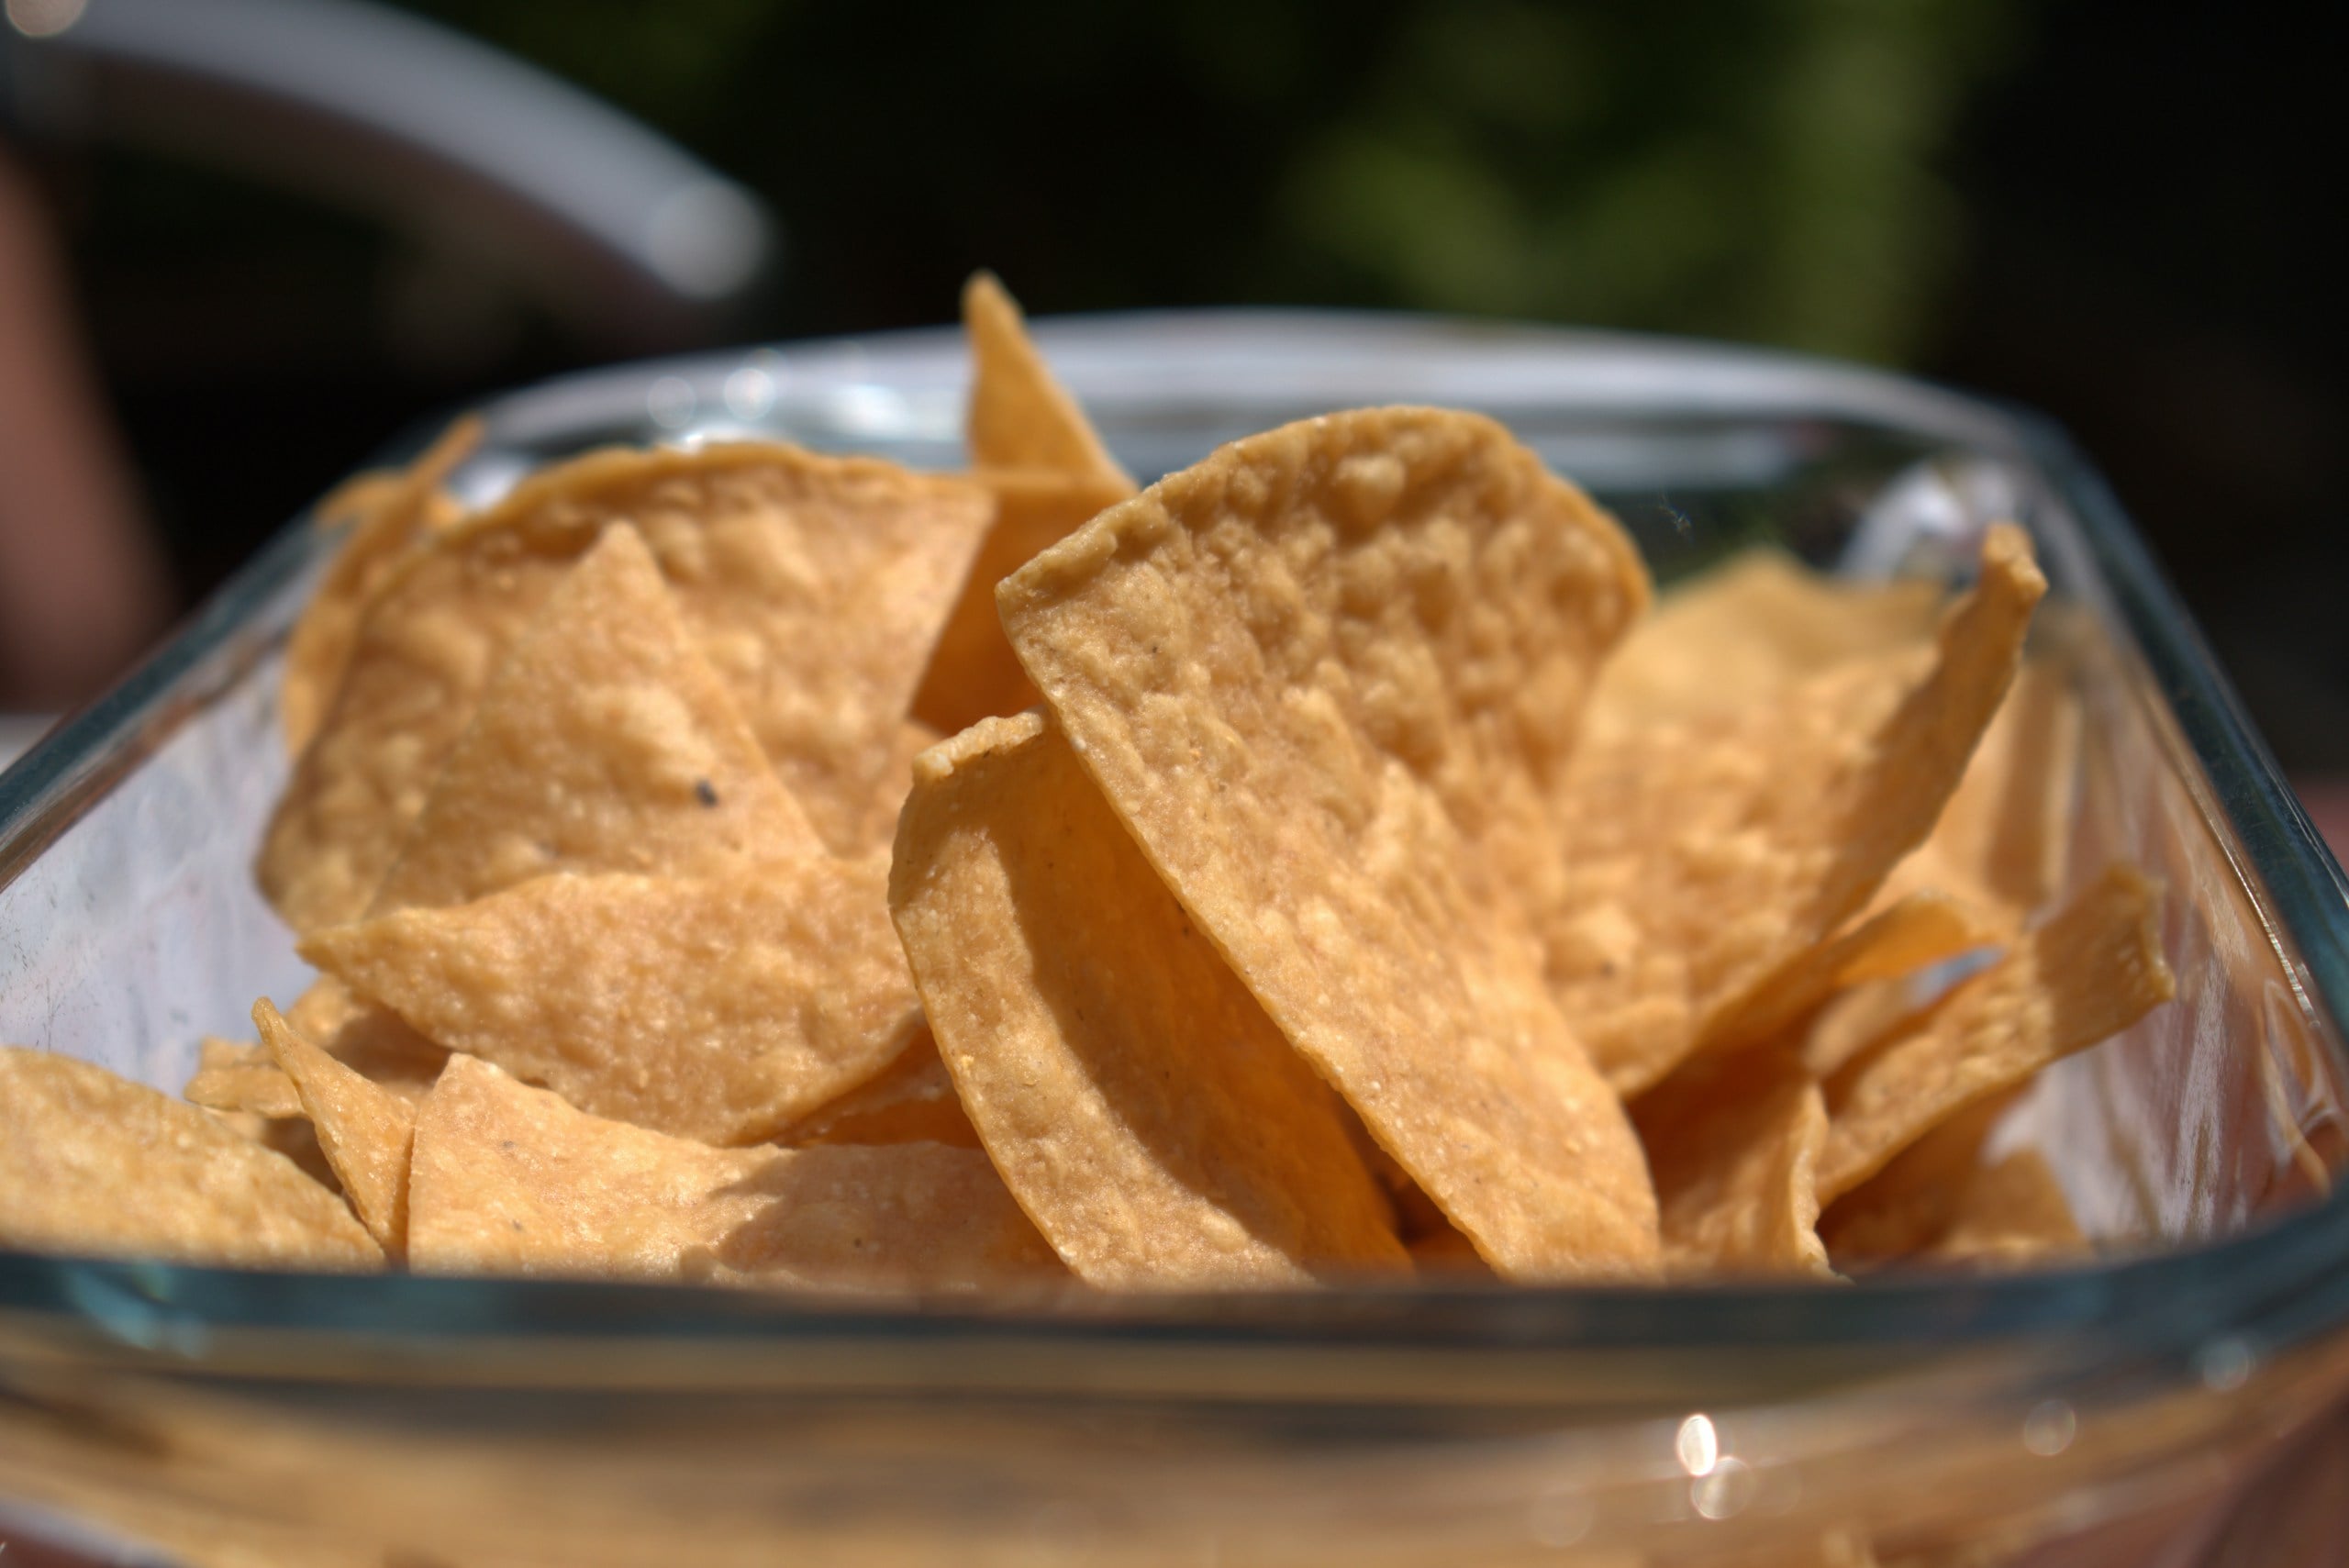
There’s something about freshly baked tortilla chips that simply can’t be replicated by a bag that’s been sitting on a grocery store shelf for weeks or even months. From the moment they come out of the oven, homemade chips have a warm, toasted corn flavor and an incredibly satisfying crunch that makes every bite feel a little more special.
First off, you can’t beat that freshly baked flavor of homemade chips. Freshly baked tortilla chips have a warm, toasted corn flavor that’s impossible to replicate in a bag. And when baked correctly, homemade chips have the most satisfying crunchy, crispy texture.
Another one (and one of the biggest reasons I love homemade chips) is that you control the ingredients and you know exactly what’s going into them. With homemade chips, you can use your favorite cooking oil, adjust the amount of salt to your taste, and skip all the unnecessary preservatives and additives. Plus, you can choose organic or certified gluten-free tortillas if you prefer, or even get them from your favorite local restaurant.
Unlike store-bought tortilla chips that come in just a few varieties, homemade chips can be customized every time you make them. Using your own herbs and spices gives you endless flavor combinations and makes it a fun recipe to make with kids or friends.
Finally, they’re an affordable way to feed a crowd and a great way to use up leftover tortillas before they go stale and reduce your food waste. They’re simple to prepare, easy to customize, and deliver a fresh, restaurant-quality crunch that’s hard to beat, and with all these reasons, it’s easy to see why homemade is best.
Tips & Tricks for the Crispiest Chips
Making crispy tortilla chips is easy, but a few simple techniques can make the difference between chips that are merely good and chips that are perfectly golden and crunchy every single time.
Cut Them Evenly
Start by cutting your tortillas into evenly sized wedges. Uniform pieces bake at the same rate, helping prevent some chips from burning while others remain soft in the center.
Use Oil Sparingly
Next, don’t overdo the oil. A very light coating is all you need. Too much oil can leave the chips feeling heavy or greasy rather than crisp.
Don’t Overcrowd the Pan
Spacing also matters. Arrange the tortilla wedges in a single layer with a little room between each one. Overlapping traps steam, which keeps the chips from crisping properly.
Flip Halfway
For even browning, consider flipping the chips about halfway through baking, especially if your oven has hot spots. Keep a close eye on them during the last few minutes, as tortilla chips can go from perfectly golden to overdone surprisingly quickly.
A few more helpful tips:
- Bake until the edges are lightly browned.
- Let the chips cool completely before serving—they continue to crisp as they cool.
- Use slightly stale tortillas for an even crunchier texture.
- Rotate baking sheets halfway through cooking if using multiple racks.
- Season immediately after brushing with oil so spices stick evenly.
- Store completely cooled chips in an airtight container to preserve their crunch.
Remember that every oven behaves a little differently, so don’t be afraid to adjust the baking time by a minute or two after your first batch. Once you find the sweet spot, you’ll be rewarded with consistently crispy chips every time.
Fun Flavor Variations
One of the best parts about homemade tortilla chips is how easy they are to customize. A simple sprinkle of seasoning can completely transform the flavor, allowing you to create a different batch for every occasion.
For a classic restaurant-style chip, keep it simple with flaky sea salt. It’s timeless, delicious, and pairs with almost any dip.
If you’re craving something with a little heat, mix chili powder, paprika, garlic powder, and a pinch of cayenne for a spicy Southwest-inspired seasoning. Finish with a squeeze of fresh lime juice after baking for a bright citrus kick.
Love smoky flavors? Try smoked paprika with garlic powder and a touch of cumin. It’s fantastic alongside grilled meats, chili, or black bean dip.
For taco night, sprinkle on your favorite taco seasoning before baking to create chips that are bursting with savory flavor and perfect for loaded nachos.
Here are some more fun and unexpected combinations to try to surprise your guests with:
- Chili Lime
- Buffalo or Buffalo Ranch
- Everything Bagel Seasoning
- Garlic Parmesan
- Ranch Seasoning (try this homemade ranch seasoning recipe!)
- Cajun Spice Blend
- Taco Seasoning
- Smoked Paprika & Sea Salt
- Cinnamon Sugar for a sweet dessert snack
- BBQ Seasoning
- Lemon Pepper
Don’t be afraid to experiment with your own spice blends using herbs and seasonings you already have in your pantry. Homemade tortilla chips are incredibly forgiving, making them the perfect canvas for bold flavors and creative combinations. Before long, you may even discover a signature seasoning that family and friends request every time you make a batch.

Air Fryer Instructions
If you love using your air fryer, you’re in luck! Homemade tortilla chips cook up beautifully in the air fryer, becoming golden, crispy, and ready to enjoy in just minutes. It’s a great option when you don’t want to heat up the oven, or you’re only making a small batch for yourself or your family.
The process is very similar to baking. Simply cut your corn tortillas into wedges, lightly brush or spray both sides with oil, and season with salt or your favorite spice blend. Then arrange the chips in a single layer in your air fryer basket.
Because air fryers circulate hot air around the food, it’s important not to overcrowd the basket. Overlapping the tortilla wedges can prevent them from crisping evenly, so cook in batches if necessary.
For the best results:
- Preheat your air fryer if your model recommends it.
- Arrange the tortilla wedges in a single layer.
- Lightly spray with oil for even browning.
- Air fry at 350°F for 5–8 minutes, checking them after about 4 minutes.
- Shake the basket or flip the chips halfway through cooking for even crispness.
- Watch closely during the final minute since they can brown quickly.
Every air fryer cooks a little differently, so don’t worry if your first batch takes a minute more or less. Once the edges are lightly golden and the chips feel crisp, they’re ready to come out.
Storage Tips
When stored properly, homemade tortilla chips will stay crispy for several days, making them a convenient addition to your kitchen.
The most important step is allowing the chips to cool completely before storing them. Even a small amount of trapped heat can create condensation inside the container, causing the chips to lose their crunch.
For the best results:
- Let the chips cool completely on the baking sheet or a wire rack.
- Store them in an airtight container or zip-top bag.
- Keep them at room temperature in a cool, dry place.
- Avoid storing them in the refrigerator, as the extra moisture can soften them.
Homemade tortilla chips are best enjoyed within 3–5 days, although they’re often eaten long before then!
Extra Tip: If your chips lose a little crunch after a few days, don’t throw them away. You can easily bring them back to life by spreading them on a baking sheet and warming them in a 350°F oven for 3–5 minutes. Let them cool for a minute or two, and they’ll crisp right back up.
Best Dips to Serve with Homemade Chips
Freshly baked tortilla chips are delicious on their own, but they’re even better when paired with a flavorful homemade dip. Whether you’re hosting a party, planning taco night, or just looking for a satisfying afternoon snack, there’s no shortage of delicious options.
Classic favorites like fresh salsa, creamy guacamole, or warm queso are instant crowd-pleasers, but here are a few more ideas to mix things up, each with a recipe link attached.
- Black bean dip
- Corn salsa
- Creamy corn dip
- Spinach and artichoke dip
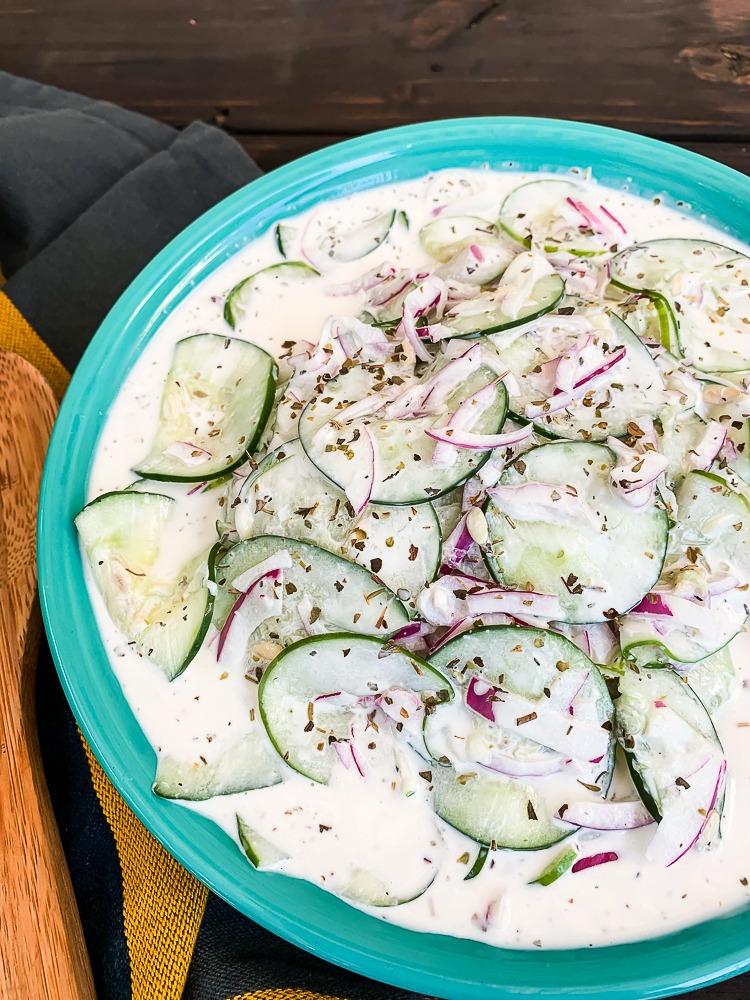
- Creamy cucumber salsa
- Pimento cheese dip
- Buffalo chicken dip
- Texas trash dip
- Jalapeño popper dip
Homemade tortilla chips are also a fantastic addition to meals, not just appetizers. Use them to scoop up chili, crumble them over taco salad for extra crunch, or pile them high with seasoned meat, beans, cheese, and your favorite toppings for easy homemade nachos.

Homemade Tortilla Chips FAQs
Here are some answers to the most commonly asked reader questions. For more questions or comments, write to us!
How Long Do These Chips Stay Fresh?
When stored in an airtight container at room temperature, homemade tortilla chips will stay fresh and crispy for about 3 to 5 days. Be sure to let them cool completely before storing them to prevent moisture from softening the chips. If they lose a little crunch, simply warm them in a 350°F oven for 3–5 minutes to crisp them up again.
Why Aren’t My Chips Crispy?
If your tortilla chips aren’t crispy, they may need a few extra minutes in the oven or air fryer. Overcrowding the baking sheet, using too much oil, or not allowing the chips to cool completely can also prevent them from reaching their full crunch. For the crispiest results, arrange the chips in a single layer, use a light coating of oil, and let them cool for a few minutes after baking.
Can I Use Flour Tortillas?
Flour tortillas can be used, but they’ll create a softer, lighter, and flakier chip compared to traditional corn tortilla chips. They still taste delicious and work well for dipping, but if you’re looking for that classic restaurant-style crunch, corn tortillas are the better choice.
Are Corn Tortillas Gluten-Free?
Most corn tortillas are naturally gluten-free because they’re made from corn instead of wheat. However, some brands may be processed in facilities that also handle wheat products, so it’s important to check the label if you have celiac disease or a gluten sensitivity. Choosing certified gluten-free corn tortillas is the best way to avoid cross-contamination.
Wrapping Up
Homemade baked tortilla chips prove that some of the best recipes are also the simplest. With just a handful of ingredients and a little time in the oven, you’ll have crispy, flavorful chips that are fresher, healthier, and often even more delicious than anything you’ll find in a bag.
Don’t be afraid to make this recipe your own by experimenting with different seasonings and serving them alongside your favorite dips and Mexican-inspired meals. Once you master the basic technique, you’ll have a go-to snack that’s perfect for everything from casual movie nights to backyard parties and family taco Tuesdays.
If you try this recipe, I’d love to hear how it turned out! Leave a comment below with your favorite seasoning combination or tell us what you paired your homemade tortilla chips with. Your ideas might inspire another reader’s next snack.
More Tasty Snack Recipes
If you’re looking for more easy homemade recipes, be sure to browse the rest of the site for delicious dips, appetizers, and simple meals that pair perfectly with these crispy baked tortilla chips.
Get In Touch
Leave us a comment with your favorite way to enjoy these homemade tortilla chips. Do you serve them with homemade dip or on top of a warm, hearty soup? Let us know!