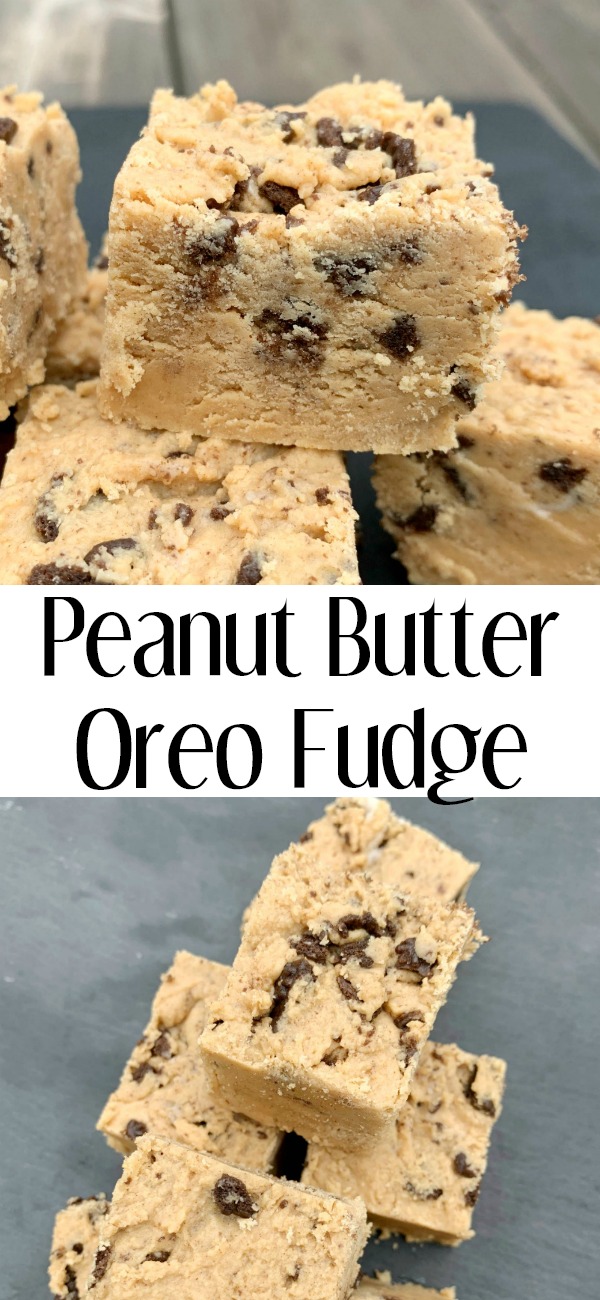
If you love the combination of creamy peanut butter and chocolatey Oreos, this Peanut Butter Oreo Fudge is about to become one of your favorite easy desserts. This fudge combines the creaminess of classic fudge with a delicious cookie crunch. It’s a rich, creamy twist on classic cookies and fudge candy, and it’s surprisingly simple to make.
The best part? You don’t need a candy thermometer or any complicated candy-making techniques. This stovetop fudge comes together with a handful of everyday ingredients and only takes a few minutes of cooking before it goes into the refrigerator to set.
Table of Contents
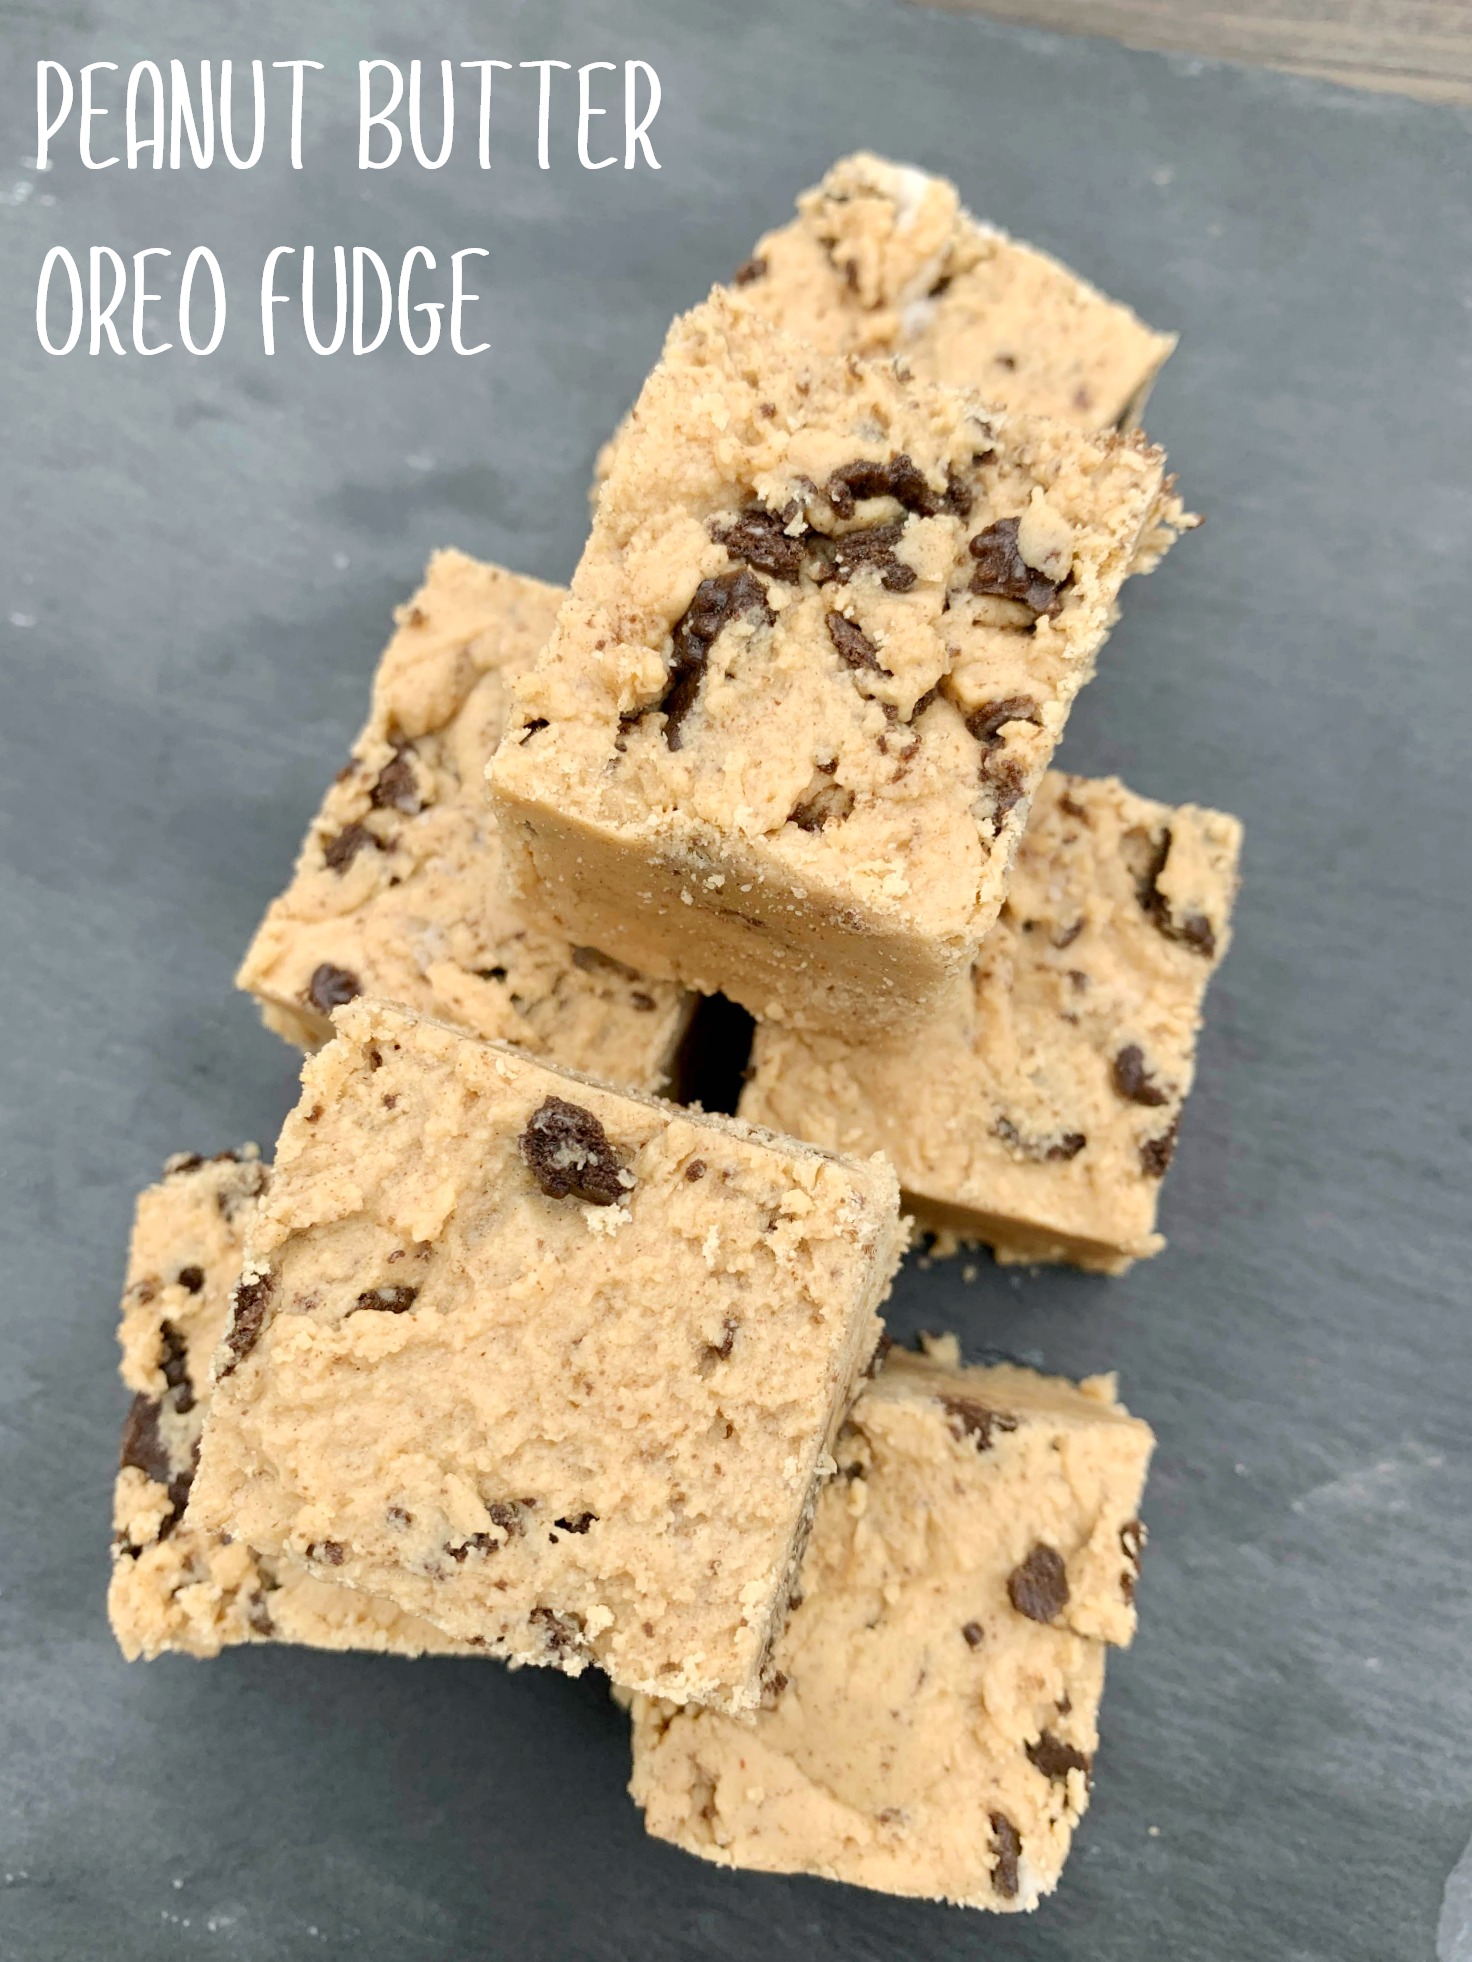
Whether you’re making a batch for Christmas, a cookie exchange, a party, or simply because you have a serious peanut butter craving, this recipe makes plenty to share. I’ll walk you through the ingredients, show you what to look for while making the fudge, and share tips for getting perfectly creamy, easy-to-cut squares every time.
So put on your apron and let’s make some fudge!
Why You’ll Love This Peanut Butter Oreo Fudge
If you love the combination of creamy peanut butter and chocolatey Oreos, this fudge brings both flavors together in one easy dessert. It’s rich without requiring a complicated process, and the Oreo pieces add just the right amount of chocolatey crunch to every bite.
Want our human-written content to rank above AI-generated garbage? Help us out by clicking this button!
Here are a few more reasons this recipe is worth making:
- No candy thermometer needed: You can make this fudge using a simple stovetop method without any special candy-making equipment.
- Quick and easy preparation: The active cooking time is only a few minutes, so most of the work is simply combining the ingredients and letting the fudge set.
- Creamy and crunchy: Smooth, rich peanut butter fudge gets a delicious contrast from chunks of chocolatey Oreo cookies.
- Makes plenty to share: A full batch makes about 60 small pieces, making it perfect for parties, holiday dessert trays, cookie exchanges, or gifting.
- Great for making ahead: Once the fudge has chilled and set, it’s easy to store and have ready when you need a sweet treat.
- Simple ingredients: You don’t need a long list of specialty ingredients. You can find most of what you need at a typical grocery store.
Whether you’re making it for a special occasion or just want an easy homemade treat, this Peanut Butter Oreo Fudge delivers plenty of flavor without making you spend hours in the kitchen.
Recipe Snapshot
This Peanut Butter Oreo Fudge is one of those desserts that looks impressive but is surprisingly simple to make. The stovetop preparation takes just a few minutes, and you don’t need a candy thermometer or any complicated candy-making equipment. Once the ingredients are combined, the fudge needs time to chill and set before it’s ready to slice.
For the full batch, use a 13×9-inch pan, which makes about 60 small pieces—perfect for a holiday gathering, cookie exchange, party, or dessert tray. Active prep and cooking time is short, but remember to plan ahead for about three hours of chilling time.
The finished fudge should be creamy, rich, and easy to cut, with plenty of peanut butter flavor and pieces of chocolatey Oreo cookies throughout. For best results, measure all your ingredients and chop your Oreos before you start cooking. Once the stovetop mixture is ready, work efficiently while it’s still easy to stir and spread.
Ingredients at-a-Glance
One of the best things about this Peanut Butter Oreo Fudge is its short ingredient list of familiar pantry and refrigerator staples. You’ll need:
- Granulated Sugar
- Butter
- Milk
- Peanut Butter
- Vanilla Extract
- Marshmallow Cream/Fluff
- Oreo Cookies
Measurements for each ingredient, along with instructions for making Peanut Butter Oreo Fudge, are in the printable recipe card below.
Before you begin, measure everything and have the Oreos ready to go. The cooking process moves fairly quickly once the sugar mixture reaches a boil, so having your ingredients prepared ahead of time makes the recipe much easier to manage.

Printable Peanut Butter Oreo Fudge Recipe Card
Ingredients
- 3 cups Sugar
- ½ cup Butter
- ¾ cup Milk
- 1 tsp Vanilla Extract
- 18 oz Creamy Peanut Butter
- 7 oz Marshmallow Cream/Fluff
- 3 cups Oreos, coarsely chopped
Instructions
- Line a 13×9-inch pan with parchment paper, spray with cooking spray, and set aside.
- In a medium size saucepan, combine the sugar, butter, and milk. Bring it to a boil over medium heat.
- Boil for a full 5 minutes, stirring constantly.
- Turn off the heat and stir in the vanilla extract, peanut butter and marshmallow cream. Stir until completely mixed.
- Add the chopped Oreos and fold into the fudge until evenly distributed.
- Quickly spread the fudge into the prepared pan and chill for about 3 hours until set and ready to cut.
How to Make Peanut Butter Oreo Fudge
Making Peanut Butter Oreo Fudge is easier than you might think, especially because you don’t need a candy thermometer. The key is to measure everything and have it ready before you turn on the stove. Once the sugar mixture is ready, work fairly quickly.
Step 1: Prepare the Pan
Start by preparing a 13×9-inch pan. Line it with parchment paper, leaving some overhang on the sides so you can easily lift the chilled fudge out later. You can lightly grease the parchment with cooking spray if desired.
Before you begin cooking, crush or chop your Oreos. Aim for a mixture of smaller pieces and larger chunks rather than turning all of the cookies into fine crumbs. The larger pieces give the finished fudge that satisfying Oreo texture.
Step 2: Cook the Sugar Mixture
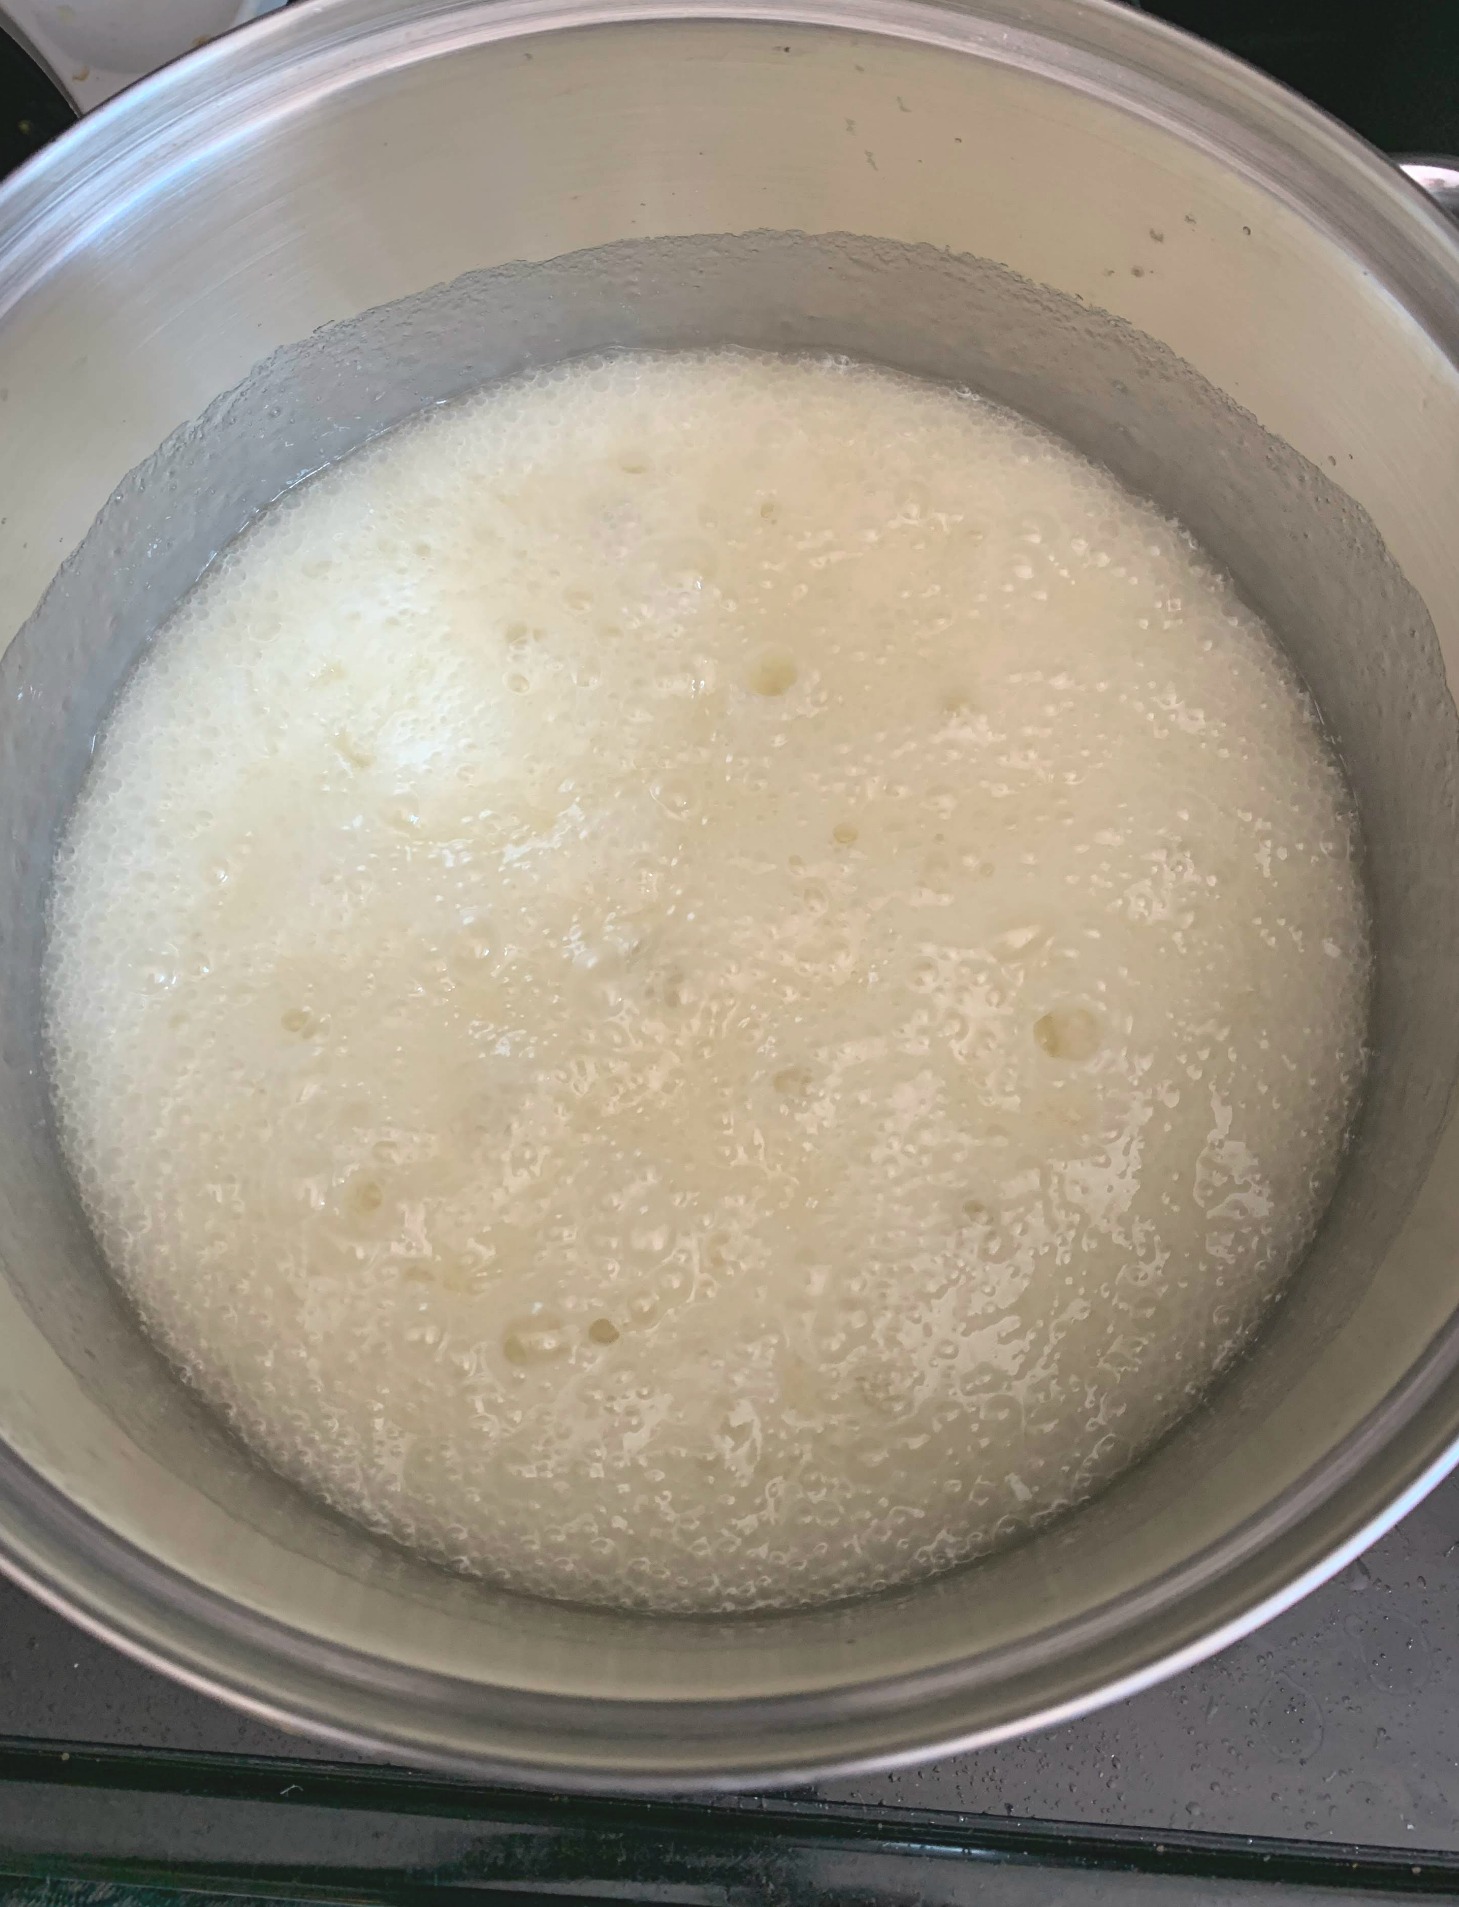
Add the sugar, butter, and milk to a saucepan and bring the mixture to a boil over medium heat, stirring constantly. Once it reaches a full boil, continue cooking for 5 minutes and stirring constantly so the mixture doesn’t stick or scorch on the bottom of the pan.
This is the most important part of the stovetop process. Don’t walk away while the mixture is boiling, and use the cooking time specified in the recipe rather than guessing.
Step 3: Add the Peanut Butter and Marshmallow Cream
Remove the saucepan from the heat and quickly stir in the peanut butter, marshmallow cream, and vanilla extract. Continue stirring until everything is smooth and well combined.
The mixture will be thick and creamy at this point. Make sure there are no visible streaks of peanut butter or marshmallow cream before moving on to the Oreos.
Step 4: Fold in the Oreos
Add the chopped Oreos and gently fold them into the fudge mixture. You want the cookies distributed throughout without over-stirring them into tiny crumbs.
If you’re planning to decorate the top with extra Oreo pieces, reserve a few before mixing the rest into the fudge, or use leftover Oreos to make this Vegan Oreo Milkshake.
Step 5: Spread and Chill
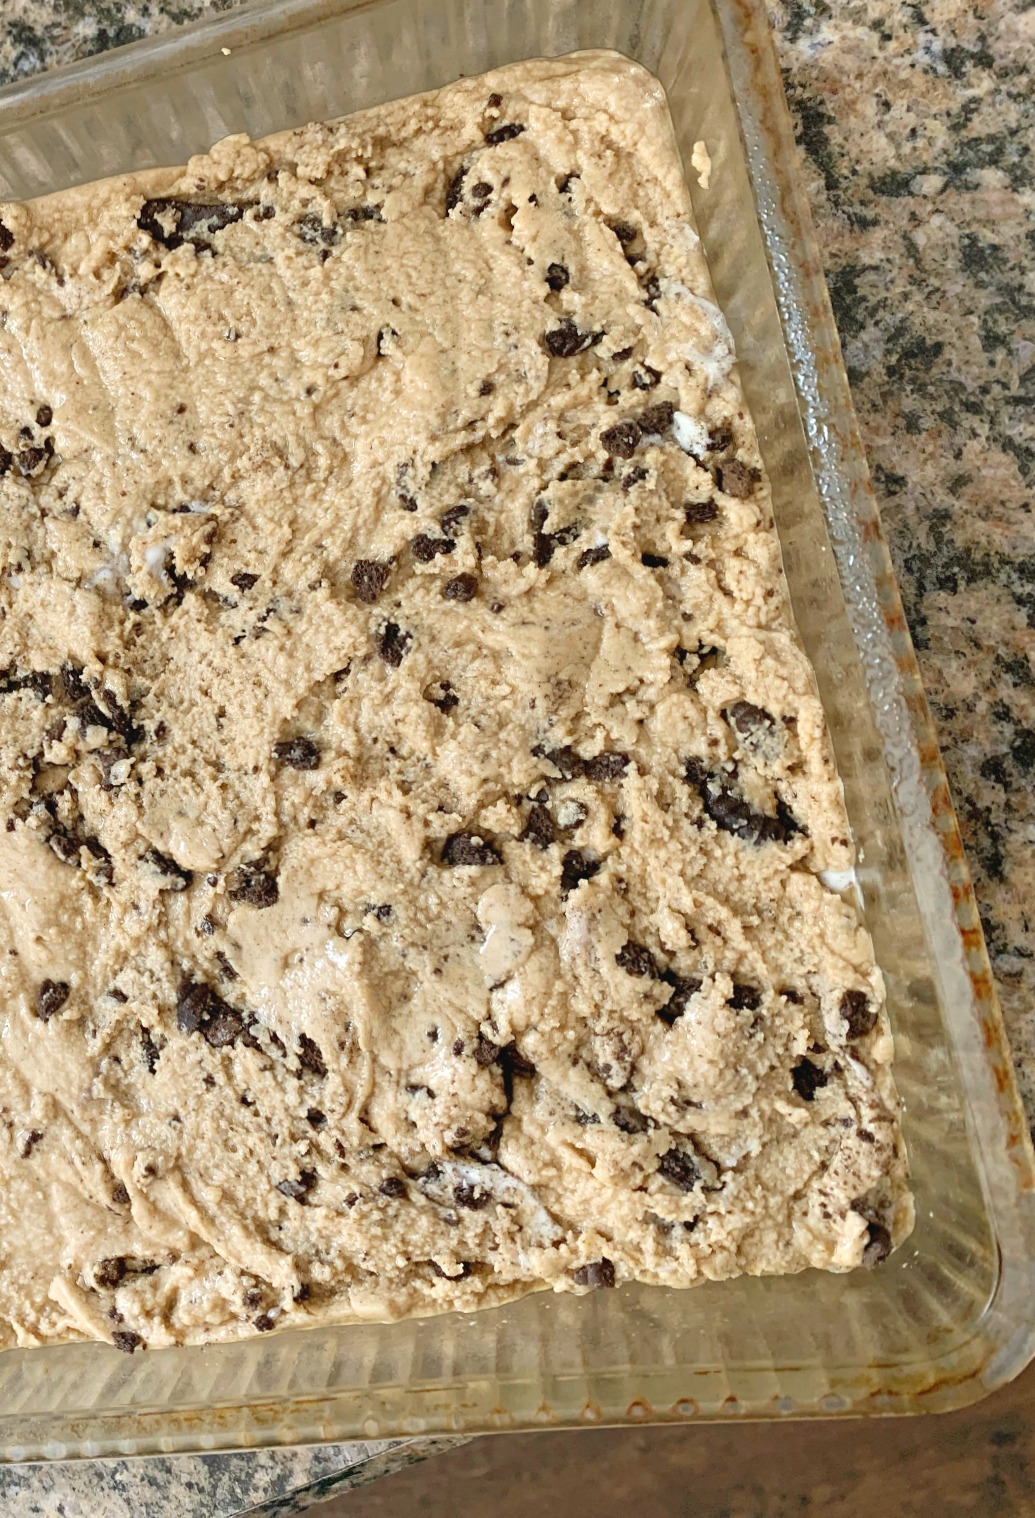
Immediately transfer the mixture to your prepared pan and spread it into an even layer. Gently press any reserved Oreo pieces into the top while the fudge is still soft.
Place the pan in the refrigerator and chill until the fudge is completely set. Once firm, lift it from the pan using the parchment paper, cut it into squares, and it’s ready to serve.
How to Tell When the Fudge is Ready
You know your fudge is ready at two stages: while you’re cooking the mixture and after it’s been chilled.
During the stovetop portion, cook the mixture for 5 full minutes once it reaches a boil. The sugar, butter, and milk mixture needs to boil for an extended time to set properly, since we aren’t using a candy thermometer.
Once you’ve added the peanut butter, marshmallow cream, vanilla, and Oreos, transfer the fudge to the prepared pan without waiting too long. The mixture will begin to thicken once it comes off the heat, so have your ingredients ready and work quickly.
After chilling, the fudge should:
- Feel firm to the touch, not soft or liquid.
- Hold its shape when you lift a piece from the pan.
- Cut into squares without spreading or collapsing.
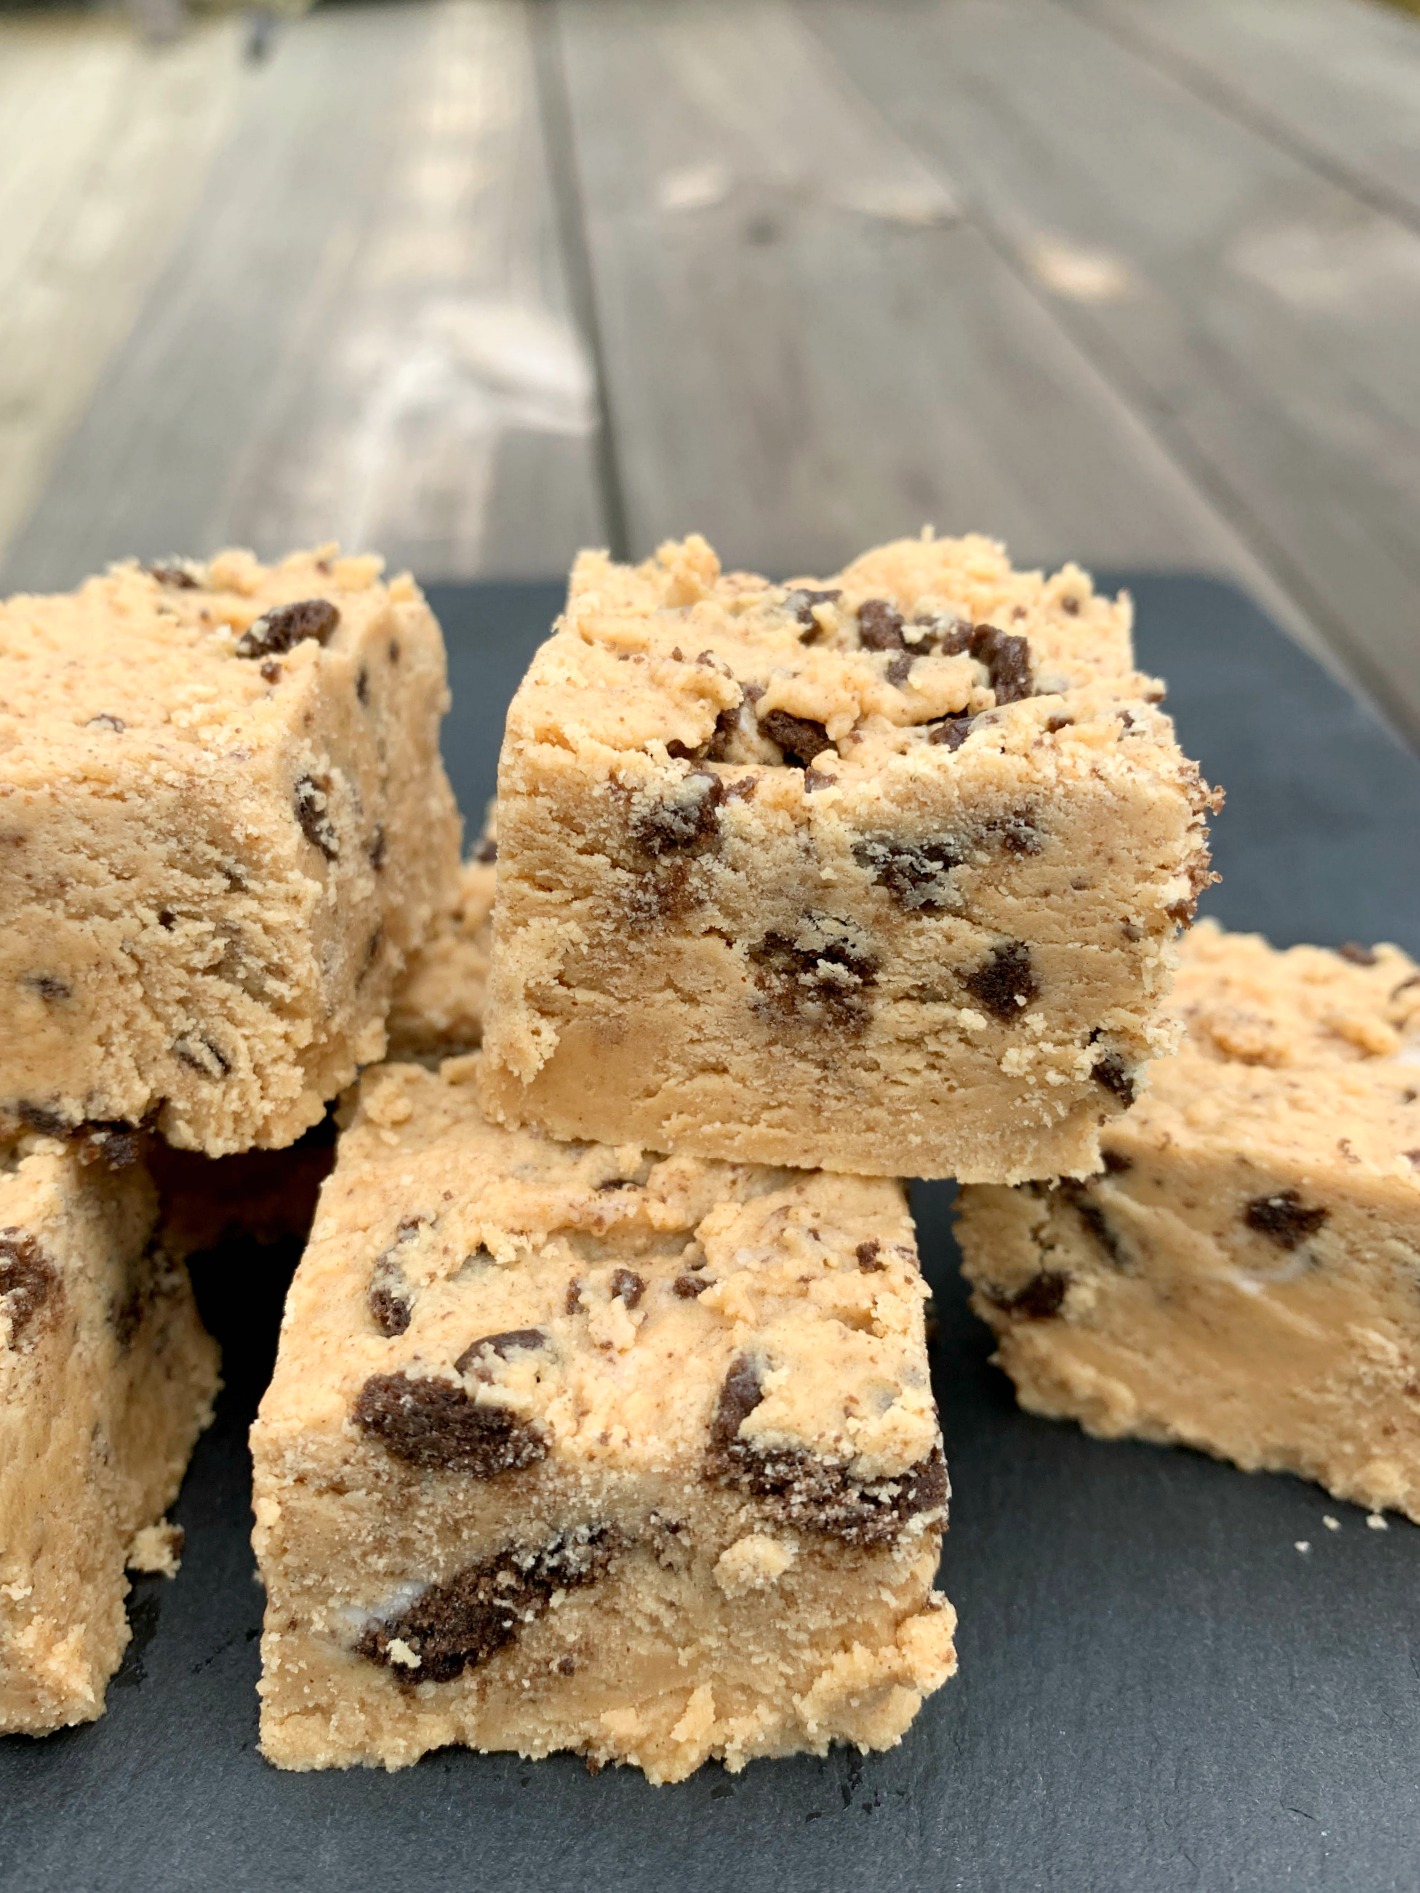
- Have a smooth, creamy texture rather than looking wet.
- Stay together when you pick up a piece.
Don’t judge the fudge too early. It can look firm around the edges while still being too soft in the center. Give it the full chilling time called for in the recipe before deciding whether it’s ready.
If your fudge is still noticeably soft after the recommended chilling time, keep it refrigerated longer. If it consistently fails to set, check the troubleshooting section below for some common causes.
Troubleshooting
Even though this is an easy fudge recipe, candy-making can sometimes be a little unpredictable. Small changes in cooking time, ingredient measurements, or substitutions can affect the final texture. Here are some common problems and what to check.
Why didn’t my fudge set?
If your fudge is still very soft after several hours in the refrigerator, the sugar mixture may not have been cooked for the full recommended time. Accurate measurements are also important, particularly with the liquid ingredients.
Try this next time:
- Measure every ingredient carefully.
- Follow the specified boiling time.
- Don’t remove the mixture from the heat too early.
- Avoid making untested substitutions.
- Give the finished fudge enough time to chill completely.
Why is my fudge too soft?
Soft fudge can sometimes simply need more chilling time. If it remains too soft even after thorough refrigeration, review the cooking process.
Fudge consistency depends heavily on how the sugar mixture is cooked, so avoid shortening the cooking time just because the mixture looks ready before the recipe says it is.
Why is my fudge grainy?
A grainy texture can come from problems with the sugar mixture during cooking or crystallization as the fudge cools. Make sure you’re following the recipe’s stirring and cooking instructions carefully.
Using the specified ingredients and avoiding unnecessary substitutions can also help keep the texture consistent.
Why is my fudge crumbly?
If your fudge is dry or crumbly instead of creamy, you may have cooked it too long or let it lose too much moisture. Follow the recipe’s cooking time carefully, and don’t continue boiling the mixture beyond what’s instructed.
The most important troubleshooting tip: don’t make several changes at once. If a batch doesn’t turn out as expected, compare your measurements and cooking time against the recipe before changing ingredients.
How to Cut Fudge Cleanly
Once your Peanut Butter Oreo Fudge has completely set, cutting it into neat squares is easy and makes for a nice presentation.
First, use the parchment paper overhang to lift the entire block of fudge out of the pan. Place it on a sturdy cutting board and use a sharp, straight-edged knife.
For clean cuts, keep the knife as clean as possible. After every few cuts, wipe away any fudge that has collected on the blade. This prevents crumbs and peanut butter from being dragged across the next piece.
For a dessert tray or party, smaller squares work especially well because this fudge is rich, so I recommend cutting it into 60 small pieces. You can adjust the size depending on how you’re serving it, but keeping the pieces relatively small also helps you get the most servings from the batch.
How to Store Fudge
Once your Peanut Butter Oreo Fudge has fully set, store it in an airtight container to maintain its texture and prevent it from absorbing other refrigerator odors. For the best results, place parchment or wax paper between layers if you’re stacking the fudge. This keeps the pieces from sticking together and helps protect the Oreo pieces on the surface.
At room temperature in an airtight container, the fudge is best for 1-2 weeks.
In the fridge, the fudge will keep for up to 2 weeks, although because Oreo cookies are part of the fudge, the texture can change slightly over time as the cookies absorb moisture from the surrounding fudge. For the best combination of creamy fudge and cookie texture, enjoy it while it’s fresh.
Peanut Butter Oreo Fudge FAQs
For more questions or comments regarding this peanut butter fudge, write to us in the comments.
Can I make Peanut Butter Oreo Fudge without a candy thermometer?
This recipe uses a simple stovetop method that doesn’t require a candy thermometer. Follow the recommended cooking time and keep a close eye on the mixture as it boils to help ensure the fudge sets properly.
What kind of peanut butter works best for this fudge?
Creamy conventional peanut butter is the best choice for a consistent texture and smooth fudge. Natural peanut butter can separate and may produce a different consistency, so it’s best to stick with the type used when the recipe was tested.
Can I use different types of Oreos?
Regular Oreos work especially well because their chocolate cookies contrast nicely with the creamy peanut butter fudge. You can experiment with Double Stuf or flavored Oreos, but keep in mind that different fillings can slightly change the texture and sweetness.
How long does Peanut Butter Oreo Fudge need to chill?
The fudge needs about 3 hours in the refrigerator to become firm enough to cut cleanly. For the best results, let it chill completely rather than trying to cut it while the center is still soft.
Wrapping Up With Fudge
This Peanut Butter Oreo Fudge proves homemade candy doesn’t have to be complicated. With creamy peanut butter, crunchy Oreo pieces, and a simple stovetop method, you can make a batch of rich, delicious fudge without reaching for a candy thermometer.
For the best results, let the fudge chill completely before cutting it, and use a sharp knife to get those neat, bite-sized squares. It’s also a great make-ahead treat for holidays, parties, cookie exchanges, or whenever you need an easy dessert that feeds a crowd.
If you made this recipe, I’d love to know how it turned out! Leave a rating or comment below, and don’t forget to save or pin this recipe so you can come back to it the next time a peanut butter and chocolate craving hits.
More Peanut Butter Desserts
And if you’re looking for more easy peanut butter desserts, check out the other recipes on our site!
Leave a Rating/Comment
Let us know your thoughts on this recipe! Did you like this variation from a classic chocolate fudge? Leave us a review and rating below.