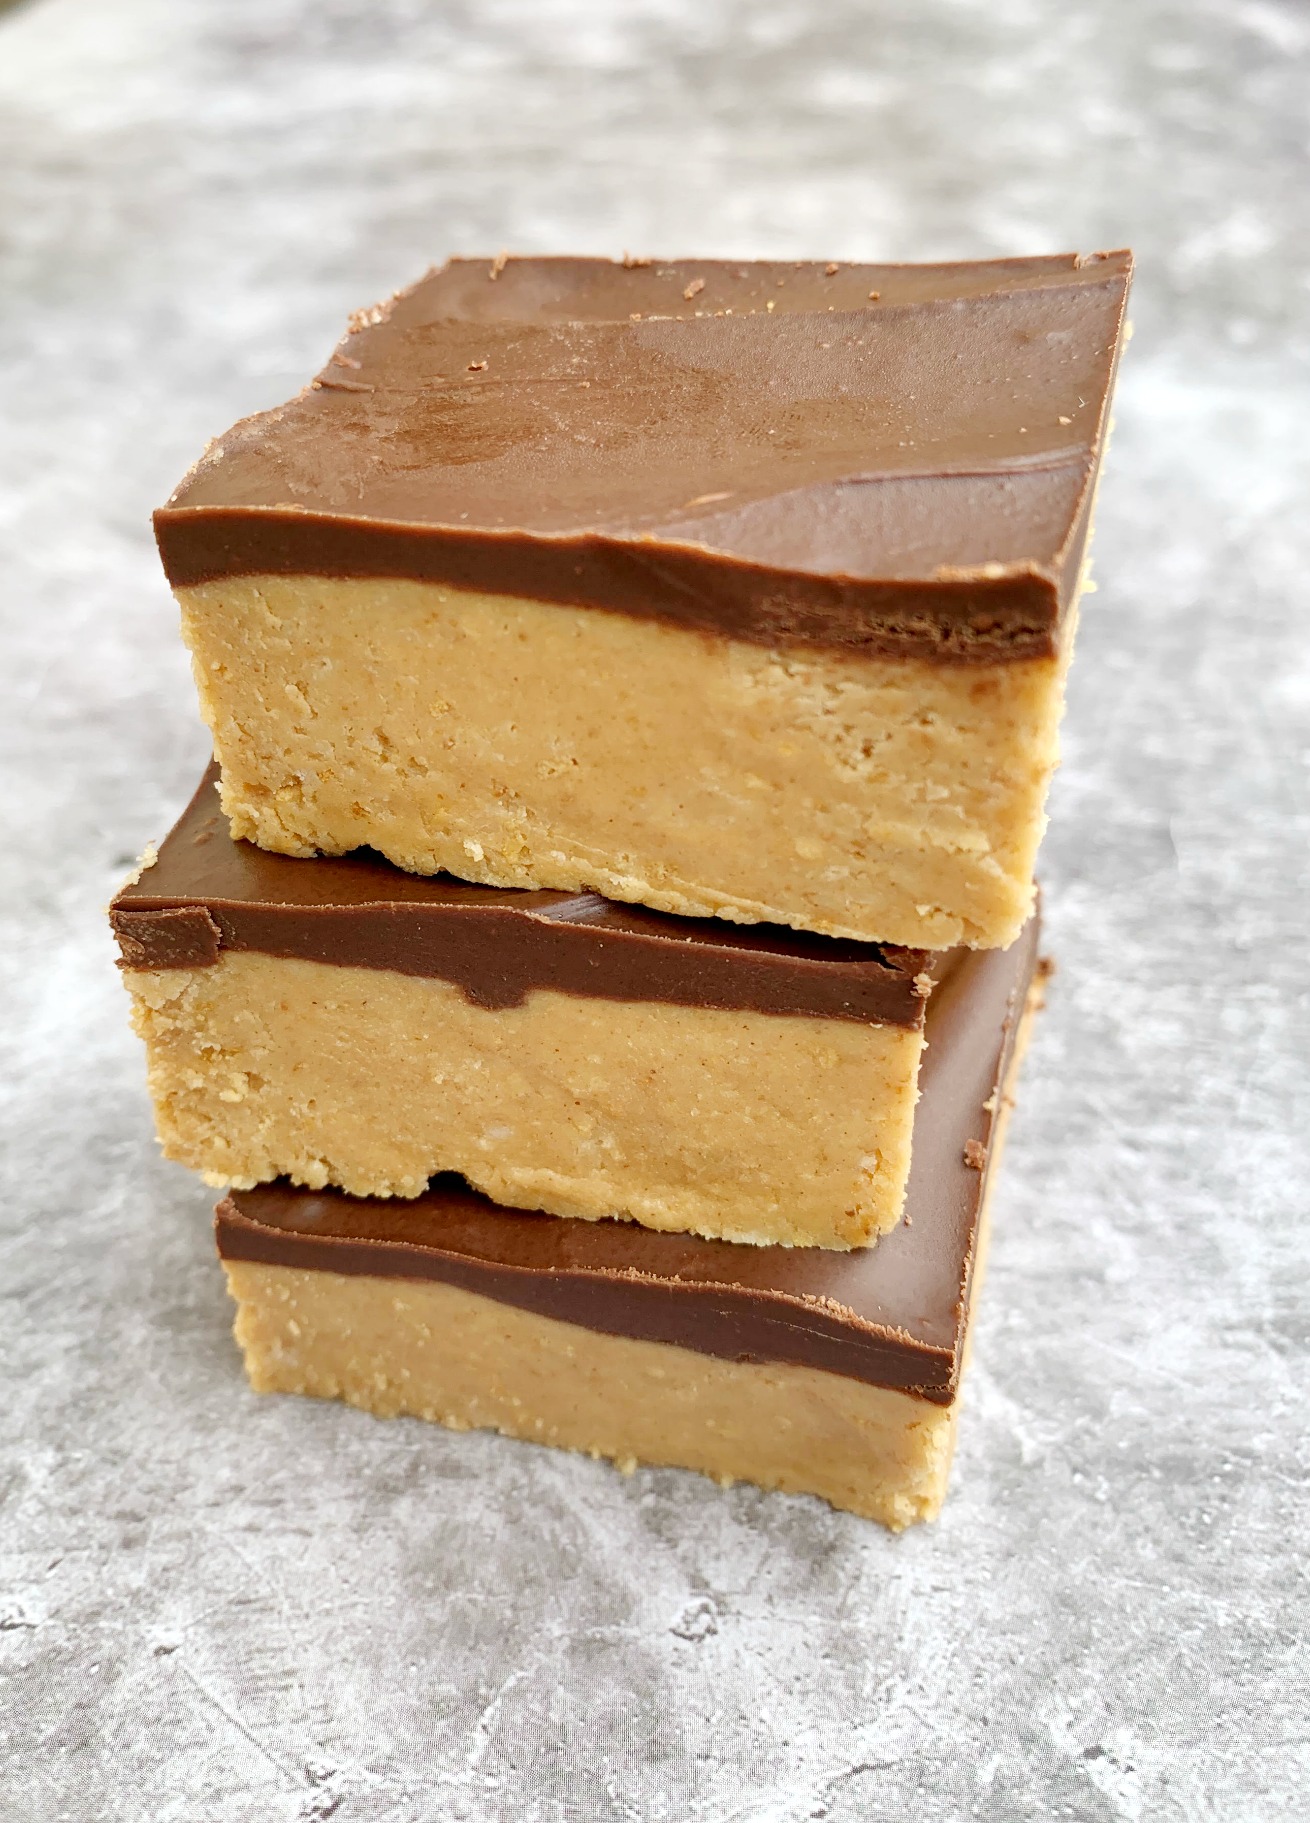
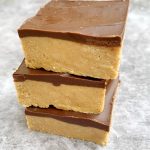
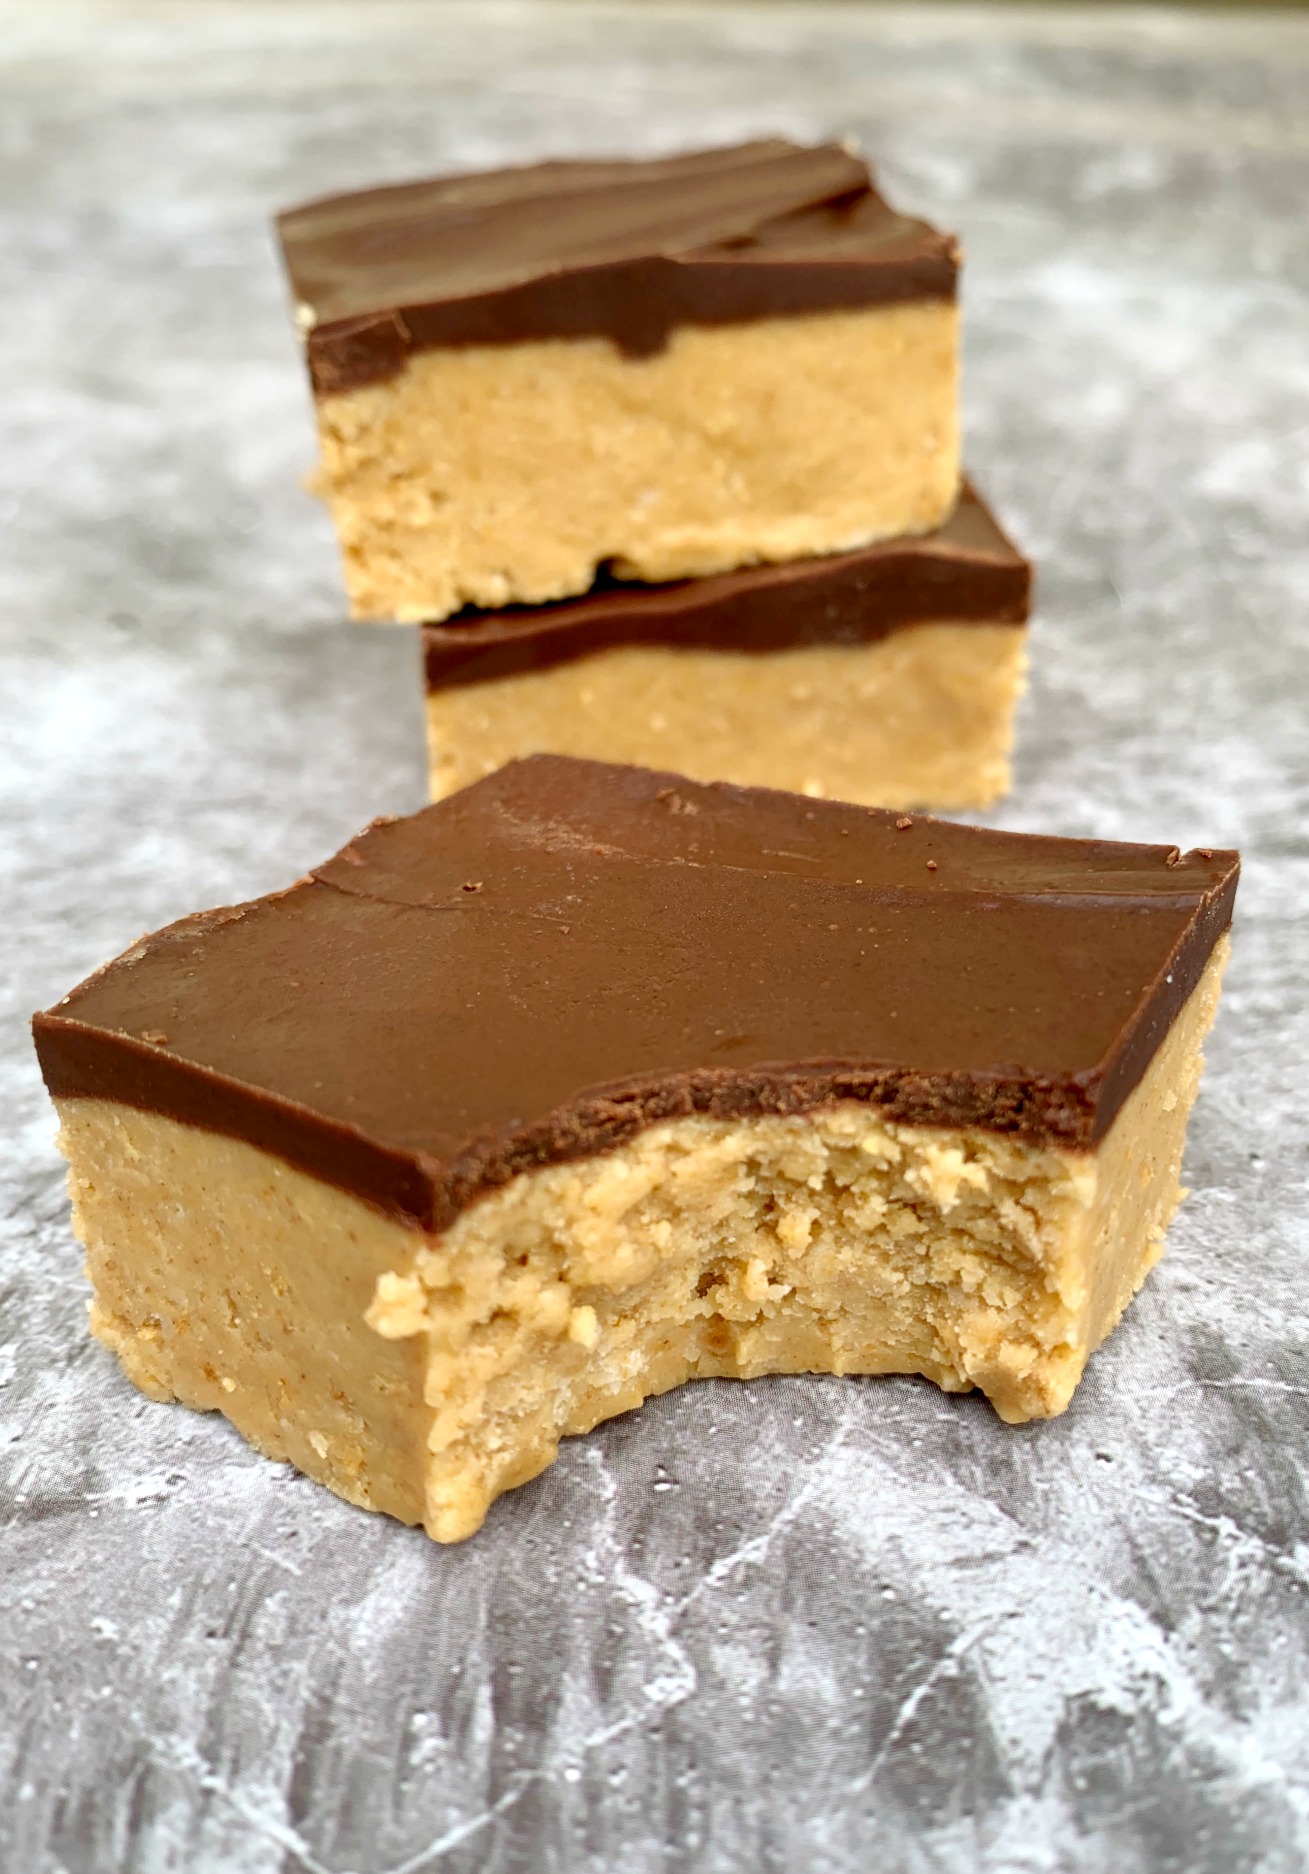
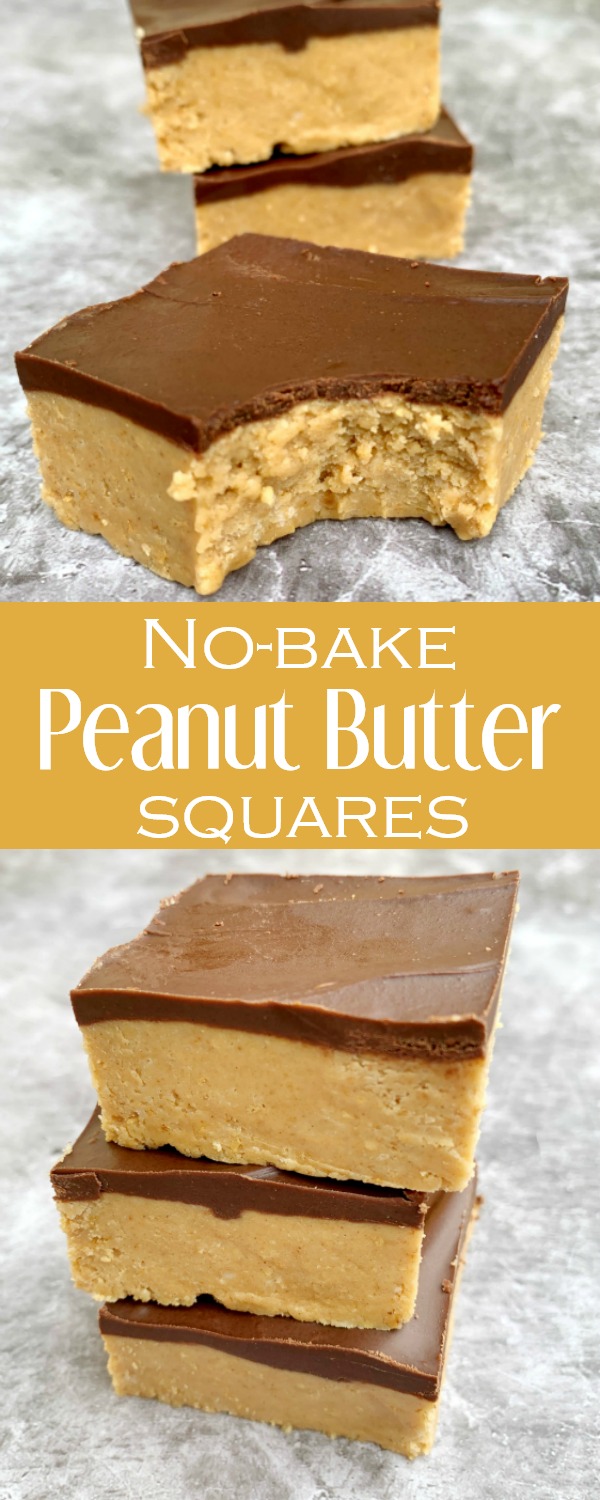
Need a dessert that’s ridiculously easy and incredibly indulgent? These No-Bake Peanut Butter Bars come together in just 10 minutes with only 5 simple ingredients you probably already have in your pantry. They’re one of my favorite (and one of the easiest) desserts to make! No oven, no mixer, and no complicated steps. Just a creamy peanut butter cookie base, a silky chocolate topping, and a little chill time while the refrigerator does all the work. This recipe is heaven for peanut butter lovers!
They’re the kind of recipe every home cook needs in their back pocket. Perfect for last-minute guests, holiday dessert trays, after-school treats, potlucks, or when a peanut butter-and-chocolate craving hits hard. If you love the classic flavor combination of a Reese’s Peanut Butter Cup, you’ll fall for these rich, fudgy bars.
Table of Contents
What makes this recipe even better is how foolproof it is. With just a handful of everyday ingredients and a few minutes of prep, you’ll have a crowd-pleasing dessert that looks impressive, stores beautifully (even on hot summer days), and disappears almost as quickly as you make it. These bars are simple, nostalgic, and endlessly satisfying, and proof that great desserts don’t have to be complicated.
Just simple, familiar pantry staples coming together to create a dessert that tastes indulgent without being complicated. Now let’s get to it!
Why You’ll Love This Recipe
- Just five simple ingredients: This peanut butter bar recipe keeps things refreshingly simple. With only five pantry staples you likely already have on hand, you can whip up a decadent dessert without a special grocery store run.
- Quick and easy to make: From start to finish, these bars come together in minutes. There’s no mixer required and no tricky steps to follow, making this recipe perfect for busy days, last-minute desserts, or when you want something sweet without spending hours in the kitchen.
- No oven necessary: Skip the baking entirely! These bars are perfect for warm days, packed schedules, or anytime you’d rather not turn on the oven. Just mix, layer, chill, and enjoy a rich, chocolate, and peanut butter treat with minimal effort and maximum satisfaction.
Ingredients You’ll Need
You only need a handful of basic pantry staples to make these no-bake peanut butter bars. Chances are, you already have everything on hand. Here’s what you’ll need:
- Butter: Salted or unsalted. Most baked goods will often call for unsalted butter, but in this case, you won’t notice much of a difference, and I personally find that a little extra salt helps to balance out the sweetness in this recipe if salted butter is what you have on hand.
- Graham Cracker Crumbs: Most grocery stores will have graham cracker crumbs available, which makes for one less step in this recipe (as if it wasn’t easy enough already). But if you’re using regular graham crackers, crush about 8 full sheets, which are equivalent to one cup.
- Powdered Sugar: Powdered sugar goes by many different names–confectioner’s sugar, icing sugar, 10x sugar–and this is what’s going to help hold everything together in the peanut butter layer. Granulated (white) sugar would give this recipe a very grainy, sandy texture, which is not what we’re going for, so make sure to use powdered sugar for this.
- Peanut Butter: As peanut butter’s #1 fan, I don’t think I’ve ever met a jar of peanut butter that I didn’t like. For this recipe, I recommend a creamy peanut butter for a nice smooth bar, but if you like a little texture and crunch, go for the crunchy peanut butter.
- Chocolate: Whether it’s milk chocolate or dark chocolate, choose the chocolate chips you like the best. Whatever you choose, you cannot make a bad decision with this recipe.
Measurements for each ingredient, along with instructions for making No-Bake Peanut Butter Bars, are in the printable recipe card below.
Printable No-Bake Peanut Butter Bars Recipe Card
Ingredients
Peanut Butter Layer
- ½ cup butter, melted
- 1 cup graham cracker crumbs
- 2 cups powdered sugar
- 1 cup peanut butter
Chocolate Layer
- 2 tbsp peanut butter
- 1 cup chocolate chips
Instructions
- Line an 8″x8″ or 9″x9″ square pan with foil or parchment paper. Set aside
- In a medium bowl, mix the melted butter, graham cracker crumbs, and powdered sugar until crumbly. Add the peanut butter and mix until well combined. It should bold together when pressed into a ball in your hand.
- Using your hand or the bottom of a glass, press the mixture evenly into the prepared pan.
- In a small bowl, add the chocolate chips and 2 tablespoons of peanut butter. Microwave in 30 second intervals, stirring each time, until the chocolate is smooth and melted. Be careful not to overheat it. Spread it over the peanut butter layer.
- Cover and refrigerate for at least 2-3 hours or until firm.
- Cut the chilled bars into squares and enjoy!
Notes
How to Make No-Bake Peanut Butter Bars (Step-by-Step)
With just five ingredients and ten minutes, this dessert is done!
Mix, Layer, and Chill
This part goes fast. Just mix everything together, layer it up, and let the fridge do the work.
Step 1
Start by lining an 8”x8” or 9”x9” pan with parchment paper. You can use non-stick spray instead, but the parchment paper makes it super easy to remove the bars from the pan to cut and serve. And it makes for an easier clean-up!
Tip: You can easily double this recipe for parties. Just prepare the double batch in a 9″x13″ pan. This Farberware nonstick pan comes with a lid, making it perfect for transporting to BBQs, parties, or any events.
Step 2
In a large bowl, mix the melted butter with the graham cracker crumbs and powdered sugar until it forms a crumbly mixture. Then add in the 1 cup of peanut butter and stir everything together to make your no-bake dough. Press this evenly into the pan to form the bottom layer of the bars.
Step 3
Place your chocolate chips and the remaining 2 tablespoons of peanut butter into a microwave-safe bowl and microwave in 30-second intervals, mixing in between, until you have a nice, smooth chocolate. Or, melt the chocolate in a double boiler (see the ‘Tips & Tricks’ section below for more on that.)
Step 4
Spread this evenly over the peanut butter layer. Refrigerate the pan for about 1-2 hours or until the chocolate is set. Remove them from the pan, cut, serve, and enjoy!
That’s it! So easy! I will say it’s even easier if you use a stand mixer, but not necessary. It almost tastes like peanut butter fudge. It’s so creamy and rich!
Tips & Tricks for Perfect No-Bake Peanut Butter Squares
Once you’ve mastered the basics, a few simple tips can take these no-bake peanut butter squares from great to absolutely perfect. Whether you’re swapping ingredients, adjusting texture, or planning ahead, these tricks will help ensure your bars turn out creamy, rich, and irresistible every single time.
Use Room Temperature Ingredients
In many baking recipes, you will see it call for room temperature ingredients. That is because ingredients at the same temperature blend more evenly, forming a more cohesive batter/dough. In this recipe, the main ingredient this tip applies to is the peanut butter. Some store their peanut butter in a pantry cabinet, but others may keep it in the fridge.
Cold peanut butter can be stiff and more difficult to mix smoothly. Let it sit out for a few minutes, or microwave it for 5-10 seconds to warm it up for a creamier, more even base to these bars.
Line the Pan with Parchment
Lining the pan with parchment paper or foil that hangs over the sides makes removing the chilled bars a breeze. It will be easy to pop them out of the pan in one piece so you can slice them into clean, even bars. Plus, it makes cleanup even easier, since there’s no risk of it sticking to the pan!
Press the Base Firmly
Use the bottom of a measuring cup or glass to press the peanut butter base layer into the pan. A firm, compact base helps the bars hold together cleanly when sliced.
Melt the Chocolate Slowly
Microwave the chocolate in short 20-30 second intervals, stirring between each one. Overheating can cause the chocolate to seize and turn clumpy or grainy. Another great way to melt the chocolate is over a double boiler.
To prepare a double boiler: Fill a kitchen pot with about 1/2 inch of water and bring it to a simmer. Place the chocolate in a heatproof bowl slightly larger than the kitchen pot you’re using. Place the bowl on the simmering pot; the bottom of the bowl should not touch the water! Gently stir the chocolate and peanut butter mixture as the steam from the simmering water slowly heats it up and melts it. Once melted, remove the bowl from the pot (be careful of the steam), and continue with the recipe. This is a great way to gently heat chocolate to avoid overheating it.
Chill Completely
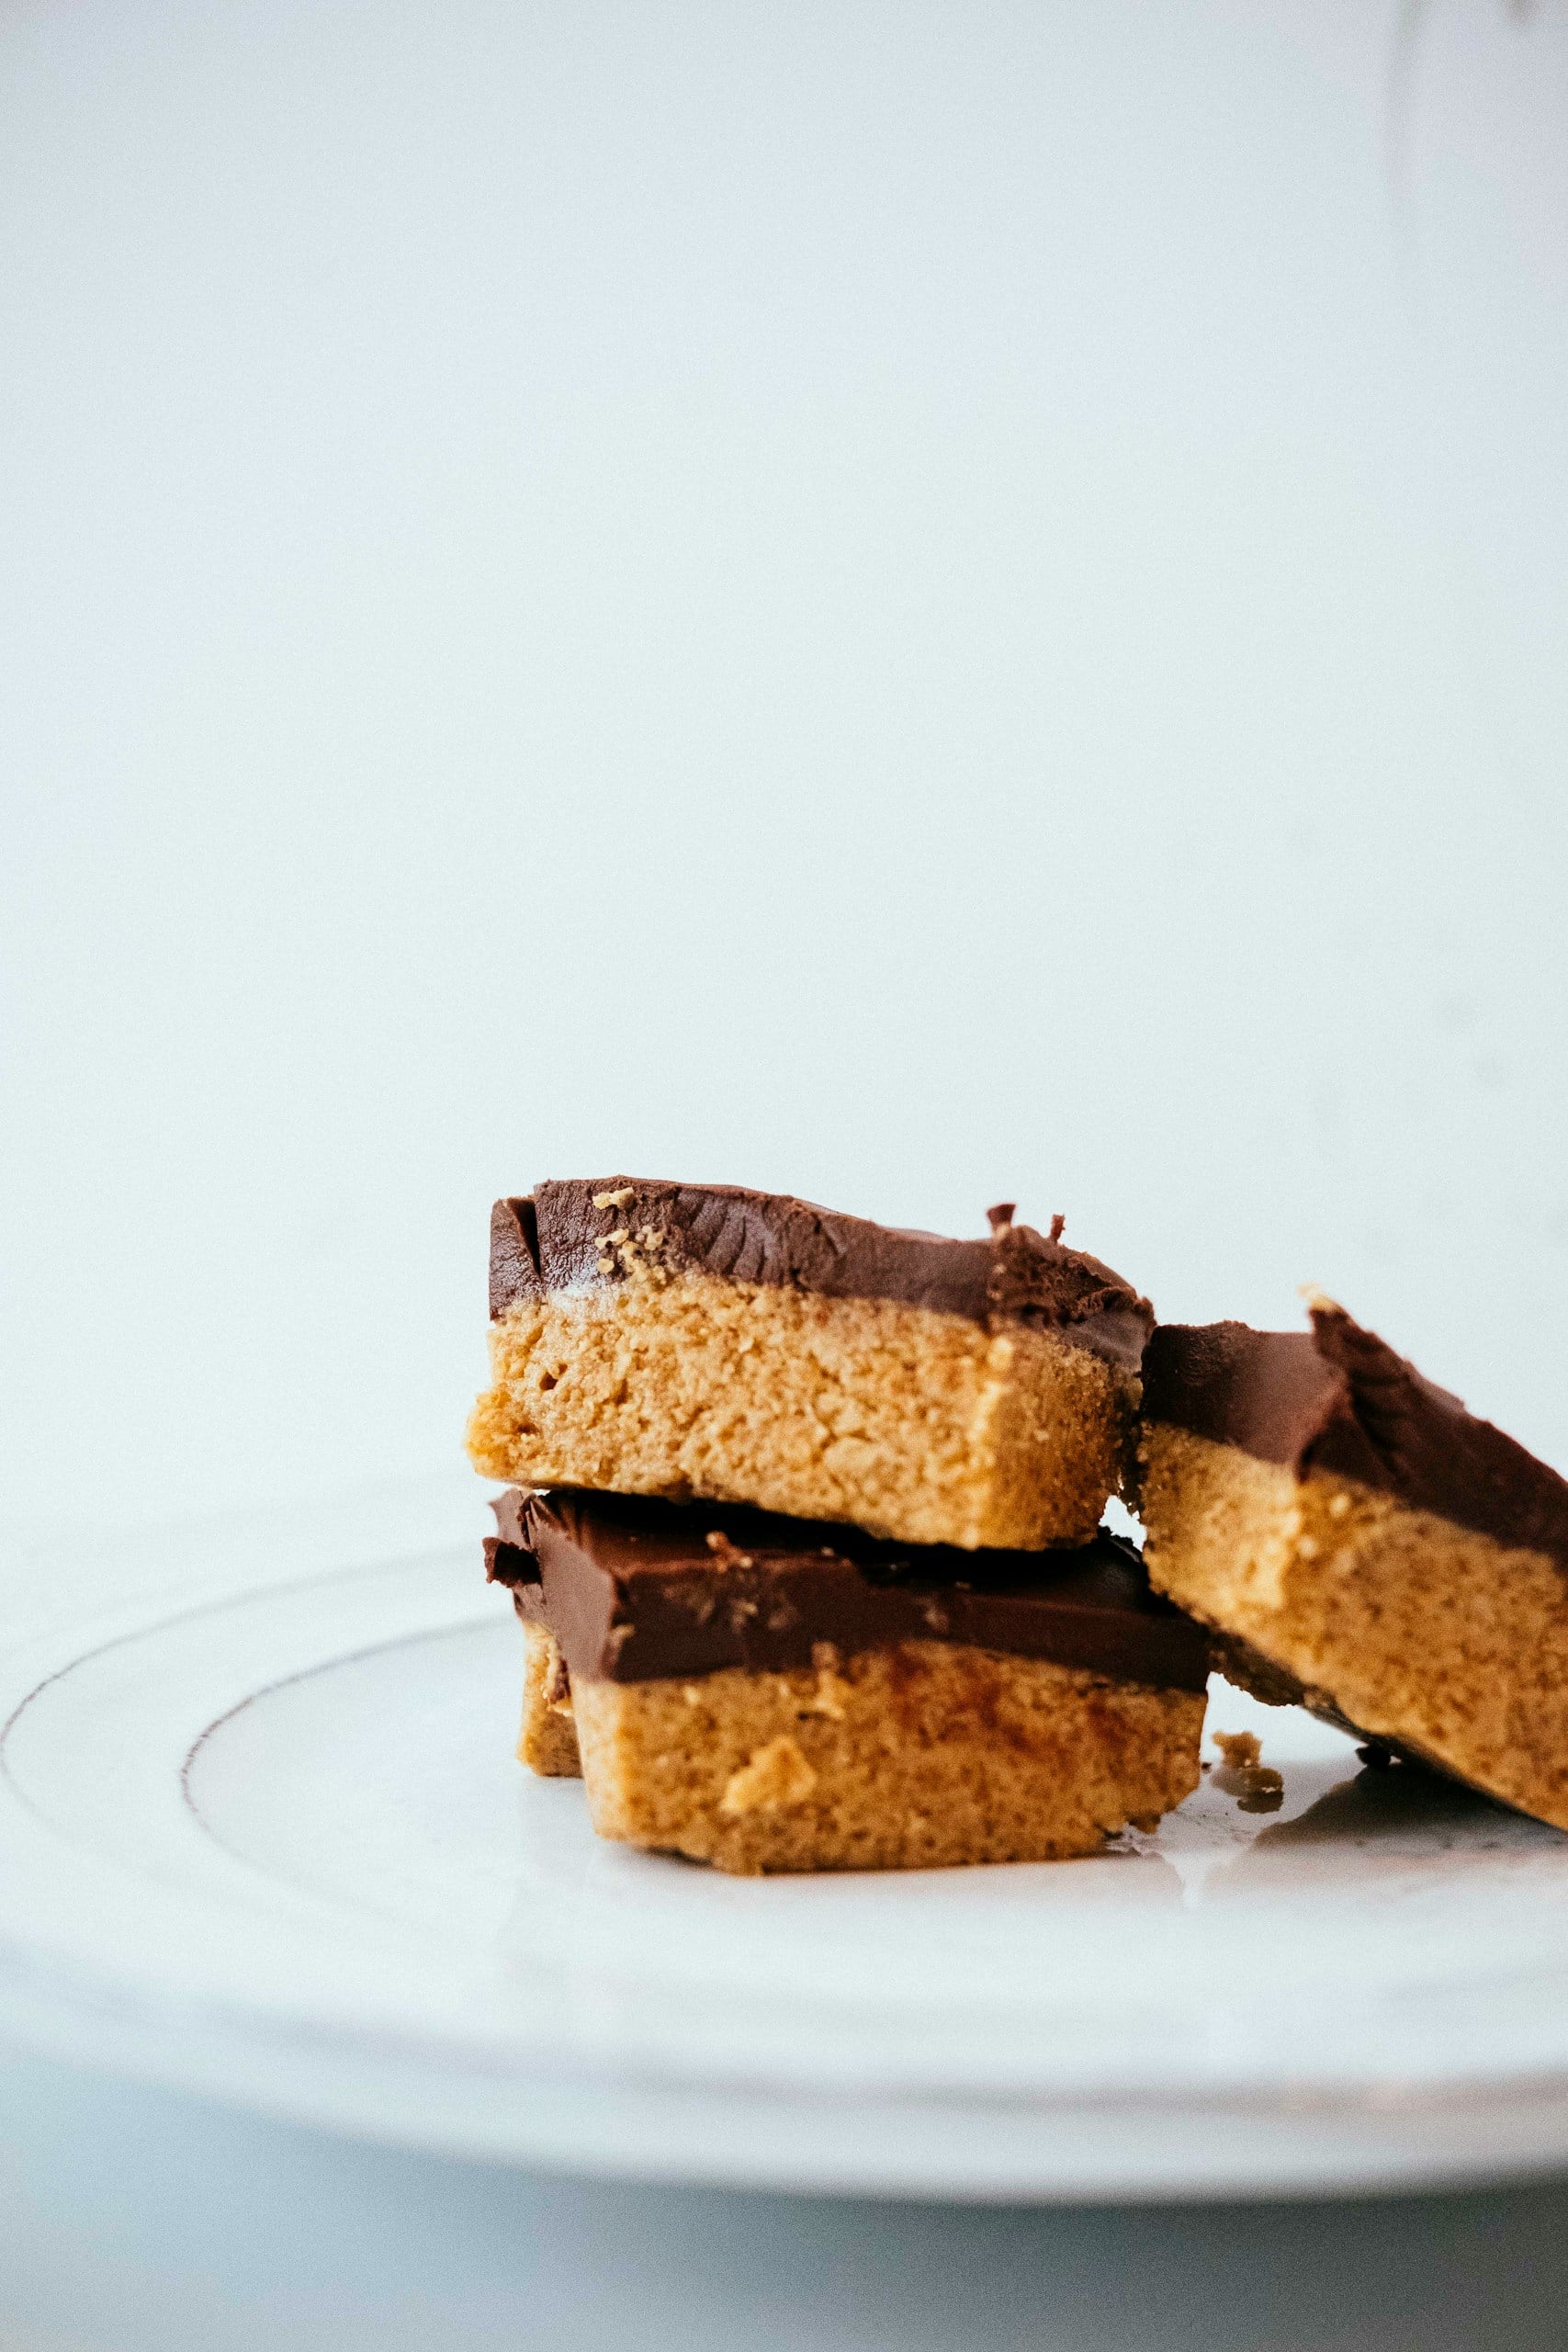
For clean-cut edges, chill the bars until completely firm, for at least 1-2 hours. Run your knife under hot water, wipe it dry, and slice. Repeat this as needed while cutting the bars to ensure clean slices each time.
Store Chilled
To maintain the best texture for these bars, store them in the fridge in an airtight container, especially in the summer when the kitchen can get very warm. This will help them to hold their shape and keep their firm yet creamy consistency.

Using Natural Peanut Butter
While it may be tempting to swap in natural peanut butter, it’s important to know that it can affect both the texture and structure of these no-bake peanut butter bars. Traditional creamy peanut butter, such as Jif or Skippy, contains stabilizers that help it stay smooth and consistent, which is exactly what you want for a recipe that relies on the base setting up properly without baking.
That doesn’t mean you can’t use natural peanut butter if it’s your preference. Natural peanut butter is a great option for clean eating. It is usually made with just one or two ingredients (peanuts and sometimes salt), making it an excellent option when you’re looking for something with little to no preservatives. Here are a few things to look out for when using natural peanut butter.
Because of the lack of preservatives, the oil in the peanuts naturally separates, making it the first thing you see when you open a new jar of natural peanut butter. If you’re using natural peanut butter, the most important thing is to mix it well before measuring it out! Try to choose a variety that is relatively thick rather than super runny. I love Justin’s Brand Classic Peanut Butter or Skippy’s, which makes a no-sugar-added peanut butter with its classic smooth, creamy texture, but without all the added preservatives. That option is perfect for this recipe, keeping it clean and getting the texture on point.
Now, if you’ve got a more liquid natural peanut butter on hand, you’ll need to compensate for it in the recipe by adding more powdered sugar. You will need at least ½ cup more powdered sugar, but start with that and add more as needed until the peanut butter mixture holds together when you try to roll some into a ball. If it looks and feels far too oily, add a bit more powdered sugar.
You may also find that the bars need additional chilling time to firm up, and the finished texture may be softer than the original recipe, so storing them in the fridge is your best bet!
Best Times to Make These
One of the best things about these no-bake peanut butter squares is their versatility. Because they require just 5 ingredients and about 10 minutes of prep time, they’re perfect for those occasions when you need a dessert quickly but still want something homemade. What type of occasion might that be? Let’s see:
- Holiday Desserts
- Cookie Exchanges
- Birthday Parties
- Potlucks
- Bake Sales
- Picnics
- School Events
- Lunchbox Snacks
- Weeknight Dessert Cravings
- Freezer Stash Dessert
Whether you’re planning a celebration or simply craving the classic combination of chocolate and peanut butter, these easy no-bake bars are the kind of recipe you’ll find yourself returning to again and again, just because!
Fun Variations to Try
One of the reasons these peanut butter bars are such a favorite year after year is because of how easy they are to customize. The simple peanut butter and chocolate base works as a blank canvas for countless flavor combinations, allowing you to create a slightly different version every time you make them.
With just a few simple tweaks, you can turn these classic no-bake peanut butter bars into something totally new, perfect for holidays, special occasions, or using up what you already have in the pantry.
- Add Some Texture: Stir chopped peanuts, mini chocolate chips, crushed pretzels, or toffee bits into the peanut butter base before pressing it into the pan. Sprinkle some extra on top of the melted chocolate for texture and garnish in one!
- Make it Salty-Sweet: Sprinkle flaky sea salt like Maldon over the melted chocolate before it sets for a gourmet touch to these bars.
- Make it Festive! Try adding seasonal toppings such as holiday/birthday sprinkles, crushed peppermint candies, chopped peanut butter cups, or colorful candy-coated chocolates.
- Peanut Butter and Jelly Bars: Turn these bars into the timeless classic peanut butter and jelly sandwich. Once you’ve pressed the peanut butter base into the pan, grab a jar of your favorite jam or jelly and spread an even, generous layer right on top. Then pour the silky melted chocolate over the jam, covering it completely for that rich, decadent finish, and chill!
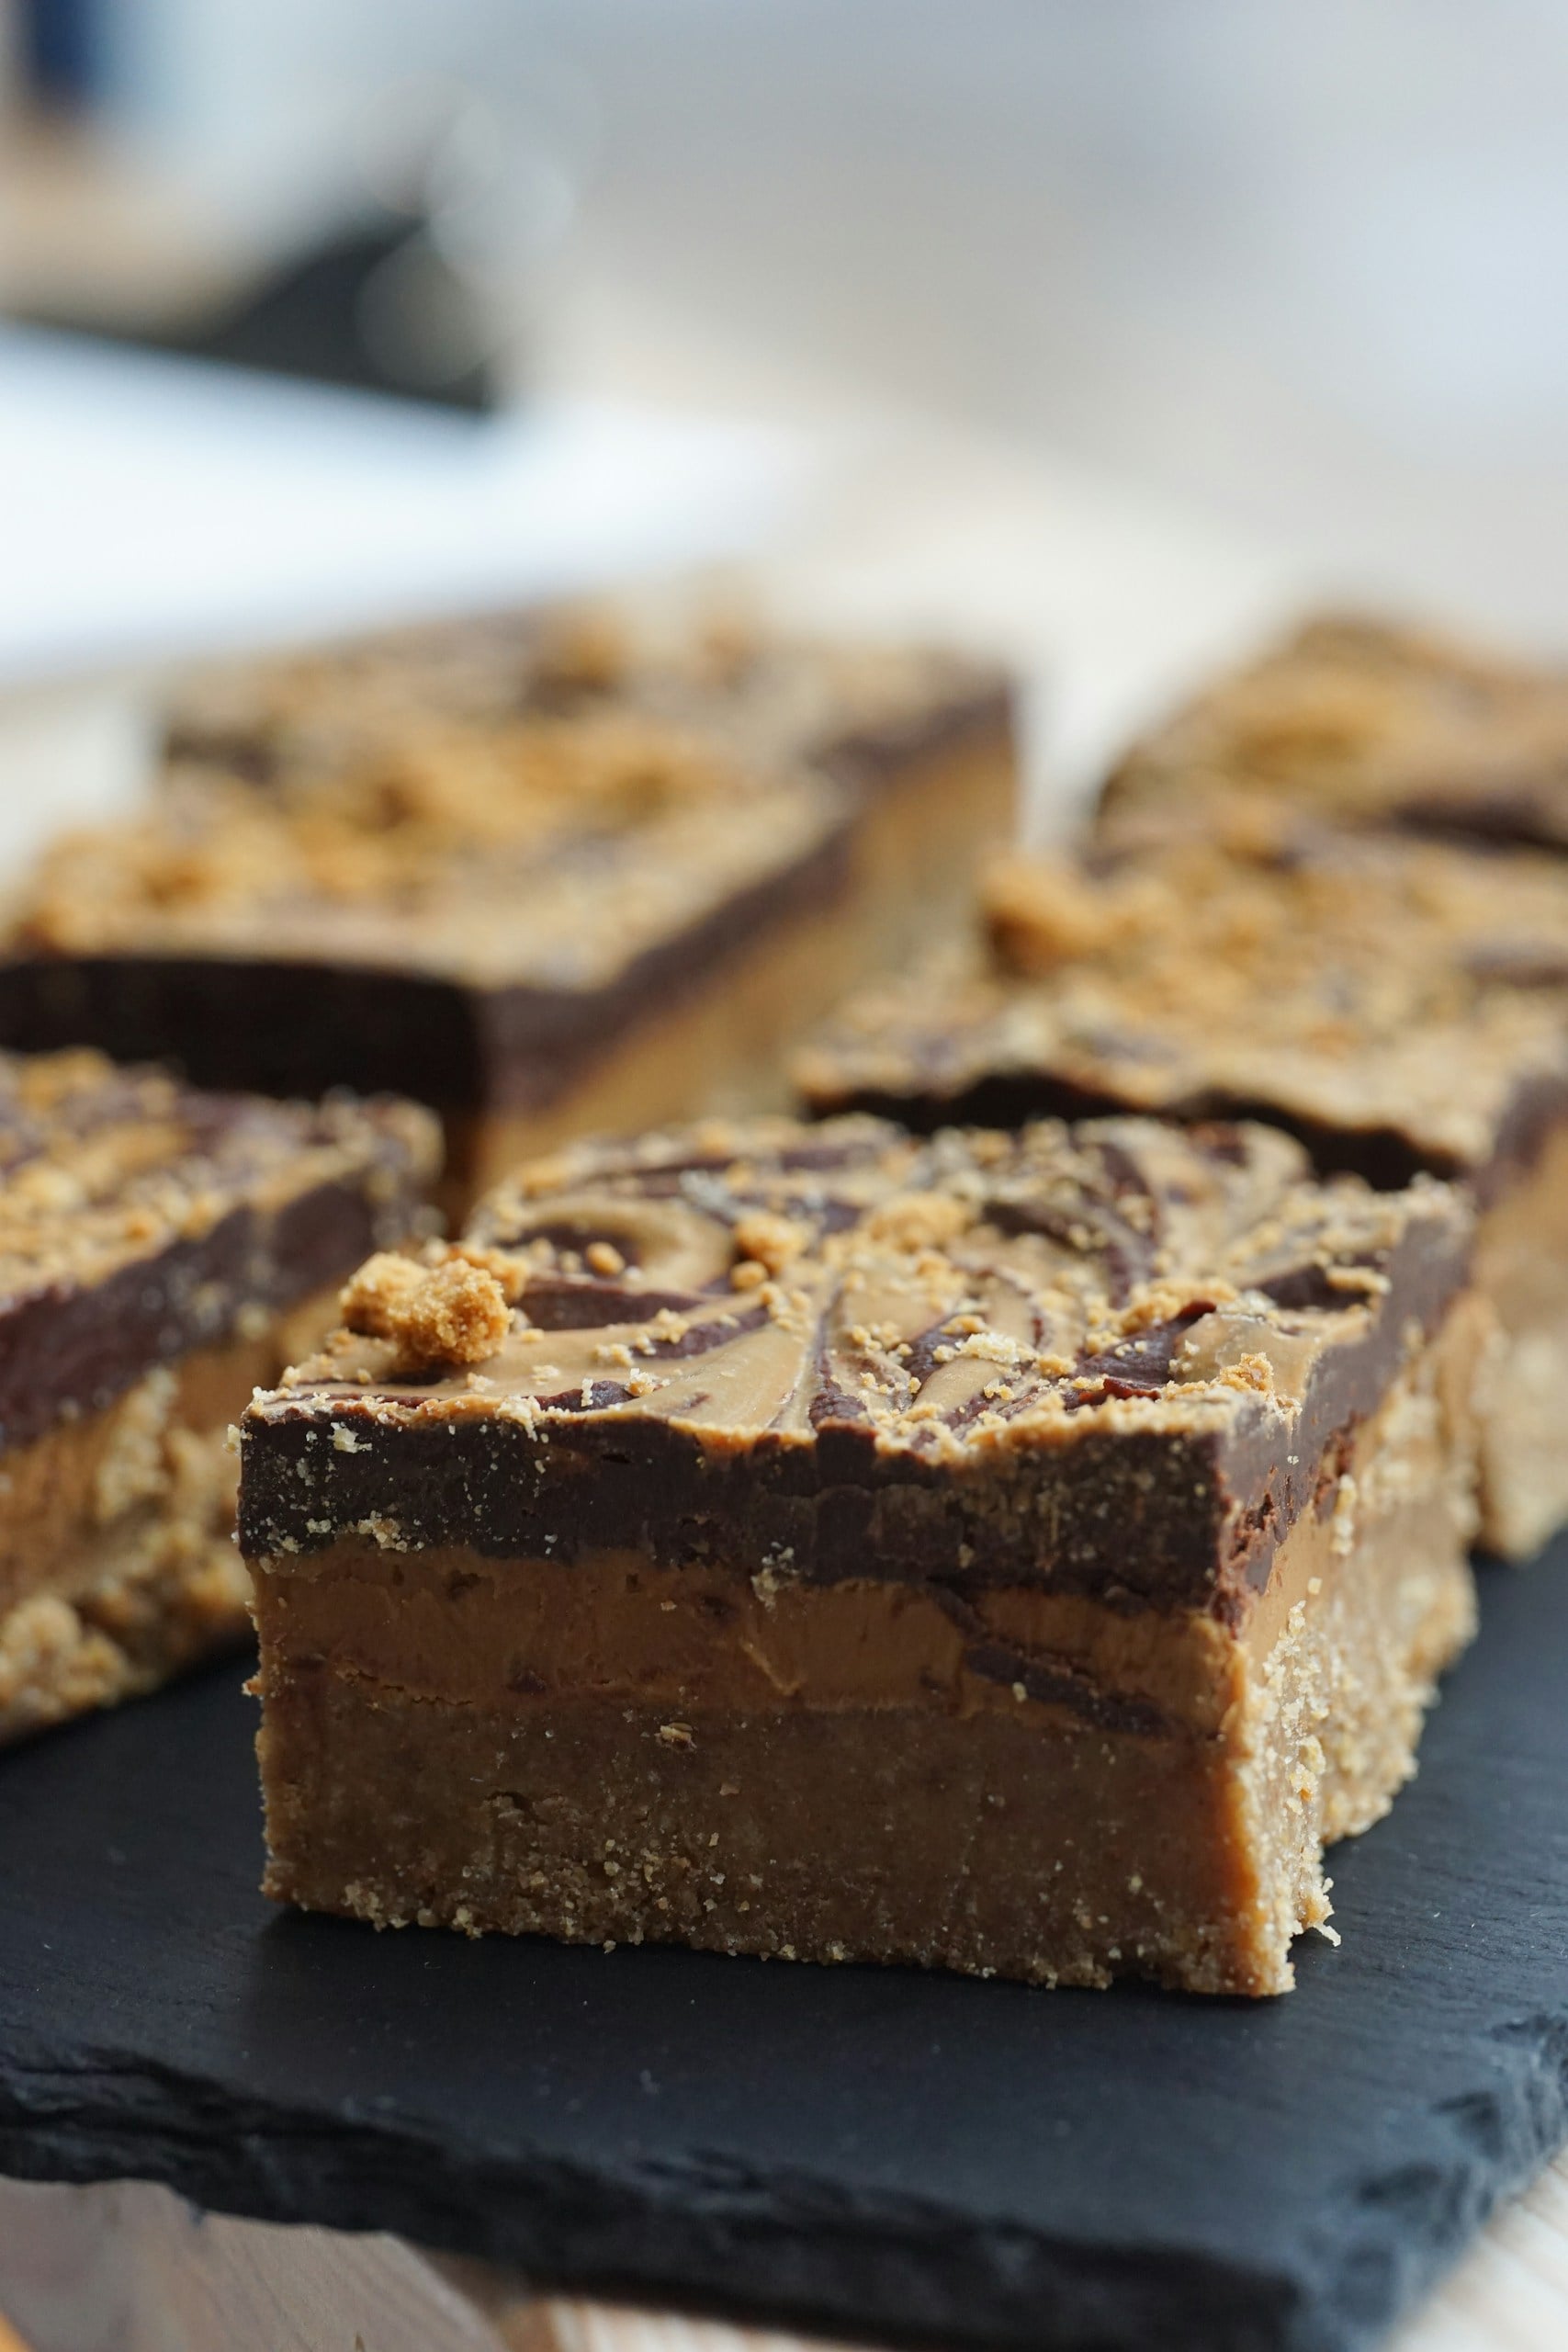
- Swirl It: For a fun and simple finish, drizzle some warm peanut butter over the melted chocolate layer, while the chocolate is still warm, and use a toothpick to swirl it into patterns for a fun presentation!
These simple additions instantly transform the bars into a festive dessert that fits birthdays, holidays, game days, and celebrations throughout the year. And the best part is that these variations require almost no extra effort, making it easy to keep this recipe feeling fresh and exciting whenever you make it.
Make-Ahead, Freezer, and Warm Weather Storage Tips
These No-Bake Peanut Butter Bars are a fantastic make-ahead dessert because they actually benefit from a little time in the refrigerator. Making them several hours in advance—or even the day before serving—allows the peanut butter layer to fully firm up and gives the flavors time to meld together. If you’re preparing for a party, holiday gathering, or special event, making them ahead of time can save valuable time and reduce last-minute kitchen stress.
For short-term storage, keep the squares in an airtight container in the refrigerator. They stay fresh for up to 1 week and maintain their rich, creamy texture throughout. If stacking layers, place a sheet of parchment paper between them to prevent sticking.
These bars also freeze very well! Once fully set, cut the squares and place them in a freezer-safe container, separating them with parchment paper. They can be frozen for up to three months. When you’re ready to enjoy them, transfer them to the refrigerator overnight or let them sit at room temperature for about 20 to 30 minutes before serving. They’re delicious when chilled, making them an indulgent yet refreshing summertime dessert.
Warm Weather Storage Tip: Because the filling and topping both soften as they warm, these bars are best kept chilled during hot weather. If serving outdoors at a summer barbecue, picnic, or potluck, consider placing the serving tray on a larger tray filled with ice, or bring them out shortly before serving. This helps maintain their shape and prevents the chocolate topping from becoming overly soft.
Troubleshooting Tips
Even though these no-bake peanut butter bars are incredibly easy to make, a few small issues can occasionally arise. Fortunately, most problems have simple solutions.
Too Soft
If the bars aren’t firm enough to slice cleanly, they likely need more time to chill. Refrigerate them for an additional hour or place them in the freezer for 15 to 20 minutes before cutting. Using natural peanut butter can also contribute to a softer texture.
Peanut Butter Base is Crumbly
A crumbly base is often caused by an incorrect ingredient ratio or overmixing. Be sure to measure carefully and mix only until the ingredients are fully combined. The mixture should be moist enough to roll into a ball and hold together when pressed into the pan.
Chocolate Won’t Spread Smoothly
Chocolate that is overheated or beginning to seize can become thick and difficult to spread. Melt it slowly using short intervals and stir frequently. If needed, add a small amount of butter or even coconut oil to help create a smoother consistency.
The Bars Stick to the Pan
For easy removal, line the pan with parchment paper and leave enough overhang on the sides so you can easily lift the entire slab of bars out of the pan before slicing.
No-Bake Peanut Butter Bars FAQs
Have a question before you get started? Here are a few quick answers to the most common questions about making no-bake peanut butter bars. If you don’t see your question here, feel free to ask in the comments below.
Can I Use Crunchy Peanut Butter?
If you want a little more crunch to your bars, crunchy peanut butter works great, and it adds extra texture throughout the filling. The bars may be slightly less smooth, but they’ll still set properly and have the same delicious peanut butter flavor.
Do These Bars Need to be Refrigerated?
Since this is a no-bake recipe, refrigeration helps the filling stay firm and keeps the chocolate topping from becoming too soft. For the best texture and cleanest slices, refrigerate until you’re ready to serve. They do not need to be refrigerated, but we suggest refrigeration for the best results with these bars.
Can I Make These Ahead for a Party?
These bars are perfect for making ahead. In fact, they’re one of the best make-ahead desserts because they require no baking and store beautifully. You can prepare them a day or two in advance and keep them refrigerated until serving, making party prep much easier.
Can I double this recipe?
This recipe doubles easily, making it even more appealing to make for parties! Use a 9×13-inch pan and allow a little extra chilling time so the bars set completely.
Why These No-Bake Peanut Butter Squares Never Go Out of Style
Whether you’re hosting a cozy family gathering, contributing to a cookie exchange, or simply treating yourself, these peanut butter bars are guaranteed to steal the spotlight and become a new favorite treat everyone asks for again and again–the kind of dessert that never goes out of style.
They find that perfect balance of rich and comforting, sweet and salty, that is impossible not to love. Plus, they’re easy to customize and store beautifully in the fridge or freezer, making them great for make-ahead treats, lunchbox desserts, or late-night snacks when a chocolate craving strikes.
I think that’s more than enough reasons to open up those pantry cabinets right now and get to (no-bake) baking these peanut butter bars!
More No-Bake Recipes You’ll Love
Love how easy these no-bake peanut butter bars are? Try more no-bake favorites like these recipes:
Connect With Us!
Did you make these no-bake peanut butter squares? Leave a comment or rating below; I’d love to hear how they turned out!