These layered patriotic popsicles solve one of the biggest problems with layered frozen treats: colors bleeding together and layers turning icy rather than staying smooth. Using thick fruit mixtures and a simple layering method gives clean red, white, and blue layers that hold up well in the freezer.

Made with fruit and yogurt, these popsicles are naturally colorful, kid-friendly, and lower in added sugar than many store-bought options. They’re ideal for Fourth of July parties, Memorial Day cookouts, Labor Day gatherings, summer BBQs, and pool parties.
Table of Contents
Why You’ll Love These Layered Patriotic Popsicles
Watermelon and blueberries keep the outer layers bright and fruity, while vanilla yogurt adds a creamy middle layer that balances the texture.
- Naturally colorful without artificial dyes
- Refreshing summer dessert
- Great for BBQs and cookouts
- Easy make-ahead treat
- Fun for kids
- Customizable for different diets
- Lower sugar than many store-bought frozen treats
They’re also easy to make ahead, making party prep much simpler. Serve them on their own or alongside other festive treats like our How to Make Easy Candied Popcorn With a Perfect Candy Shell for a complete holiday dessert spread.
Quick Ingredient Snapshot
These frozen treats use simple ingredients to create distinct layers, fresh fruit flavor, and a creamy texture.
Red Layer
- Frozen watermelon
- Lemon juice
- Unsweetened vanilla cashew or almond milk
White Layer
- Non-dairy vanilla yogurt
- Unsweetened vanilla cashew or almond milk
Blue Layer
- Frozen blueberries
- Unsweetened vanilla cashew or almond milk
Ingredients & Substitutions Notes
Before you start blending, here is a closer look at what each ingredient does and how to customize it if needed.
Want our human-written content to rank above AI-generated garbage? Help us out by clicking this button!
Watermelon “Red” Layer
These ingredients create the bright, refreshing base that gives the popsicles their naturally vibrant red color.
- Frozen Watermelon: Adds a light, refreshing flavor and helps create the recipe’s fruity base. Fresh watermelon can be used, but I chose frozen fruit for this recipe because it blends more smoothly.
- Lemon Juice: Brightens the watermelon’s flavor and helps balance its sweetness. Lime juice can be used if that’s what you have on hand.
- Unsweetened Vanilla Cashew or Almond Milk: Helps the mixture blend smoothly without overpowering the fruit. Any unsweetened plant-based milk, including oat milk, can be substituted.
Vanilla “White” Layer
The creamy middle layer adds richness and creates a beautiful contrast with the colorful fruit layers.
- Non-Dairy Vanilla Yogurt: Gives the middle layer its creamy texture and subtle vanilla flavor. It also creates a nice contrast to the fruit layers. Plain dairy-free yogurt works well if you prefer less sweetness, while Greek-style dairy-free yogurt will produce an even thicker layer.
- Unsweetened Vanilla Cashew or Almond Milk: Thins the yogurt slightly, making it easier to pour into the molds. Most unsweetened plant-based milks can be used as a substitute.
Blueberry “Blue” Layer
These simple ingredients create a bold berry layer that completes the festive red, white, and blue look.
- Frozen Blueberries: Add concentrated berry flavor and blend into a smooth puree. Fresh blueberries can also be used.
- Unsweetened Vanilla Cashew or Almond Milk: Helps blend the blueberries into a smooth puree while maintaining a rich fruit flavor. Substitute with another unsweetened non-dairy milk if desired.
Ingredient Tips
Keep these simple tips in mind to create smooth layers and the best possible texture.
- Frozen fruit creates thicker layers and helps prevent colors from mixing.
- Unsweetened plant-based milk keeps the fruit flavors front and center.
- For the best texture, use a thick dairy-free yogurt rather than a drinkable yogurt.
- If you enjoy dairy-free baking and snacks, pair these popsicles with our Vegan Banana Zucchini Muffins with Blueberries for another family-friendly treat packed with fruit flavor.

Printable Layered Patriotic Popsicles Recipe Card
Ingredients
Watermelon "Red" Layer
- ½ cup frozen watermelon slightly thawed
- 1 tsp. lemon juice
- 1 tbsp unsweetened vanilla cashew or almond milk
Vanilla "White" Layer
- 1 (5.3 oz.) container non-dairy Vanilla Yogurt
- 3 tbsp unsweetened vanilla cashew or almond milk
Blueberry "Blue" Layer
- 1 cup frozen blueberries slightly thawed
- 1 tbsp vanilla unsweetened cashew or almond milk
Instructions
- Step 1: Prepare the Popsicle MoldsSet out six 5-ounce paper cups and six popsicle sticks.
- Step 2: Make the Red LayerAdd the frozen watermelon, lemon juice, and almond or cashew milk to a high-powered blender.Then blend them until smooth, afterwards, divide evenly among the paper cups.And freeze for about 10 minutes, or until slightly set.
- Step 3: Make the White LayerWash the blender thoroughly. Add the non-dairy vanilla yogurt and almond or cashew milk, and blend until smooth.Pour the white mixture evenly over the red layer. Then, insert the popsicle sticks and freeze for 15 minutes.
- Step 4: Make the Blue LayerAdd the frozen blueberries and almond or cashew milk to the blender, then blend them until smooth.Next, remove the cups from the freezer and carefully pour the blueberry mixture over the white layer.Adjust the popsicle sticks so they remain centered.
- Step 5: Freeze Until FirmFreeze for 4–6 hours, or until completely firm.To serve, run the outside of the paper cup under warm water for a few seconds and gently pull the popsicle free.
Notes
- Frozen fruit creates thicker layers and helps prevent colors from bleeding together.
- Allow each layer to partially set before adding the next layer.
- Use a thick non-dairy yogurt for the cleanest white layer.
- If the fruit mixture seems too thick, add a small splash of milk to help it blend.
- Do not overfill the cups, as the layers need room to freeze properly.
Doneness Cues
- The red layer should feel lightly set before adding the white layer.
- The white layer should hold the popsicle stick upright before adding the blueberry layer.
- The finished popsicles should be completely solid and easy to remove from the cup after freezing.
Storage
- Store popsicles in the freezer for up to 2 months.
- Once fully frozen, remove the paper cups and transfer the popsicles to a freezer-safe container or zip-top freezer bag.
- Separate layers of popsicles with parchment paper to prevent sticking.
- Keep frozen until ready to serve.
Nutrition
Essential Kitchen Tools
You don’t need any special equipment to make these patriotic popsicles, but these tools will make the process easier:
- High-powered blender
- Six 5-ounce paper cups
- Six popsicle sticks
- Measuring spoons
- Rubber spatula
- Small tray or baking sheet (for moving the popsicles in and out of the freezer)
How to Get Perfectly Layered Patriotic Popsicles
Before getting started, gather your ingredients and a few basic kitchen tools. Having everything ready will make the layering process much smoother and help you create clean, distinct layers.
Step 1: Prepare Your Popsicle Molds
Set out six paper cups and six popsicle sticks before you begin.
Having everything ready makes the layering process much easier once the mixtures are blended.
The cups should be arranged on a flat tray or surface that fits easily in your freezer.
Before you begin, use a marker to draw a fill line about two-thirds of the way up each 5-ounce paper cup (about 3⅓ ounces). This recipe makes 6 smaller popsicles, so do not fill the cups to the top.
Step 2: Blend the Red Layer
Add the watermelon, lemon juice, and non-dairy milk to a high-powered blender.
Blend until the mixture is completely smooth with no large fruit pieces remaining. Then pour the mixture evenly into the paper cups. Place the cups in the freezer for about 10 minutes.
The mixture should be bright red and smooth enough to pour easily. Also, the surface should feel slightly firm to the touch but not completely frozen. This helps support the next layer without mixing.
Step 3: Create the White Layer
Wash the blender thoroughly before making the next layer.
Add the vanilla yogurt and non-dairy milk, then blend until smooth and creamy. Carefully pour the white layer over the partially frozen red layer. Insert the popsicle sticks into the center of each cup.
Then, return the cups to the freezer for about 15 minutes.
The white layer should sit on top of the red layer without sinking or blending into it. Also, the white layer should be firm enough to hold the popsicle sticks upright before adding the final layer.
Step 4: Blend the Blue Layer
While the first two layers are chilling, add the blueberries and non-dairy milk to the blender.
Then blend them till the mixture is smooth and evenly colored.
Afterwards, remove the cups from the freezer and carefully pour the blueberry mixture over the white layer. If needed, adjust the popsicle sticks to keep them centered and upright.
The blueberry mixture should have a thick, smooth consistency and a deep blue-purple color. Also, the blue layer should remain on top of the white layer without immediately running down the sides.
Step 5: Freeze Until Firm
Transfer the cups back to the freezer and allow the patriotic popsicles to freeze completely. This typically takes several hours, depending on your freezer.
The tops should look completely frozen with no liquid remaining, and the popsicles should feel solid all the way through and should not bend when gently touched.
Step 6: Remove and Serve
When you’re ready to enjoy them, run the outside of each paper cup under cool water for a few seconds.
Then gently pull on the popsicle stick until it slides free.
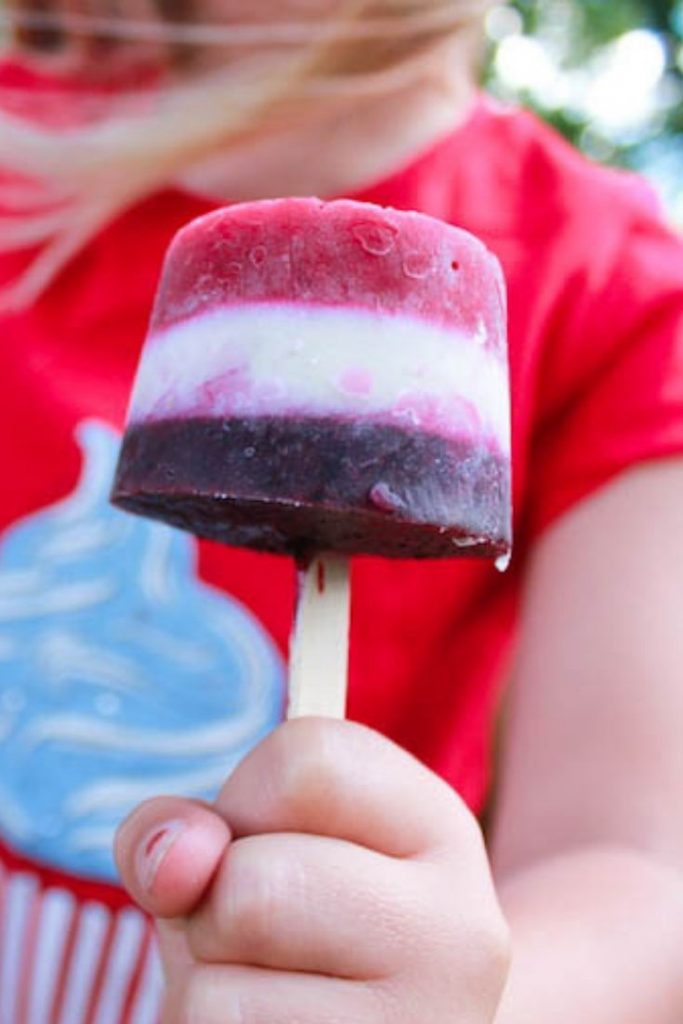
Avoid using hot water, as it can melt the outer layer and compromise the clean red, white, and blue appearance.
Your layered patriotic popsicles are now ready to serve at Fourth of July parties, Memorial Day cookouts, summer BBQs, or any warm-weather gathering.
Troubleshooting Layered Patriotic Popsicles
A few simple adjustments can help you get cleaner layers and a smoother texture:
- Layers mixed together: Freeze each layer until slightly firm before adding the next.
- Popsicles turned icy: Use thick fruit purées and yogurt, and avoid adding extra liquid.
- Popsicles will not release: Run the outside of the cup under cool water for a few seconds, then gently twist and pull.
- Layers look uneven: Divide each mixture evenly and freeze the cups on a level surface.
- Popsicles cracked: Do not overfill the cups, and let each layer partially set before adding another.
- Popsicles are too hard: Let them sit at room temperature for 1–2 minutes before serving.
Are you looking for another cool and creamy summer dessert? Try our Strawberry Banana Super Whip (Creamy Dairy-Free Dessert). It’s just as refreshing and easy to make.
Healthy Ingredient Swaps
These patriotic popsicles are made with simple ingredients and are easy to customize. Whether you’re accommodating dietary preferences or simply working with what you have in your kitchen, these swaps can help you create a version that works for you.
Dairy-Free Version
For a completely dairy-free treat, use coconut yogurt in place of traditional yogurt and coconut milk instead of other milk options. Both add creaminess while complementing the fruit flavors.
Low-Sugar Version
If you’d like to reduce the sugar content, start with naturally sweet, ripe fruit. Watermelon and blueberries become sweeter as they ripen, allowing you to reduce the amount of sweetener without sacrificing flavor.
Higher Protein Version
To make these popsicles more filling, replace the dairy-free yogurt with Greek yogurt. You can also blend a small amount of vanilla or unflavored protein powder into the white layer for an extra protein boost.
Paleo-Friendly Version
A paleo-friendly version is easy to make by using coconut yogurt, coconut milk, and naturally sweet fruit. Be sure to choose products made with simple ingredients and avoid unnecessary additives.
After enjoying these swaps, would you like to build a dessert spread for a holiday gathering? Don’t miss The Easiest Chocolate Peanut Butter Delight Dessert Everyone Loves for another crowd-pleasing treat.
If you’re looking for another layered dessert that has contrasting textures and flavors, try our Vegan PB Cookie Dough Layer Dessert.
Red, White, and Blue Popsicle Variations
Once you have the basic layering method down, it is easy to change the flavors while keeping the festive red, white, and blue look.
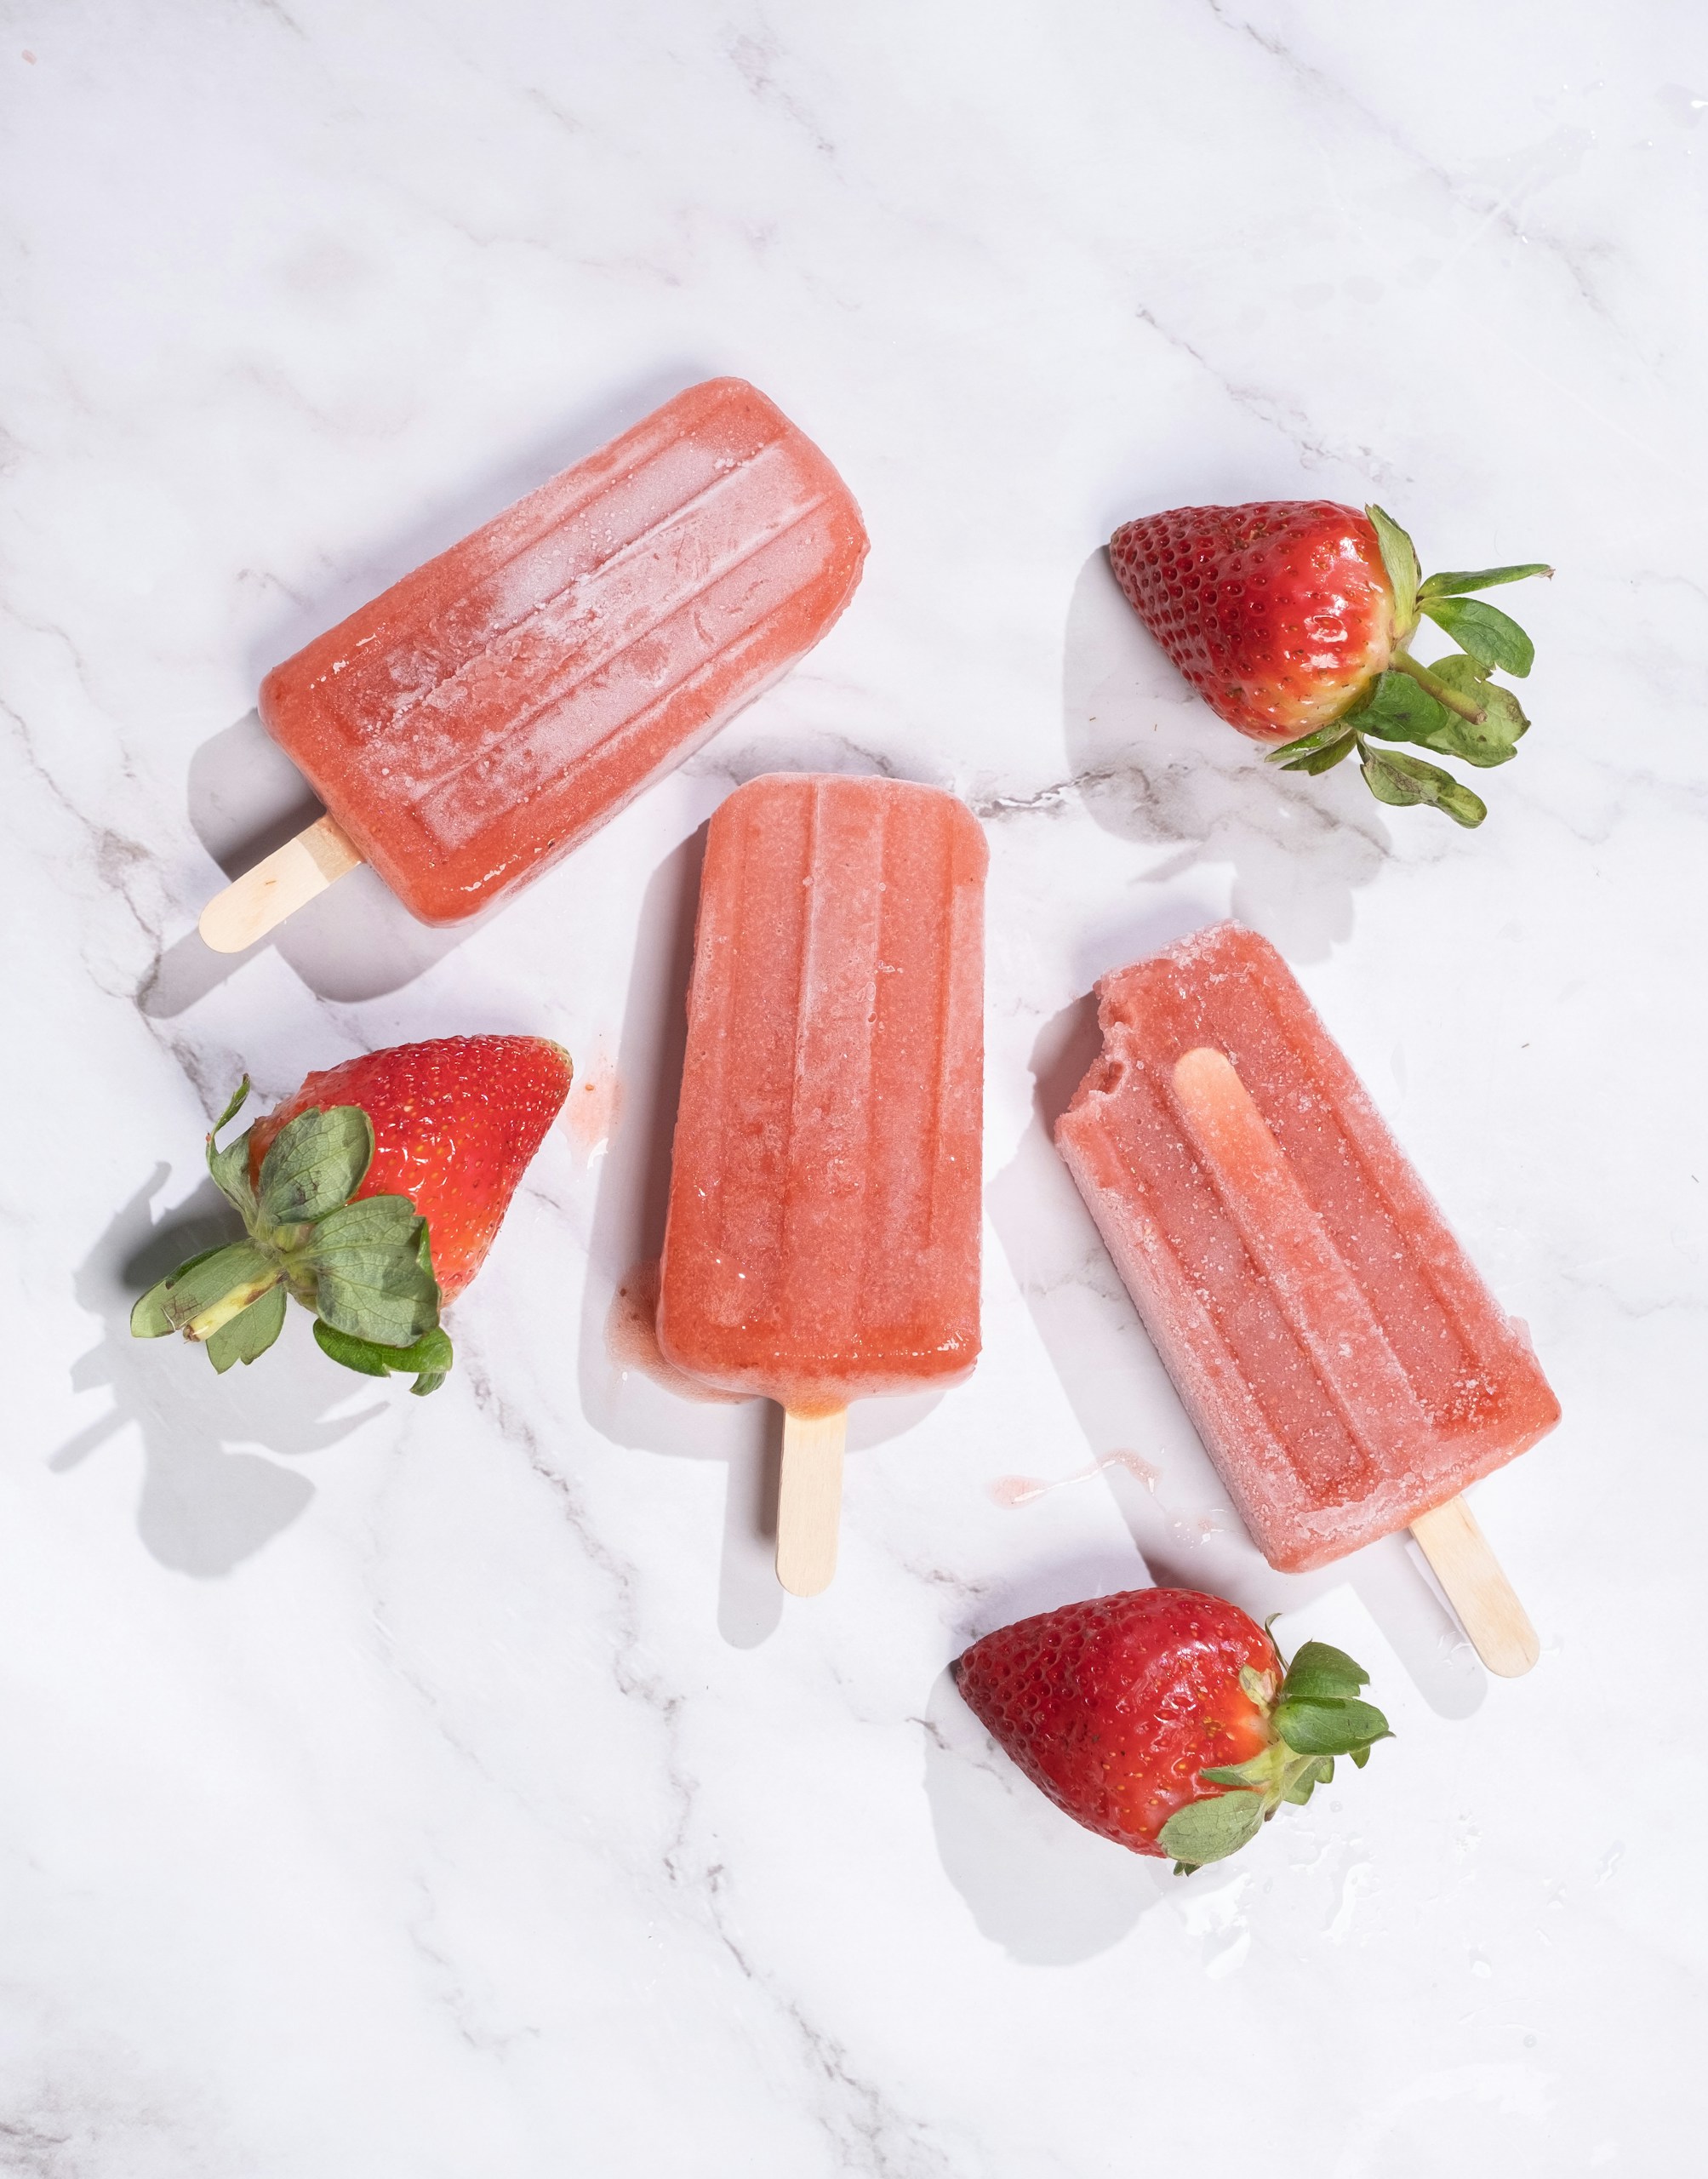
Try strawberries instead of watermelon for a brighter red layer, add banana or Greek yogurt to the white layer for extra creaminess, or use coconut yogurt for a dairy-free tropical twist. For a richer dessert-style version, blend cream cheese or dairy-free cream cheese into the white layer. You can also add a small amount of protein powder for a higher-protein option or combine watermelon and strawberries for an extra-fruity red layer.
Try another frozen treat with this thick, creamy Oreo Milkshake made with vegan ice cream, plant-based milk, and Oreo cookies.
5 Fun Ways Kids Can Help Make Patriotic Popsicles
Involving children in the process not only makes preparation more fun but also gets them excited about trying new fruits and flavors.

- Pick Fruit Combinations – Let kids choose fruits for each layer and experiment with different berry combinations.
- Pour the Layers – Older children can help pour each layer into the cups.
- Decorate Serving Trays – Kids can arrange frozen popsicles with berries and festive decorations.
- Help Assemble Ingredients – Younger children can help gather ingredients and add fruit to the blender.
- Create Their Own Flavor Combinations – Let each child design a custom red, white, and blue popsicle.
Making patriotic popsicles together can become a fun family tradition. And if your family enjoys seasonal desserts throughout the year, be sure to check out our Favorite Pumpkin Dessert Recipes for more kid-friendly baking inspiration.
Making Layered Patriotic Popsicles Ahead of Time
These popsicles are ideal for making ahead because they require several hours to freeze completely.

How Far Ahead Can You Make Them?
You can make layered patriotic popsicles several days before your celebration. Many people prepare them a day or two before Fourth of July parties and Memorial Day cookouts so they’re ready to serve straight from the freezer.
Best Freezer Storage Methods
Once the popsicles are fully frozen, remove them from the paper cups and transfer them to an airtight freezer-safe container or freezer bag. Separating layers with parchment paper can help prevent them from sticking together.
How Long Do Homemade Popsicles Last?
For the best flavor and texture, enjoy homemade popsicles within one to two months. While the fruit may remain safe to eat beyond that point, the fruit’s flavor and creamy texture are usually at their best during the first few weeks.
Preventing Freezer Burn
Freezer burn occurs when frozen treats are exposed to air for extended periods. To help prevent it, store the popsicles in an airtight container and remove as much excess air as possible before sealing. This helps preserve both flavor and texture.
Transporting Popsicles to Parties
If you’re taking layered patriotic popsicles to a party or cookout, keep them in an insulated cooler packed with ice packs. Leave them in the cooler until just before serving to maintain their shape and prevent melting during transport.
What to Serve With Layered Patriotic Popsicles
Serve these layered popsicles with a fresh fruit platter, berry dessert, or other easy summer treats. For a festive frozen dessert spread, pair them with these Frozen Watermelon Crème Bars and Strawberry Ice Cream Sandwiches. They also go well with fruit skewers, grilled peaches, or a simple berry crisp.

Layered Patriotic Popsicle FAQs
These are some of the most common questions readers ask about homemade patriotic popsicles. If you can’t find yours, drop it in the comments.
Can I Use Regular Popsicle Molds Instead of Paper Cups?
Absolutely. Standard popsicle molds work just as well as paper cups and can create a more uniform shape. Just make sure each layer has time to partially freeze before adding the next one.
Can I Make Patriotic Popsicles Without Popsicle Sticks?
Sure, you can. Simply freeze the layers in small paper or dessert cups, then serve with spoons. This option works especially well for younger children and party dessert tables.
Can I Make Mini Patriotic Popsicles?
Of course, you can. Mini popsicle molds are perfect for younger children, party platters, and dessert tables with multiple treats. The freezing time may be slightly shorter because of the smaller size.
Can I Use Fresh Fruit Instead of Frozen Fruit?
You can, but frozen fruit generally creates thicker mixtures that are easier to layer. If using fresh fruit, you may need to freeze it briefly before blending to achieve a similar consistency.
How Can I Make the Colors More Vibrant Naturally?
Using ripe fruit is the easiest way to intensify the colors. Ripe watermelon creates a brighter red layer, while deeply colored blueberries produce a richer blue layer without the need for artificial food coloring.
More Tasty Desserts to Try
Still deciding what else to make? These desserts give you a few different directions to go: fruity, creamy, chocolatey, or fully dairy-free.
- Dairy-Free Strawberry and Cream Dessert with Cocoa Pecan Crunch: A creamy strawberry dessert with a cocoa-pecan crunch topping. It is a nice choice when you want something fruity that feels a little more dressed up.
- No-Bake Strawberry Pie: Fresh strawberries, a graham cracker crust, and a creamy whipped topping come together in a pie that chills until sliceable—no oven needed.
- Chick-fil-A Ice Cream Recipe: Make a rich, creamy homemade ice cream when you are craving a classic drive-thru-style frozen dessert without leaving the house.
- Chocolate Pudding Vegan Ice Cream: For chocolate lovers, this dairy-free ice cream uses coconut milk and cocoa for a deeply chocolatey, creamy treat.
- Frozen Peanut Butter Banana Chocolate Cups: These little freezer cups have a creamy banana-peanut butter filling inside a crisp chocolate shell, making them easy to grab when a sweet craving hits.
Whether you are in the mood for berries, chocolate, or something extra creamy, there is an easy dessert here to round out your menu.
Tell Us Your Experience
Have you made these layered patriotic popsicles? We’d love to hear how they turned out!
Share your favorite red, white, and blue flavor combination, any ingredient swaps you made, or your best layering tips in the comments below. Your feedback helps other readers create these festive frozen treats with confidence.