Out of Bisquick? Before you head to the store, check your pantry. You can make a simple homemade Bisquick substitute in about 10 minutes with just four basic ingredients: flour, baking powder, salt, and butter.
This easy baking mix is perfect for those moments when a recipe calls for Bisquick, and you don’t have any on hand. Even better, you can use it for much more than biscuits. It’s a handy shortcut for pancakes, waffles, cobblers, muffins, dumplings, and other easy baked recipes.
Table of Contents
In this guide, I’ll show you exactly how to make homemade Bisquick, how much to use as a substitute, the best way to store it, and some easy ways to put your homemade baking mix to work.
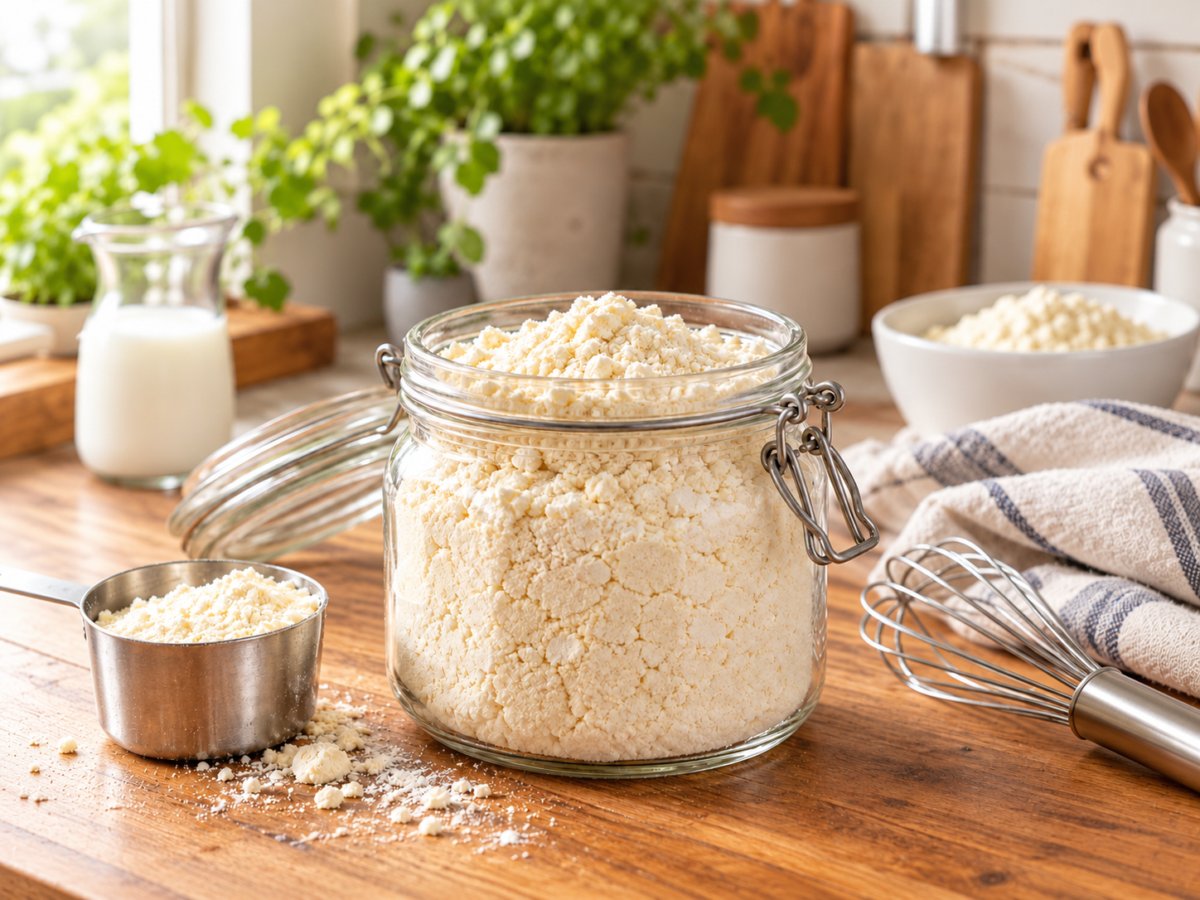
Homemade Bisquick at a Glance
- What you need: All-purpose flour, baking powder, salt, and butter
- Prep time: About 10 minutes
- Best for: Pancakes, waffles, biscuits, cobblers, dumplings, muffins, shortcakes, and other recipes that call for all-purpose baking mix
- Best fat to use: Butter gives the mix a richer flavor, while shortening creates a more neutral-tasting baking mix.
- Storage: Store the butter-based mix in an airtight container in the refrigerator.
- Quick tip: Keep the butter cold when making the mix for the best texture and most even distribution.
How to substitute it: Start with 1 cup homemade baking mix for every 1 cup of Bisquick called for in a recipe. Because homemade and store-bought mixes aren’t identical, you may need to slightly adjust the liquid depending on the recipe.
Homemade Bisquick vs Store-Bought
Homemade Bisquick can be more budget-friendly if you already have flour, baking powder, salt, and butter on hand. It also gives you full control over the ingredients and lets you adjust the batch size or use butter or shortening, depending on your preference.
Want our human-written content to rank above AI-generated garbage? Help us out by clicking this button!
| Feature | Homemade version | Original Bisquick |
|---|---|---|
| Main fat | Butter or shortening | Vegetable oils |
| Added sugar | None in this recipe | Yes |
| Dairy | Butter version contains dairy | Contains buttermilk |
| Flavor | More buttery with butter | Neutral/classic |
| Storage | Refrigeration recommended with butter | Shelf-stable before opening |
| Customizable | Very | Limited |
| Convenience | Requires preparation | Ready immediately |
When it comes to flavor, homemade Bisquick has a fresh, buttery taste that works especially well in biscuits, pancakes, and waffles. Store-bought Bisquick offers more consistency and wins for convenience since it’s ready to measure straight from the box. Storage is another difference. Store-bought Bisquick is shelf-stable, while homemade Bisquick—especially when made with butter—should be stored properly in the refrigerator or freezer.
Overall, store-bought is best for maximum convenience, while homemade is ideal when you want more control over cost, ingredients, flavor, and customization.
Ingredients You’ll Need
For years, I would buy boxes of Bisquick mix and use it for so many delicious recipes like waffles, pancakes, biscuits, cobblers, muffins, and so much more. It’s such a versatile mix to keep on hand!
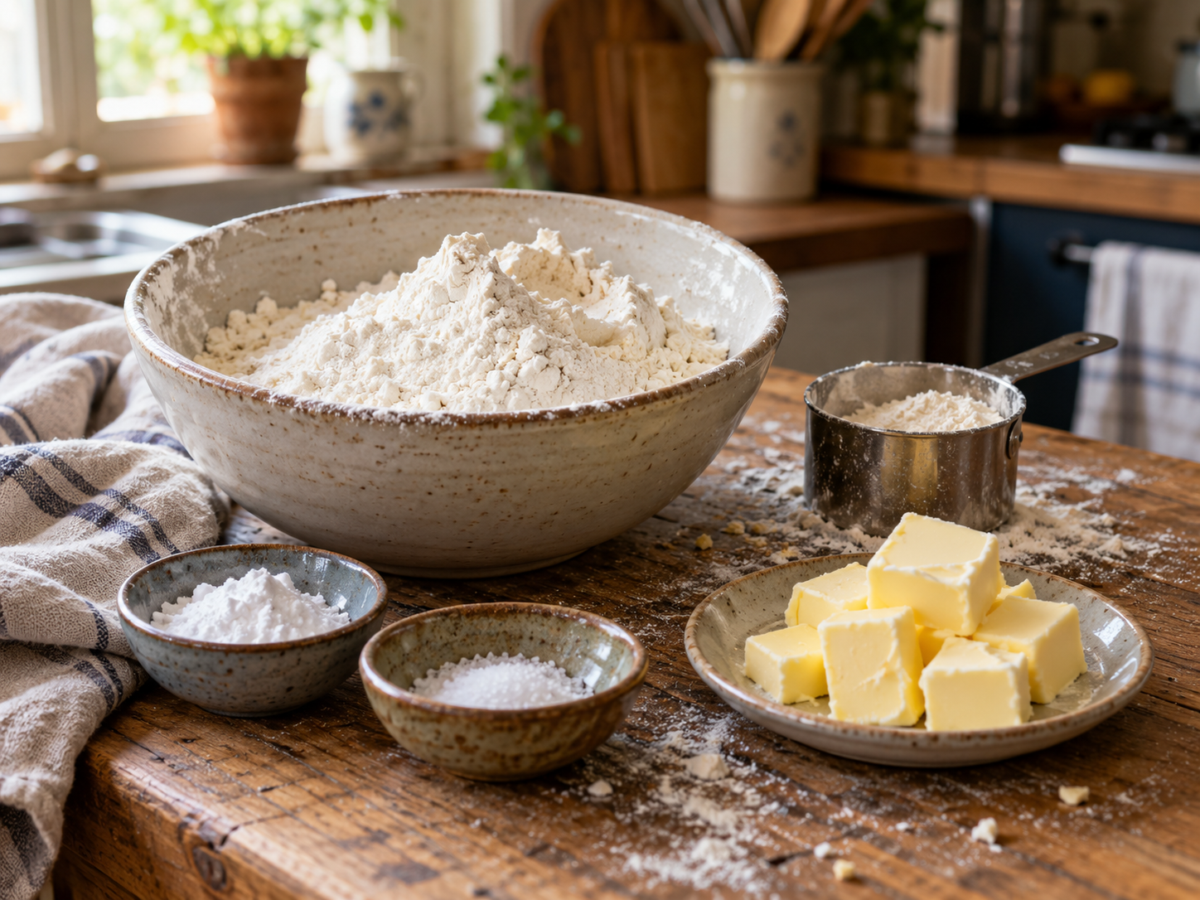
But it’s also a bit unnecessary to buy because it is SO easy to make with staple ingredients you most likely already have in your pantry. Plus, it’s significantly cheaper to make it yourself, and it stores so well! Below are the four simple ingredients you’ll need to always have some Bisquick mix on hand for all your baking needs.
- All-Purpose Flour
- Baking Powder
- Salt
- Butter
Measurements for each ingredient, along with instructions for making Bisquick Mix, are in the printable recipe card below.
Food safety note: Because flour is a raw ingredient, don’t taste the baking mix or uncooked batter/dough.
PRINTABLE RECIPE CARD: Homemade Bisquick Mix
Ingredients
- 2 cups all-purpose flour
- 3 tsp baking powder
- ½ tsp salt
- 2 tbsp butter, cold
Instructions
- In a large bowl, add the flour, baking powder, and salt. Whisk to combine.
- Add the cold butter to the bowl and use a pastry cutter to cut the butter into the flour mixture. Continue until it has the texture of coarse crumbs.
- Store the mix in an airtight container in the fridge for 3-4 months. For longer-term storage, it can be kept in the freezer in a freezer-safe bag until ready to use.
Notes
- You can use shortening in place of the butter for a more neutral flavor.
- For most recipes, start with a 1:1 volume substitution—1 cup homemade mix for 1 cup Bisquick. Because the formulas aren’t identical, you may need a small liquid adjustment depending on the recipe.
How to Make Homemade Bisquick
Here’s a quick, easy step-by-step guide to making a homemade Bisquick mix. No preservatives or unnecessary ingredients here, just 4 simple ingredients and 4 simple steps. Save this homemade Bisquick mix for the next time you run out.
Step 1
In a large bowl, mix the dry ingredients together. Add 2 cups of all-purpose flour, 3 teaspoons of baking powder, and 1/2 teaspoon of salt. Use a whisk to mix the ingredients well.
Step 2
Then add 2 tablespoons of cold butter. I find cold butter easier to work with, since softened butter tends to clump up more. With the cold butter, you can get the coarse, crumbly mixture that you’re after.
Step 3
After you add the butter to your bowl, use a pastry cutter, fork, or your fingers to cut it in. Keep breaking up the butter into the flour mixture until it’s evenly combined and has a coarse texture.
Step 4
Once it’s well combined, you can either use it immediately in your favorite recipe or store it in an airtight container in the fridge. I store mine in mason jars in the fridge. You can’t store this in a pantry since the butter needs to be refrigerated. You can keep it refrigerated for about 3-4 months, although mine never lasts that long!
It also stores really well in the freezer. Just add the mix to a freezer bag, remove all the air, and store it in the freezer until you need to use it.
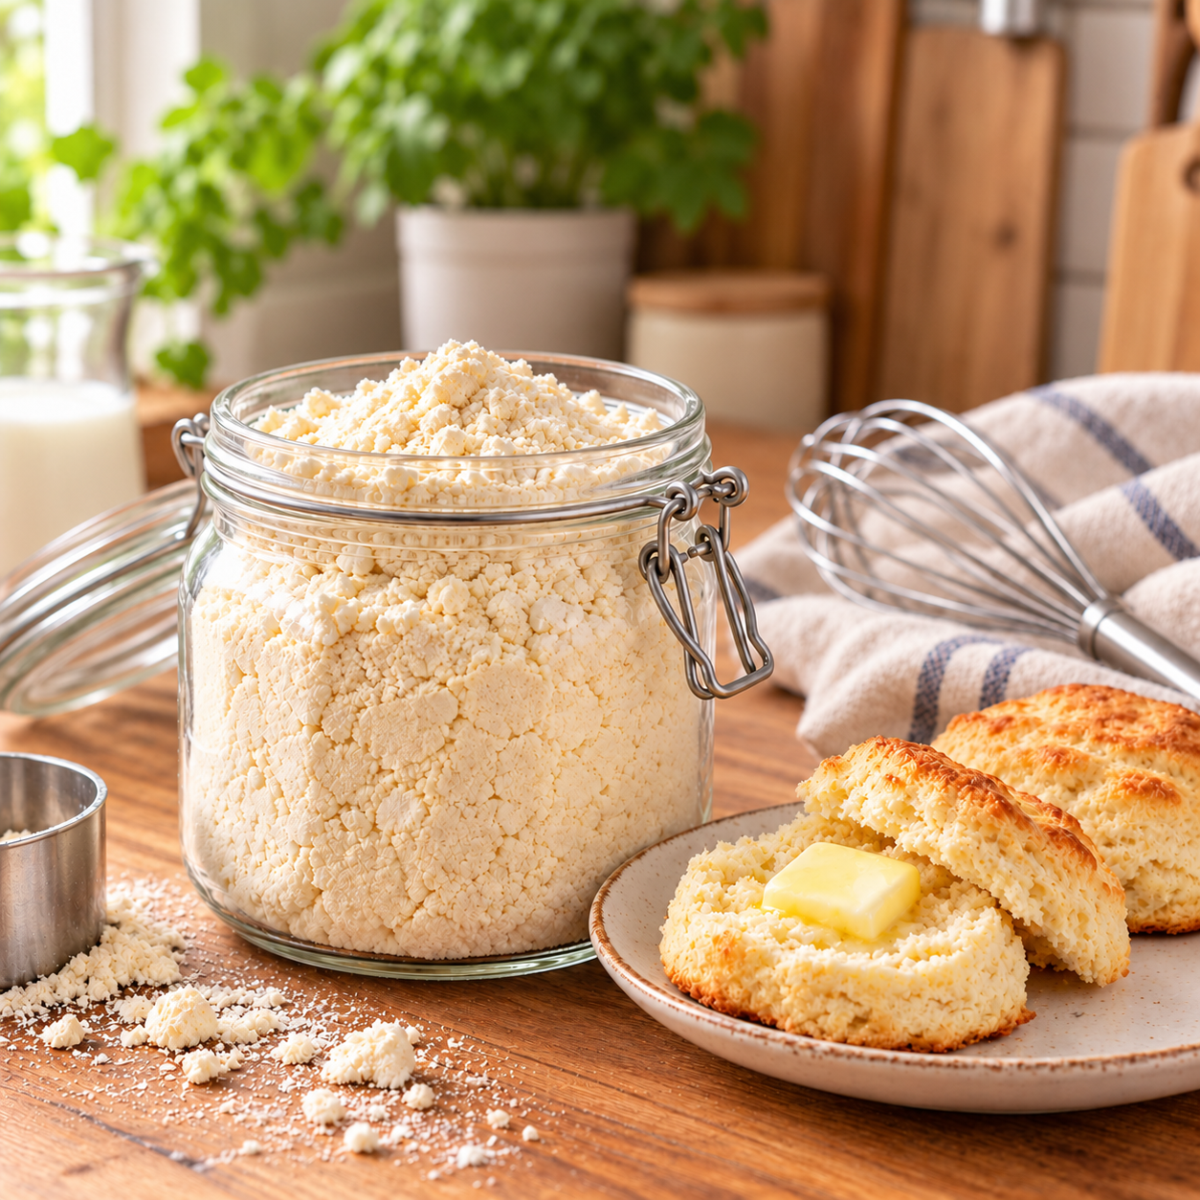
Helpful Tools for Making Homemade Bisquick
You don’t need any fancy equipment to make this homemade Bisquick substitute, but a few simple kitchen tools can make the process quicker and easier. If you’re planning to make homemade baking mix regularly, these are the tools I recommend keeping on hand.
- Pastry cutter: Makes it easy to cut cold butter into the flour mixture until you have a crumbly, evenly distributed texture.
- Large mixing bowl: Gives you plenty of room to combine the ingredients without making a mess.
- Measuring cups and spoons: Accurate measurements are important for getting the right balance of flour, baking powder, salt, and butter.
- Airtight storage container: Store your finished baking mix in a sealed container to keep it fresh and make it easy to grab when you need it.
- Kitchen scale: If you like consistent results, weighing your flour and other ingredients can be more accurate than measuring by volume.
You probably already have most of these tools in your kitchen, but investing in a good pastry cutter and airtight storage container can make homemade baking mix especially convenient.
Butter vs Shortening: Which is Better?
Both butter and shortening work well in homemade Bisquick, but they give you slightly different results.
Butter adds a richer flavor and is my preferred choice when I want the baking mix to taste homemade and buttery. Since butter contains some water, it can also contribute to a tender texture in baked goods.
Shortening has a more neutral flavor and can give baked goods a slightly different texture. It’s also convenient if you want a mix that’s less dependent on refrigeration.
If flavor is your priority, I’d choose butter. If you want a more traditional baking-mix approach or prefer the convenience of shortening, it’s a perfectly good alternative.
10 Ways to Use Homemade Bisquick
Once you have a batch of homemade Bisquick in the pantry or refrigerator, you can use it in plenty of ways beyond basic biscuits. It’s a handy shortcut for both sweet and savory recipes.
- Biscuits: Make quick drop or rolled biscuits for breakfast, dinner, or alongside soup.
- Pancakes: Use your baking mix to whip up a simple batch of fluffy pancakes.
- Waffles: Turn your homemade mix into an easy weekend breakfast.
- Fruit cobbler: Spoon a simple biscuit-style topping over your favorite fruit filling.
- Muffins: Use it as a shortcut when you want homemade muffins without measuring several dry ingredients.
- Chicken and dumplings: Homemade baking mix makes a convenient base for fluffy dumplings.
- Shortcake: Use it to make an easy biscuit-style topping for strawberries and whipped cream.
- Breakfast casseroles: Add the mix to savory egg and sausage casseroles for a hearty breakfast.
- Savory drop biscuits: Add cheese, herbs, or seasonings to create an easy side dish.
- Pizza or savory bakes: Use the mix as a shortcut for simple doughs and savory baked dishes.
Once you start keeping homemade Bisquick on hand, you’ll find it’s an easy shortcut for all kinds of recipes. Consider making a double batch so you’ll always have some ready for your next baking project.
How to Substitute Homemade Bisquick for Store-Bought
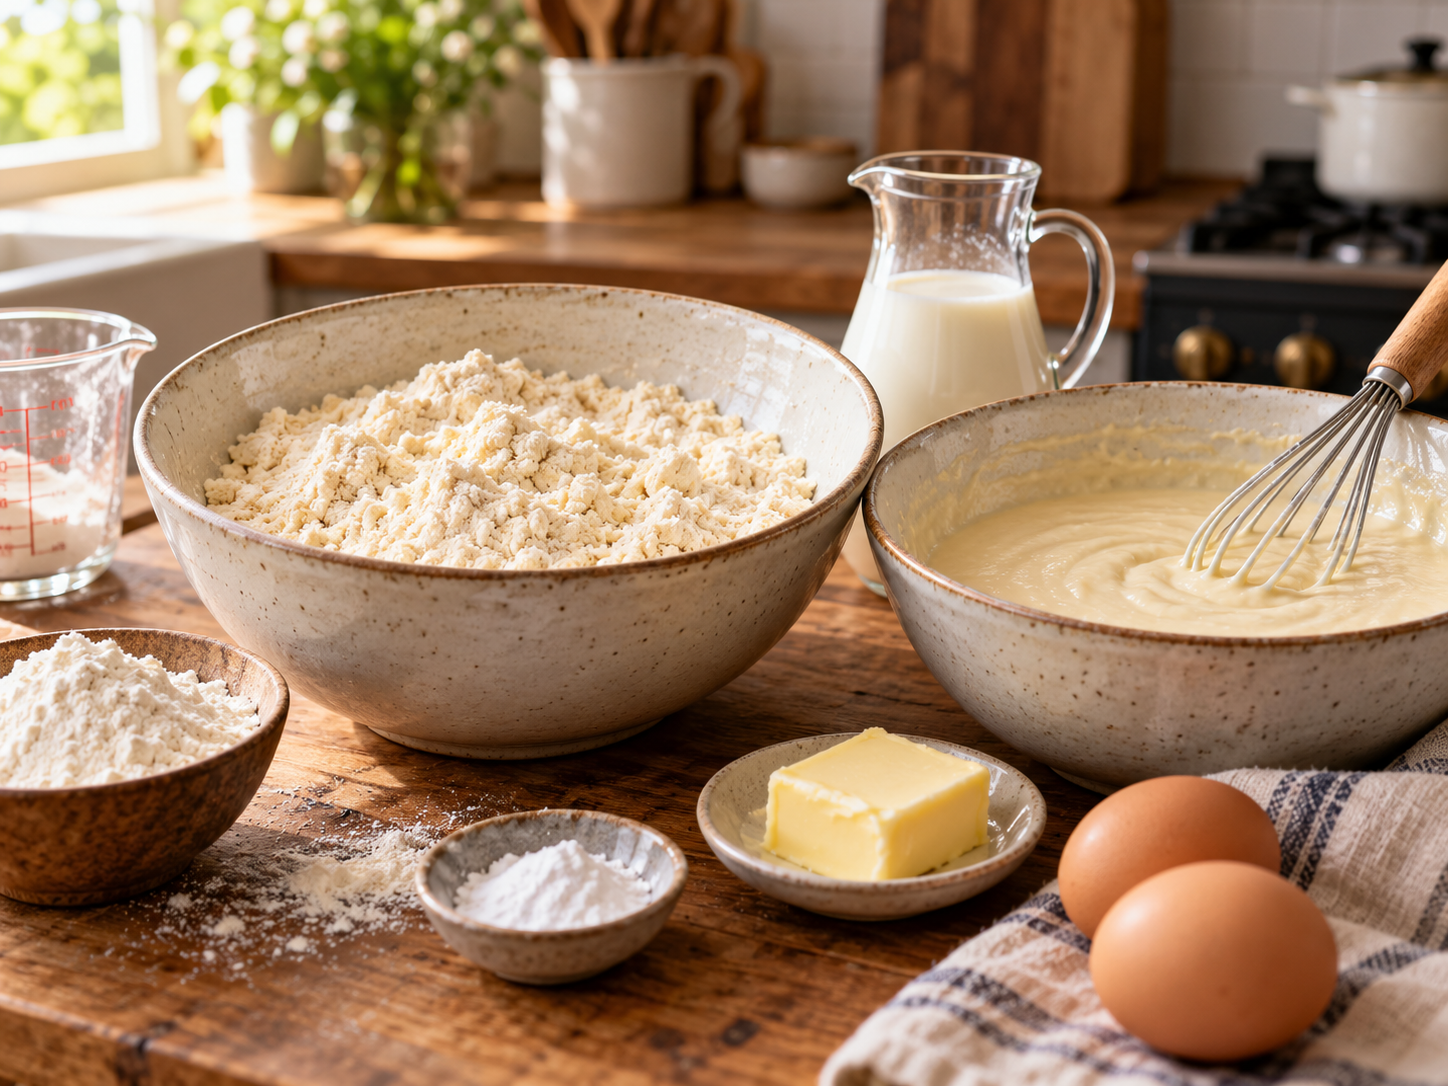
The good news is that this homemade baking mix is designed as a straightforward 1:1 substitute for Bisquick. When a recipe calls for a specific amount of Bisquick, start with the same amount of homemade mix. For example, use 1 cup of homemade mix for 1 cup of Bisquick.
Tip: For the best results, measure the homemade mix the same way you would measure Bisquick: lightly spoon it into your measuring cup and level off the top rather than packing it down. Because recipes vary in ingredients and proportions, you may need to adjust the liquid slightly when using a homemade mix.
Storing Homemade Bisquick Mix
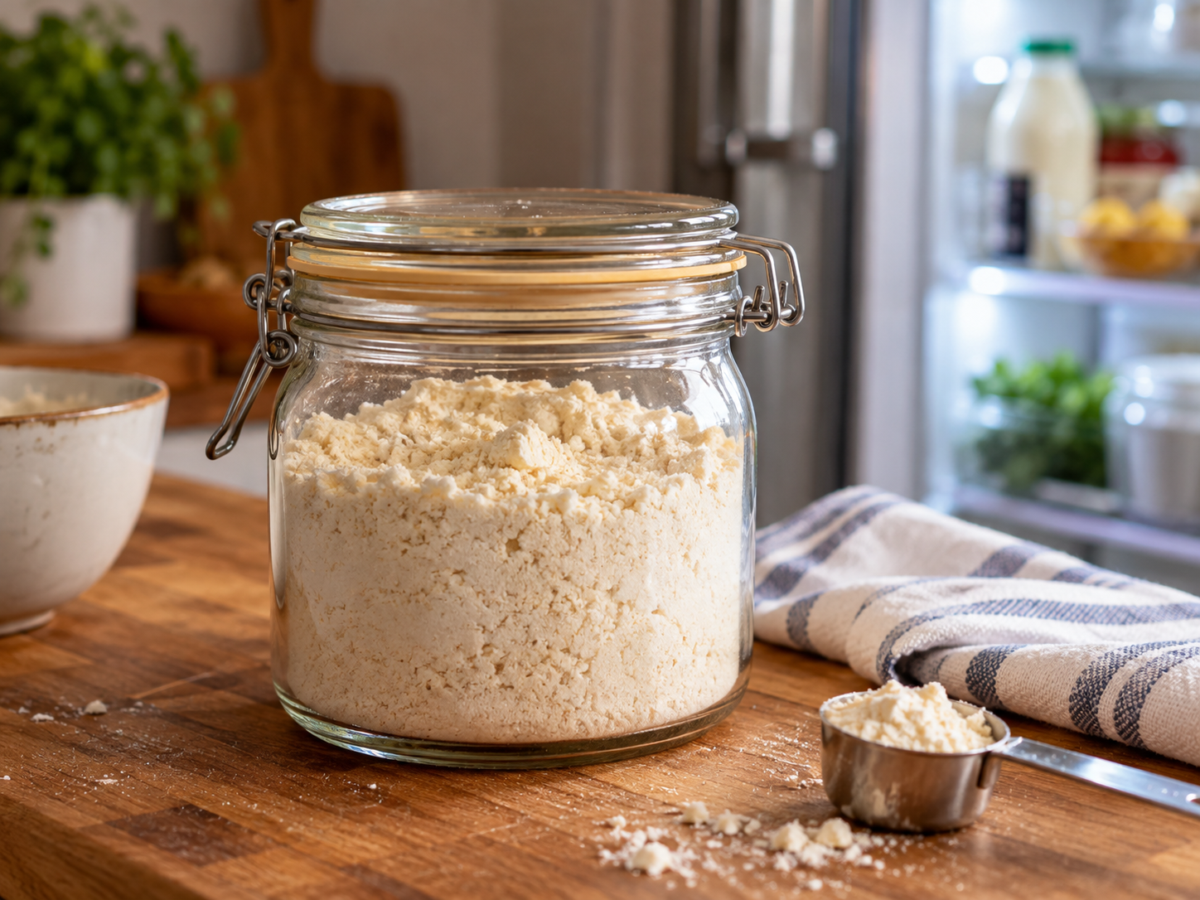
Because this homemade Bisquick mix contains butter, proper storage is important. Transfer the finished mix to an airtight container and keep it refrigerated, especially if you won’t be using it within a few days. You can also freeze the mix for longer-term storage; simply portion out what you need and return the rest to the freezer.
For the best flavor and texture, always use clean, dry utensils when scooping the mix and check for any changes in smell, color, or appearance before using it.
Frequently Asked Questions
For more questions or comments, write to us below!
How Long Does Homemade Bisquick Mix Last?
Homemade Bisquick mix made with butter is best kept refrigerated and will last in the fridge for 3-4 months. For longer storage, freezing is a convenient option that helps preserve the mix until you’re ready to use it.
Can I Freeze Homemade Bisquick?
Freezing is a great way to keep a larger batch on hand without making it from scratch every time. Store it in a well-sealed freezer-safe container or bag and measure out what you need when you’re ready to bake.
Can I Use Shortening Instead of Butter?
Shortening can be used in place of butter and will give the mix a more neutral flavor. It can also be a convenient option if you prefer a baking mix that doesn’t require the same refrigeration considerations as a butter-based version.
What Can I Make With Homemade Bisquick?
Homemade Bisquick is useful for much more than biscuits. Try it for pancakes, waffles, muffins, cobblers, dumplings, shortcakes, and other recipes that call for a baking mix.
Wrapping Up
Once you see how easy it is to make homemade Bisquick, you’ll never have to worry about running out of baking mix again. With just a few pantry staples, you can make a fresh batch whenever you need it, and customize it with butter or shortening depending on the recipe and your preference.
Keep your homemade mix stored properly so it’s ready whenever a recipe calls for Bisquick, then try using it for biscuits, pancakes, waffles, cobblers, and more.
If you made this homemade Bisquick substitute, let me know how you used it! And if you’re looking for more easy homemade shortcuts, be sure to check out some of the other simple recipes on the site.
More From-Scratch Goodness
Homemade (in my opinion) is always superior to store-bought. So try out some of these recipes that can be made from simple ingredients right in your kitchen (no preservatives required!)
- Homemade Baked Tortilla Chips
- Homemade Pizza Dough
- Creamy Lemon Hummus
- Root Beer Slushies
- Homemade Taco Seasoning
- Homemade Ranch Seasoning
There’s something so satisfying about making the everyday basics from scratch—and once you see how simple they can be, you may find yourself reaching for homemade more often.
Did You Make It?
Made this homemade Bisquick? Leave a comment and tell me whether you used butter or shortening—and what you made with it. Then put your batch to work in my homemade biscuits or chicken and dumplings