Oil-free hummus can be just as smooth and flavorful as traditional hummus, but many homemade versions turn out grainy, thick, or bland. These problems usually come down to technique rather than the absence of oil.
This recipe for oil-free hummus uses aquafaba, proper blending, and balanced ingredient ratios to create a creamy texture without added oil. You’ll also learn how to adjust the consistency, boost the flavor, troubleshoot common problems, and store leftovers for the best results.
Table of Contents
Why You’ll Love This Recipe
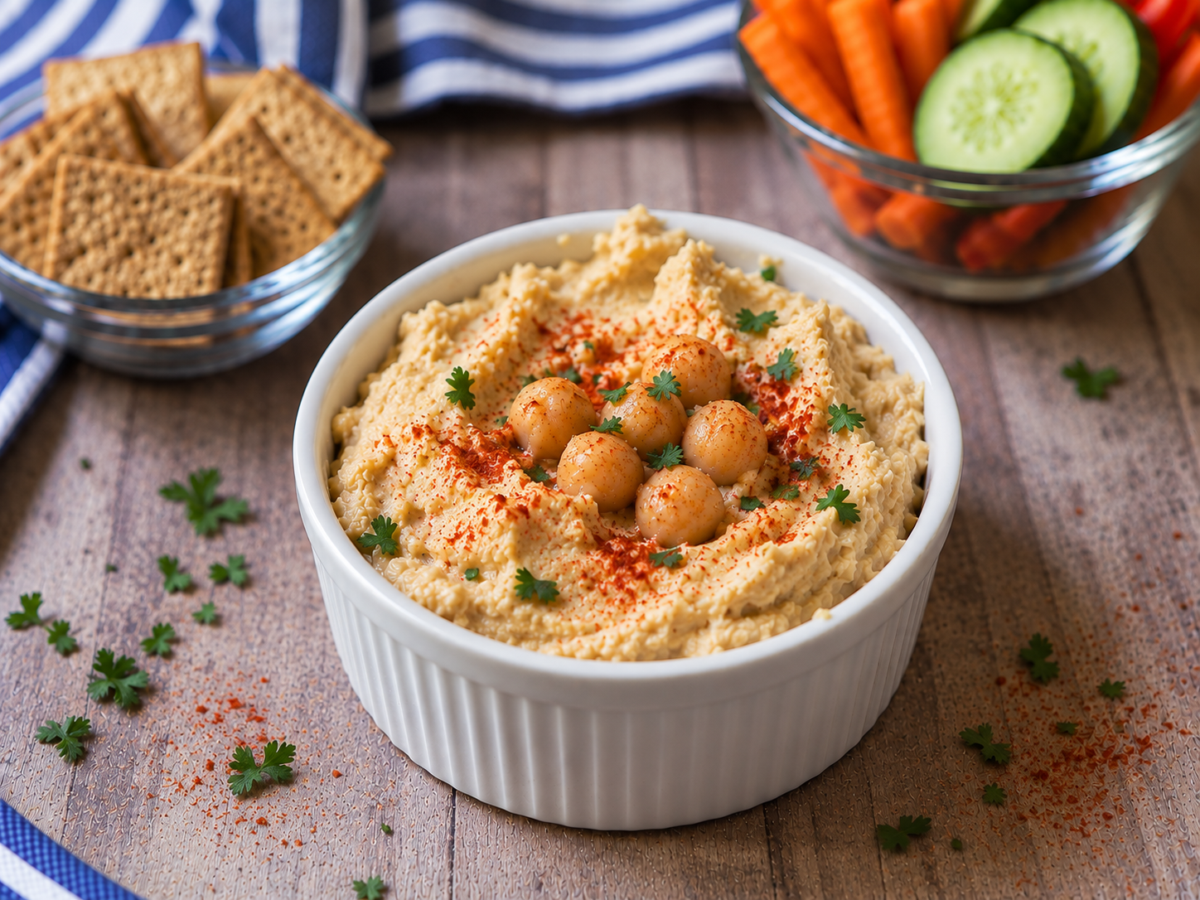
This oil-free hummus delivers a smooth, creamy texture without added oil by combining aquafaba, tahini, fresh lemon juice, and the right blending technique. Aquafaba helps emulsify the ingredients, tahini adds richness, lemon brightens the flavor, and blending thoroughly creates the silky consistency found in great homemade hummus.
- Completely oil-free
- Naturally vegan
- Ready in about 10 minutes
- Smooth and creamy
- Rich in plant-based protein and fiber
- Budget-friendly pantry ingredients
- Great for meal prep and freezer-friendly
- Easy to customize with different flavors
It’s an easy recipe to keep on hand for quick snacks, lunches, appetizers, and meal prep throughout the week.
Serve it with fresh vegetables, use it as a sandwich spread, or pair it with our Pecan Pie Granola (Oil Free + Gluten Free) for another wholesome, oil-free recipe.
Just 6 Ingredients
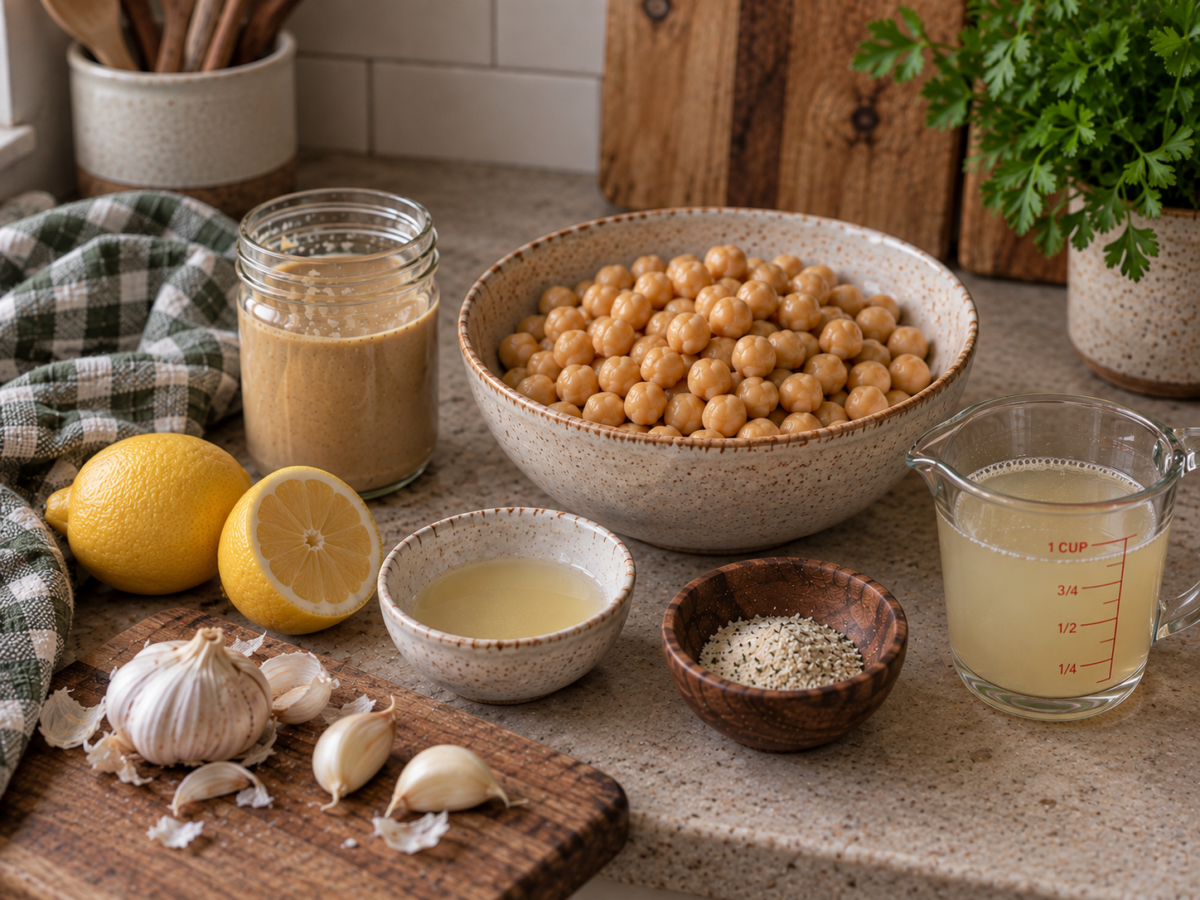
You only need a handful of these simple pantry staples to make this creamy, oil-free hummus:
- Garbanzo beans (chickpeas)
- Aquafaba
- Lemon juice
- Tahini
- Garlic salt
- Fresh garlic
Ingredients Notes and Substitutions
Each ingredient below has a specific role in the recipe, and most can be substituted if needed:
- Garbanzo Beans (Chickpeas): Chickpeas are the base of hummus, providing a creamy texture, mild nutty flavor, and plenty of plant-based protein and fiber. Canned chickpeas are convenient, while home-cooked chickpeas can produce an even smoother hummus. If needed, substitute cannellini beans or great northern beans for a softer, milder dip.
- Aquafaba: The liquid from canned or cooked chickpeas replaces oil in this recipe. It contains starches and soluble proteins that help emulsify the ingredients, making the hummus lighter and creamier while allowing you to adjust the consistency as you blend. If you don’t have aquafaba, cold water is the best substitute, although the hummus may be slightly less silky.
- Lemon Juice: Fresh lemon juice adds a bright, tangy flavor that balances the richness of the tahini and complements the garlic. While bottled lemon juice can be used, fresh juice gives the hummus its freshest, most vibrant taste.
- Tahini: Made from ground sesame seeds, tahini gives hummus its signature nutty flavor and creamy body. Sunflower seed butter is the closest nut-free substitute, though it will slightly change the taste. If you omit tahini entirely, the hummus will be less rich and creamy.
- Garlic Salt: Garlic salt seasons the hummus while adding an extra layer of savory garlic flavor. If you only have regular salt, use it instead and adjust the amount of fresh garlic to taste.
- Fresh Garlic: Fresh garlic adds a bold, savory flavor that mellows as it’s blended with the lemon juice and tahini. Garlic powder can be substituted if necessary, but fresh garlic delivers the best flavor.
Optional Toppings
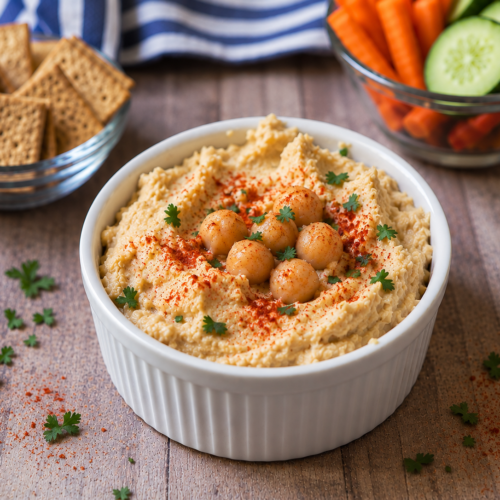
For a colorful finishing touch, sprinkle the hummus with paprika and freshly chopped parsley before serving. These toppings are completely optional, but they add a pop of color and fresh flavor—and give the hummus that classic finished look.
Want our human-written content to rank above AI-generated garbage? Help us out by clicking this button!
After mastering this classic version, try our [Oil Free] Sun Dried Tomato Basil Hummus for an easy variation with a rich, savory twist.
RECIPE CARD: Healthy Oil-Free Hummus (PRINTABLE)
Ingredients
- 2 cups chickpeas (garbanzo beans) ,or 1 low-sodium 15-ounce can
- ⅓ cup aquafaba
- 3 tablespoons lemon juice
- 2 tablespoons tahini
- 1 teaspoon garlic salt
- 1 teaspoon garlic , minced
Instructions
- Drain and Prepare the Chickpeas: Drain the chickpeas through a fine-mesh strainer set over a bowl, reserving the aquafaba. Rinse the chickpeas well under cold running water, then transfer them to a blender.
- Add the Remaining Ingredients: Add the aquafaba, lemon juice, tahini, garlic salt, and minced garlic to the blender with the chickpeas.
- Blend Until Creamy: Blend on high speed, stopping several times to scrape down the sides of the blender. Continue blending until the hummus is completely smooth. If it seems too thick, add a little more aquafaba, one tablespoon at a time, until it reaches your desired consistency.
- Taste and Adjust: Taste the hummus and adjust the seasoning if needed. Add a little more lemon juice for brightness or a pinch of garlic salt to enhance the flavor.
- Serve: Transfer to a serving bowl and enjoy with fresh vegetables, pita, crackers, or use it as a spread for sandwiches and wraps.
Notes
- Rinse canned chickpeas well to remove excess sodium and improve the flavor.
- Blend until completely smooth
- Scrape down the sides of the blender several times to ensure everything is evenly incorporated.
- If you don’t have aquafaba, you can substitute cold water, although the hummus won’t be quite as creamy.
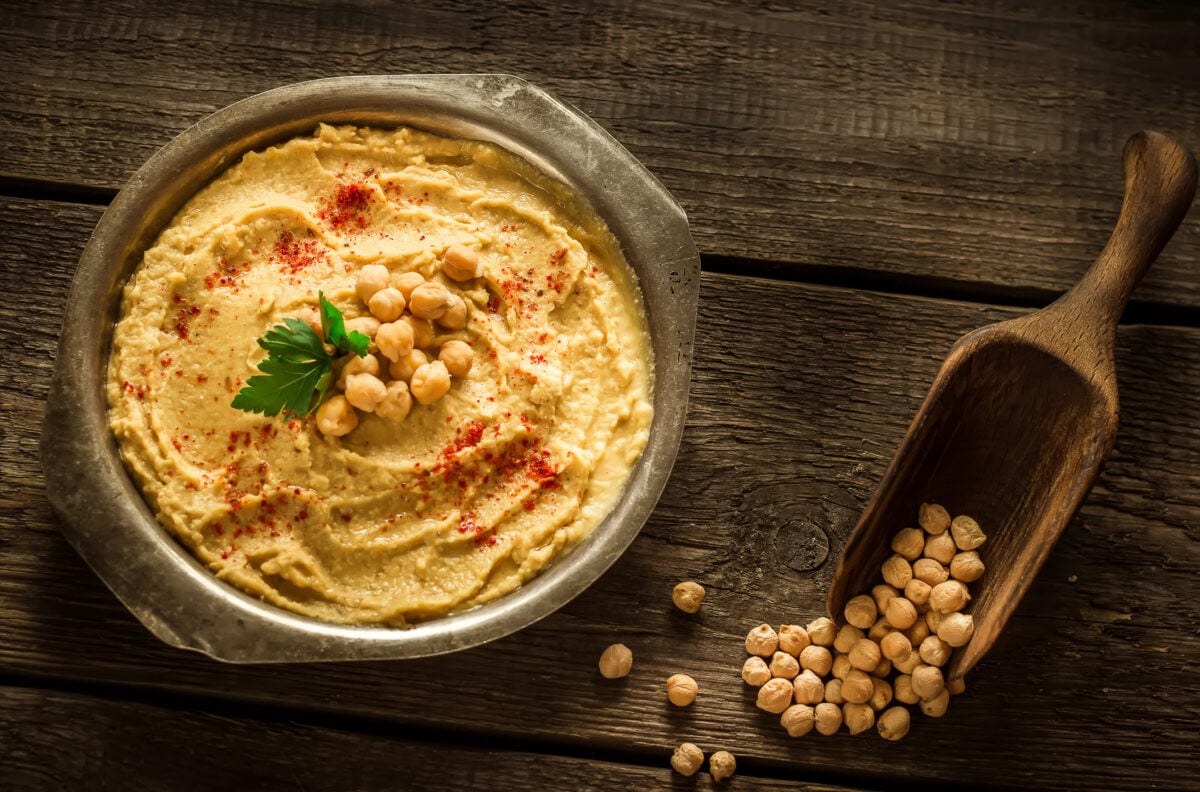
- The texture is smooth and creamy with no visible pieces of chickpeas.
- It spreads easily with the back of a spoon.
- The garlic and tahini are fully blended.
- The consistency is thick enough to hold its shape but soft enough to scoop.
- Refrigerator: Store in an airtight container for up to 7 days.
- Freezing: Freeze for up to 3 months in a freezer-safe container, leaving about ½ inch of space for expansion. Thaw overnight in the refrigerator and stir well before serving.
- Make Ahead: Prepare up to 3 days in advance. The flavors continue to develop as the hummus chills.
Nutrition
Essential Kitchen Tools
Before you begin, gather these tools:
- High-speed blender or food processor
- Fine-mesh strainer
- Medium bowl (for reserving the aquafaba)
- Measuring cups and spoons
- Silicone spatula
Step-by-Step Instructions
Follow these simple steps for consistent results every time.
Instructions
Once your ingredients are ready, making this hummus is simple—just blend, adjust the texture, and add your favorite toppings.
- Drain and Rinse the Chickpeas: Place a fine-mesh strainer over a bowl and drain the chickpeas, reserving the liquid (aquafaba). Rinse the chickpeas well under cold running water to remove excess sodium and any starchy canning liquid that can affect the flavor. Transfer the rinsed chickpeas to your blender.
- Add the Remaining Ingredients: Pour ⅓ cup of the reserved aquafaba into the blender, then add the lemon juice, tahini, garlic salt, and minced garlic. Blend until the mixture is evenly combined.
- Blend Until Smooth: Blend on high speed, stopping occasionally to scrape down the sides of the blender with a spatula. Blend until the hummus is smooth and creamy. If it’s too thick, add aquafaba, 1 tablespoon at a time, until it reaches your desired consistency.
- Serve: Transfer the hummus to a serving bowl and enjoy immediately with fresh vegetables, pita, crackers, or as a spread for sandwiches and wraps.
- Store the Leftovers: Transfer leftovers to an airtight container. See the storage section below for tips on refrigeration, freezing, and meal prep.
Expert Tips
These tips will help you get the best results every time.
- Adjust the consistency gradually. If the hummus is too thick, add aquafaba one tablespoon at a time until it’s smooth and easily spreadable. It’s much easier to thin hummus than to thicken it.
- Blend longer than you think you need to. Blending chickpeas into a smooth puree with a high-speed blender or food processor may take several minutes. Keep blending until no visible pieces of chickpea remain.
- Don’t overdo the garlic. The flavor of raw garlic intensifies as the hummus sits. Start with the recommended amount, then add more only after tasting.
- Let the flavors develop. Chill for 30 minutes before serving if time allows.
- Adjust the seasoning after chilling. Taste the hummus before serving, especially after chilling, and adjust the lemon juice or garlic salt if needed.
- Use good-quality tahini. Tahini contributes much of the hummus’s flavor and creaminess. Using a smooth, well-stirred tahini can noticeably improve the finished dip.
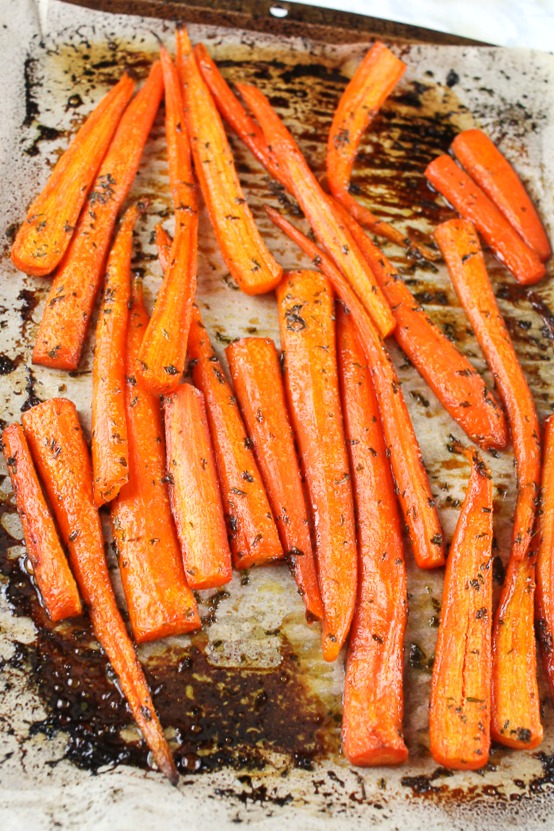
Once you’ve mastered this hummus, serve it alongside Oil-Free Roasted Vegetables with Easy Lemon Cream Sauce for a simple plant-based meal.
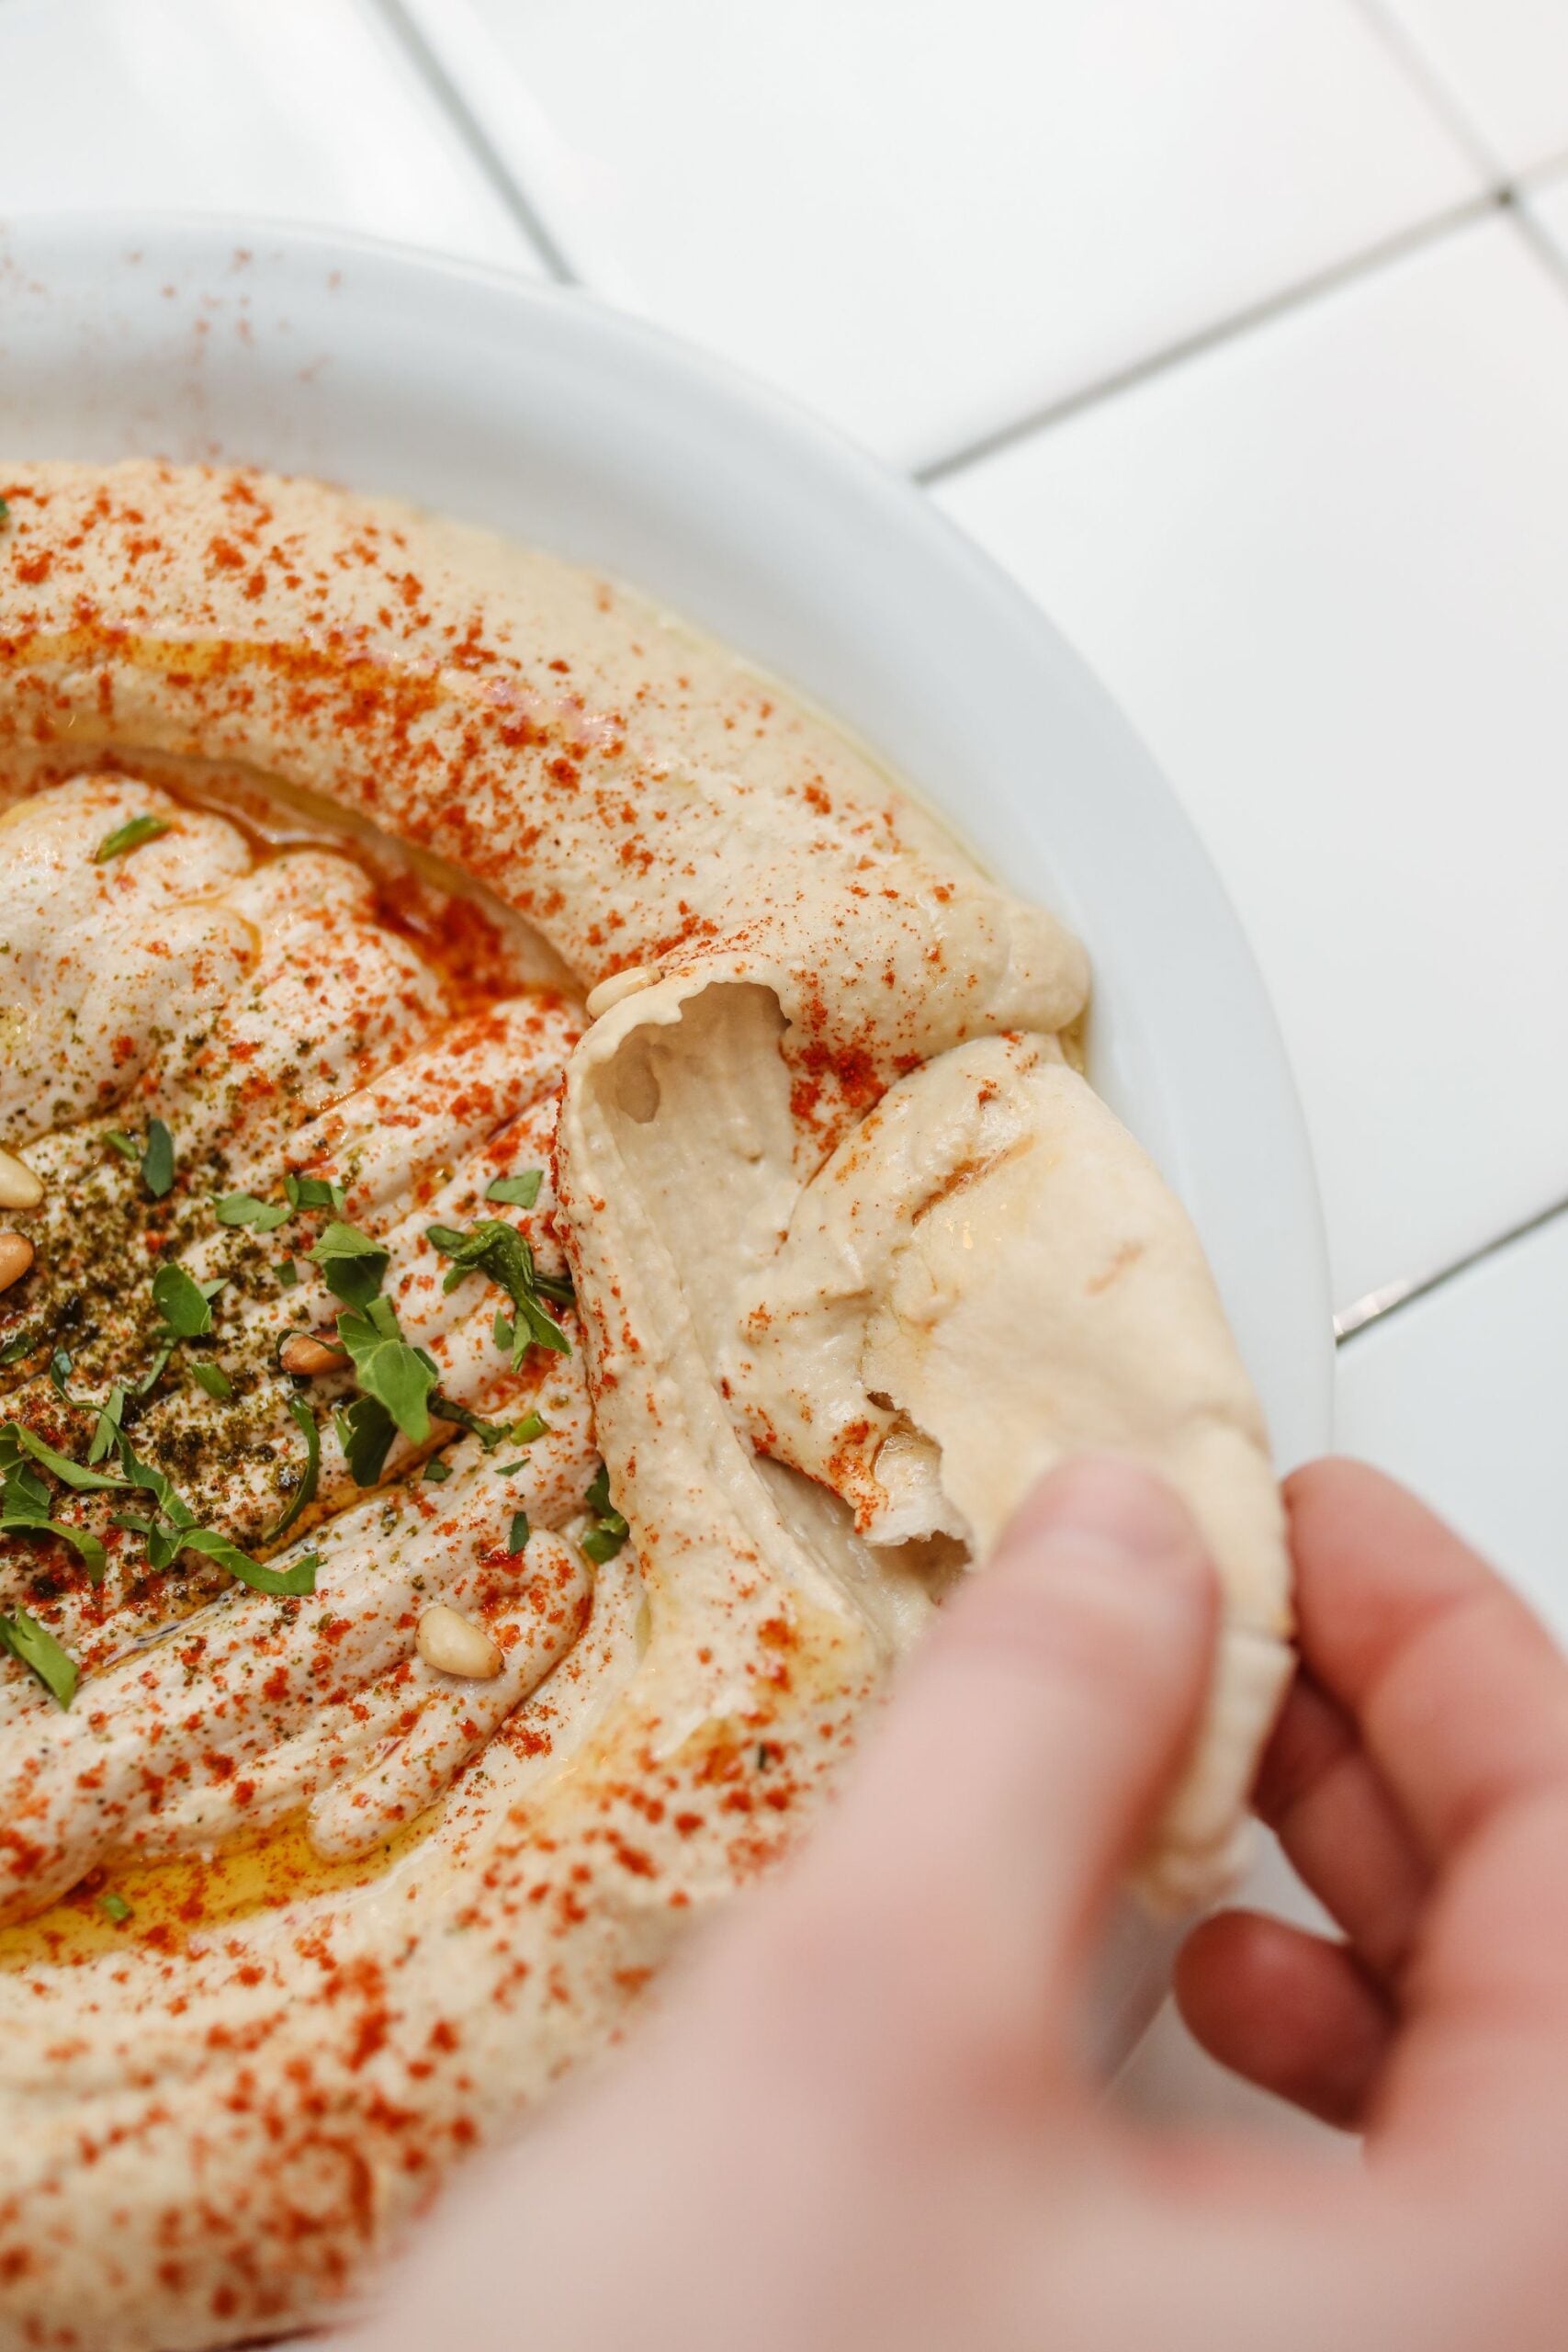
Troubleshooting Tips
If something doesn’t turn out as expected, these quick fixes should help.
- Too thick: Blend in 1 tablespoon of aquafaba at a time until the hummus is smooth and easily spreadable. If you’ve run out of aquafaba, use cold water instead.
- Too thin: Blend in a few more chickpeas or an extra spoonful of tahini until the hummus thickens. Chilling it for 30–60 minutes will also help it firm up naturally.
- Grainy texture: Add a splash of aquafaba and continue blending until smooth. If using home-cooked chickpeas, make sure they’re cooked until very soft.
- Tastes bitter: Bitter hummus is often caused by overly bitter tahini or using too much of it. Add a little more lemon juice, a pinch of salt, or another handful of chickpeas to help balance the flavor.
- Tastes bland: Add another squeeze of fresh lemon juice, a pinch of garlic salt, or a little more minced garlic, then blend briefly and taste again.
- Too sour: Blend in a little more tahini or a few extra chickpeas to mellow the acidity without making the hummus watery.
- Too garlicky: Let the hummus chill for at least 30 minutes, as raw garlic becomes milder over time. If needed, blend in more chickpeas and a splash of aquafaba to dilute the garlic flavor.
- Separated after chilling: This is normal. Stir the hummus well before serving, and if it’s thicker than you’d like, blend in a small amount of aquafaba until smooth again.
Serve your hummus with fresh vegetables or alongside this Oil-Free Kale Salad with Almond Butter Lime Dressing for an easy plant-based meal.
Recipe Variations
This oil-free hummus is easy to customize. For roasted garlic, swap the fresh garlic for a head of roasted garlic. Blend in ½ to ¾ cup roasted red peppers for a smoky-sweet version, or add one jalapeño for some heat. For a tangy kick, mix in 1 to 2 tablespoons of buffalo sauce.
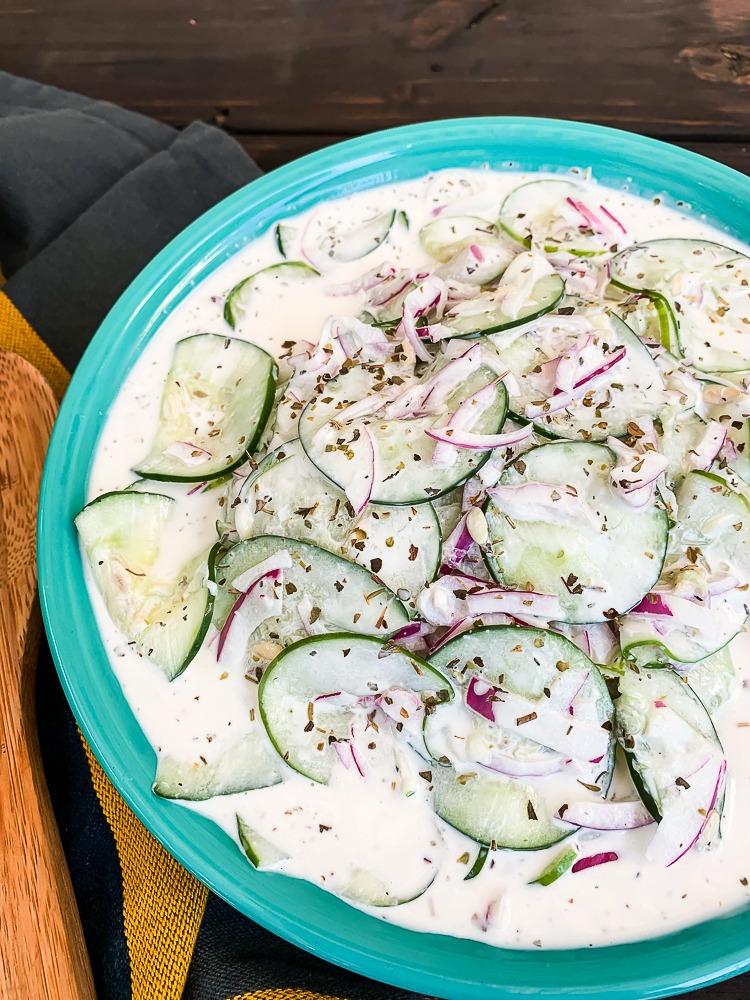
You can also try cilantro and lime zest, a small roasted beet, or ¼ cup sun-dried tomatoes. For an herby version, blend in 2 to 3 tablespoons fresh dill, or try our Oil-Free Dill Cucumber Hummus. Everything Bagel seasoning also makes an easy finishing touch.
Serving Ideas
The following are some of the best ways to serve homemade hummus:
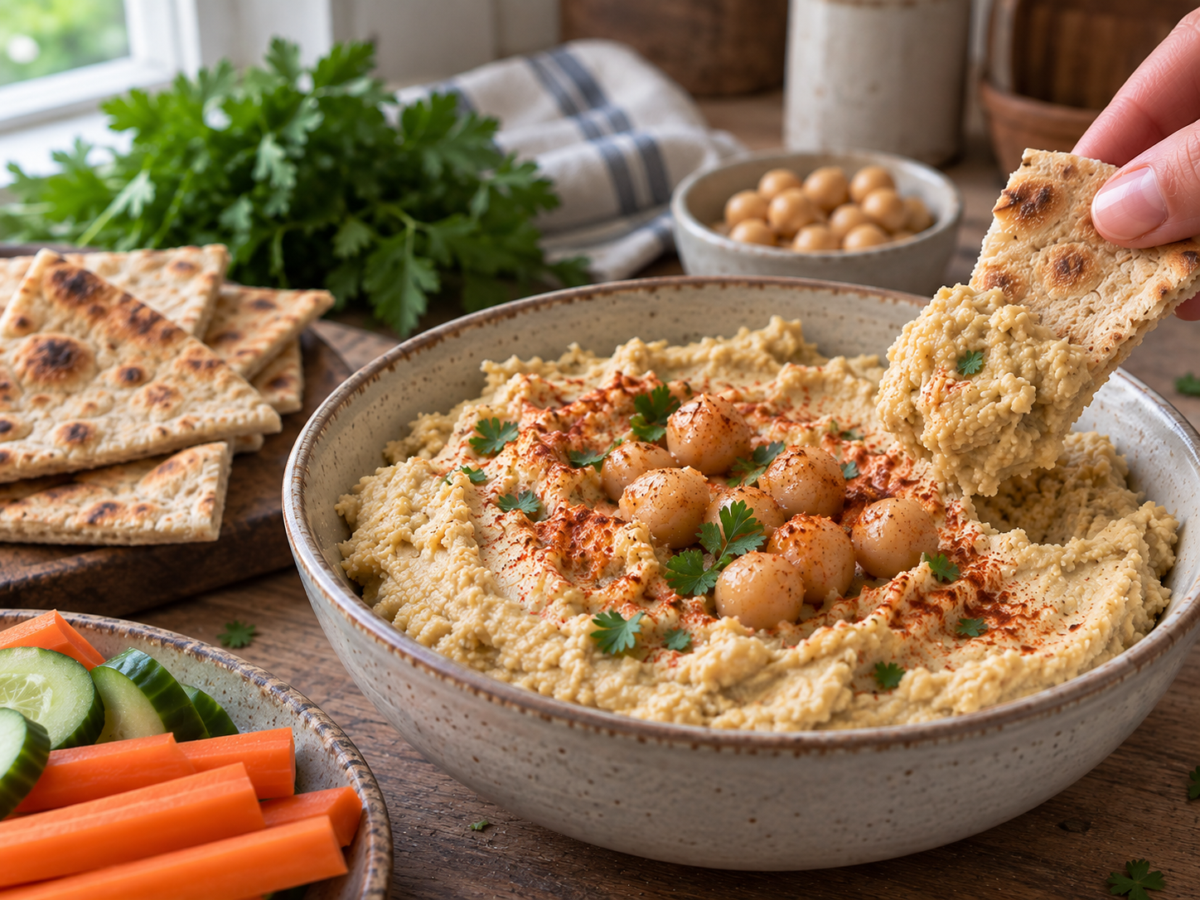
- Fresh Vegetables: Fresh vegetables are a classic pairing because their crisp texture contrasts perfectly with creamy hummus. Carrot sticks, cucumber slices, celery, bell peppers, broccoli, cauliflower, radishes, and cherry tomatoes all make excellent dipping options.
- Crackers: Whole-grain, seed-based, or gluten-free crackers are sturdy enough for scooping and make this hummus an easy snack or appetizer. They also pair well with fresh fruit and vegetables for a balanced snack plate.
- Pita: Warm whole wheat pita, pita wedges, or baked pita chips are traditional accompaniments that complement the creamy texture and savory flavor of hummus.
- Wraps: Spread hummus inside whole-grain wraps instead of mayonnaise or creamy dressings for extra flavor and plant-based protein. It pairs especially well with spinach, cucumbers, shredded carrots, tomatoes, roasted vegetables, and avocado.
- Sandwiches: Hummus also makes a flavorful sandwich spread. For a quick, satisfying, and nutritious lunch, spread it on whole-grain bread and top with roasted vegetables, sliced cucumbers, tomatoes, leafy greens, or mashed avocado.
- Grain Bowls: Add a generous scoop to grain bowls made with brown rice, quinoa, or farro. The creamy hummus pairs well with roasted vegetables, leafy greens, chickpeas, and fresh herbs for a filling plant-based meal.
- Falafel: Falafel and hummus are a classic Mediterranean combination. Serve them together with warm pita, fresh vegetables, and a simple salad for an easy lunch or dinner.
- Roasted Vegetables: Roasted cauliflower, Brussels sprouts, zucchini, carrots, eggplant, and sweet potatoes become even more flavorful with a dollop of hummus. This creamy dip perfectly complements the caramelized flavors of roasted vegetables.
For a complete plant-based meal, pair this hummus with our Oil-Free Cilantro Tahini Kale Salad. The fresh, tangy salad complements the creamy hummus and makes an easy lunch or light dinner.
Storage, Freezing, and Meal Prep
Proper storage keeps homemade hummus fresh and makes meal prep easier.
- Refrigerator Storage: Store leftover hummus in an airtight container in the refrigerator for up to 7 days. A tightly sealed container helps prevent the hummus from drying out and absorbing odors from other foods. For food safety, refrigerate leftovers promptly and keep your refrigerator at 40°F (4°C) or below, as recommended by the USDA.
- Refreshing Leftovers: It’s normal for hummus to thicken after chilling. Simply stir it well before serving, or blend in 1 to 2 tablespoons of aquafaba or cold water until it returns to a smooth, creamy consistency.
- Can You Freeze Homemade Hummus? Yes. Homemade hummus freezes well and is a great option if you like making larger batches. Spoon it into freezer-safe, airtight containers, leaving a little space at the top for expansion. For the best texture and flavor, use it within 3 to 4 months, although frozen foods remain safe much longer when kept at 0°F (-18°C).
- How to Thaw Frozen Hummus: Transfer the container to the refrigerator and let it thaw overnight. Once thawed, stir the hummus thoroughly or give it a quick blend to restore its creamy texture. A small amount of separation is completely normal after freezing and can usually be fixed by mixing in a splash of aquafaba or water.
- Meal Prep Tips: This hummus is perfect for weekly meal prep because it holds up well in the refrigerator and freezer. Make a double batch and divide it into individual portions for grab-and-go lunches or snack boxes. Pair each portion with fresh vegetables, crackers, or pita for easy grab-and-go lunches and snacks.
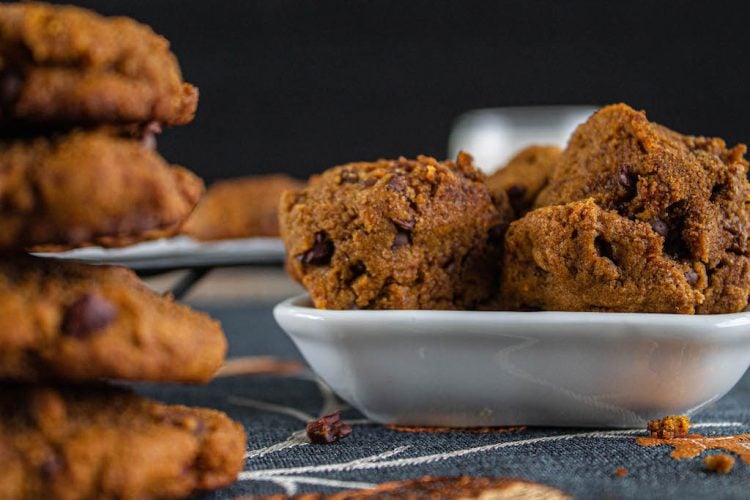
If you’re planning meals, these Healthy Pumpkin Chocolate Chip Bars (DF, GF, Oil-Free) are a convenient make-ahead option to keep on hand for breakfast, snacks, or lunch boxes.
Frequently Asked Questions
Still have a question? Check the answers below, and if you don’t find what you’re looking for, leave a comment.
Can I Use Dried Chickpeas Instead of Canned?
Dried chickpeas often produce an even creamier hummus because they can be cooked until very soft. Soak them overnight, then cook until tender before blending. For an even smoother texture, some cooks add a small amount of baking soda to the cooking water to help soften the chickpeas.
Is It Better to Use a Blender or a Food Processor?
Both work well, but a high-speed blender usually creates the smoothest oil-free hummus because it breaks down the chickpeas more thoroughly. A food processor is still an excellent choice and gives you more control when scraping down the sides during blending.
Do I Need to Peel the Chickpeas?
Not necessarily. Peeling the chickpeas can create an extra-smooth texture, but it isn’t essential. If you’re using a powerful blender or food processor and blend long enough, you’ll still end up with a creamy homemade hummus.
Can I Make this Hummus Without a Blender?
Of course you can. A food processor is the best alternative and produces excellent results. If you don’t have either appliance, you can mash the chickpeas with a potato masher or sturdy fork. The hummus will be thicker and more rustic but still delicious.
Can I Make this Recipe for a Party?
You absolutely can. Homemade hummus is a great make-ahead appetizer because the flavors continue to develop as it rests in the refrigerator. Preparing it several hours or even a day in advance often results in an even better-tasting dip.
Is Homemade Tahini Better than Store-Bought?
Either works well. Store-bought tahini is more consistent and convenient, while homemade tahini can be a great option if it’s blended until smooth and pourable. If your homemade tahini is especially thick, you may need a little extra aquafaba to achieve the same creamy consistency.
Related Recipes
Looking for more oil-free recipes? Try one of these next:
- 32 Oil Free Vegan Recipes: Looking for more meal ideas without added oil? This collection includes breakfasts, mains, sides, and snacks that make it easy to enjoy a whole-food, plant-based lifestyle.
- Easy Roasted Red Pepper Hummus (Creamy, Healthy & Oil-Free): Love classic hummus? Try this smoky variation made with roasted red peppers for a naturally sweet, flavorful twist that’s just as creamy and satisfying.
- Zippy Cilantro Peanut Butter Oil-Free Dressing: This bright, creamy dressing is perfect for salads, grain bowls, roasted vegetables, or as a dipping sauce when you want to change up your meal.
- Pomegranate Balsamic Vinaigrette (Easy Oil-Free Salad Dressing Recipe): A sweet and tangy dressing made without added oil that pairs beautifully with leafy salads, grain bowls, and roasted vegetables. It’s an easy way to complement a meal featuring homemade hummus.
Whether you’re craving another creamy dip, a flavorful dressing, or more everyday oil-free meal ideas, these recipes make it easy to keep things simple, satisfying, and delicious.
Tried This Recipe?
If you made this oil-free hummus, leave a comment below and let us know how it turned out. Share your favorite variation, rate the recipe, and ask any troubleshooting questions.