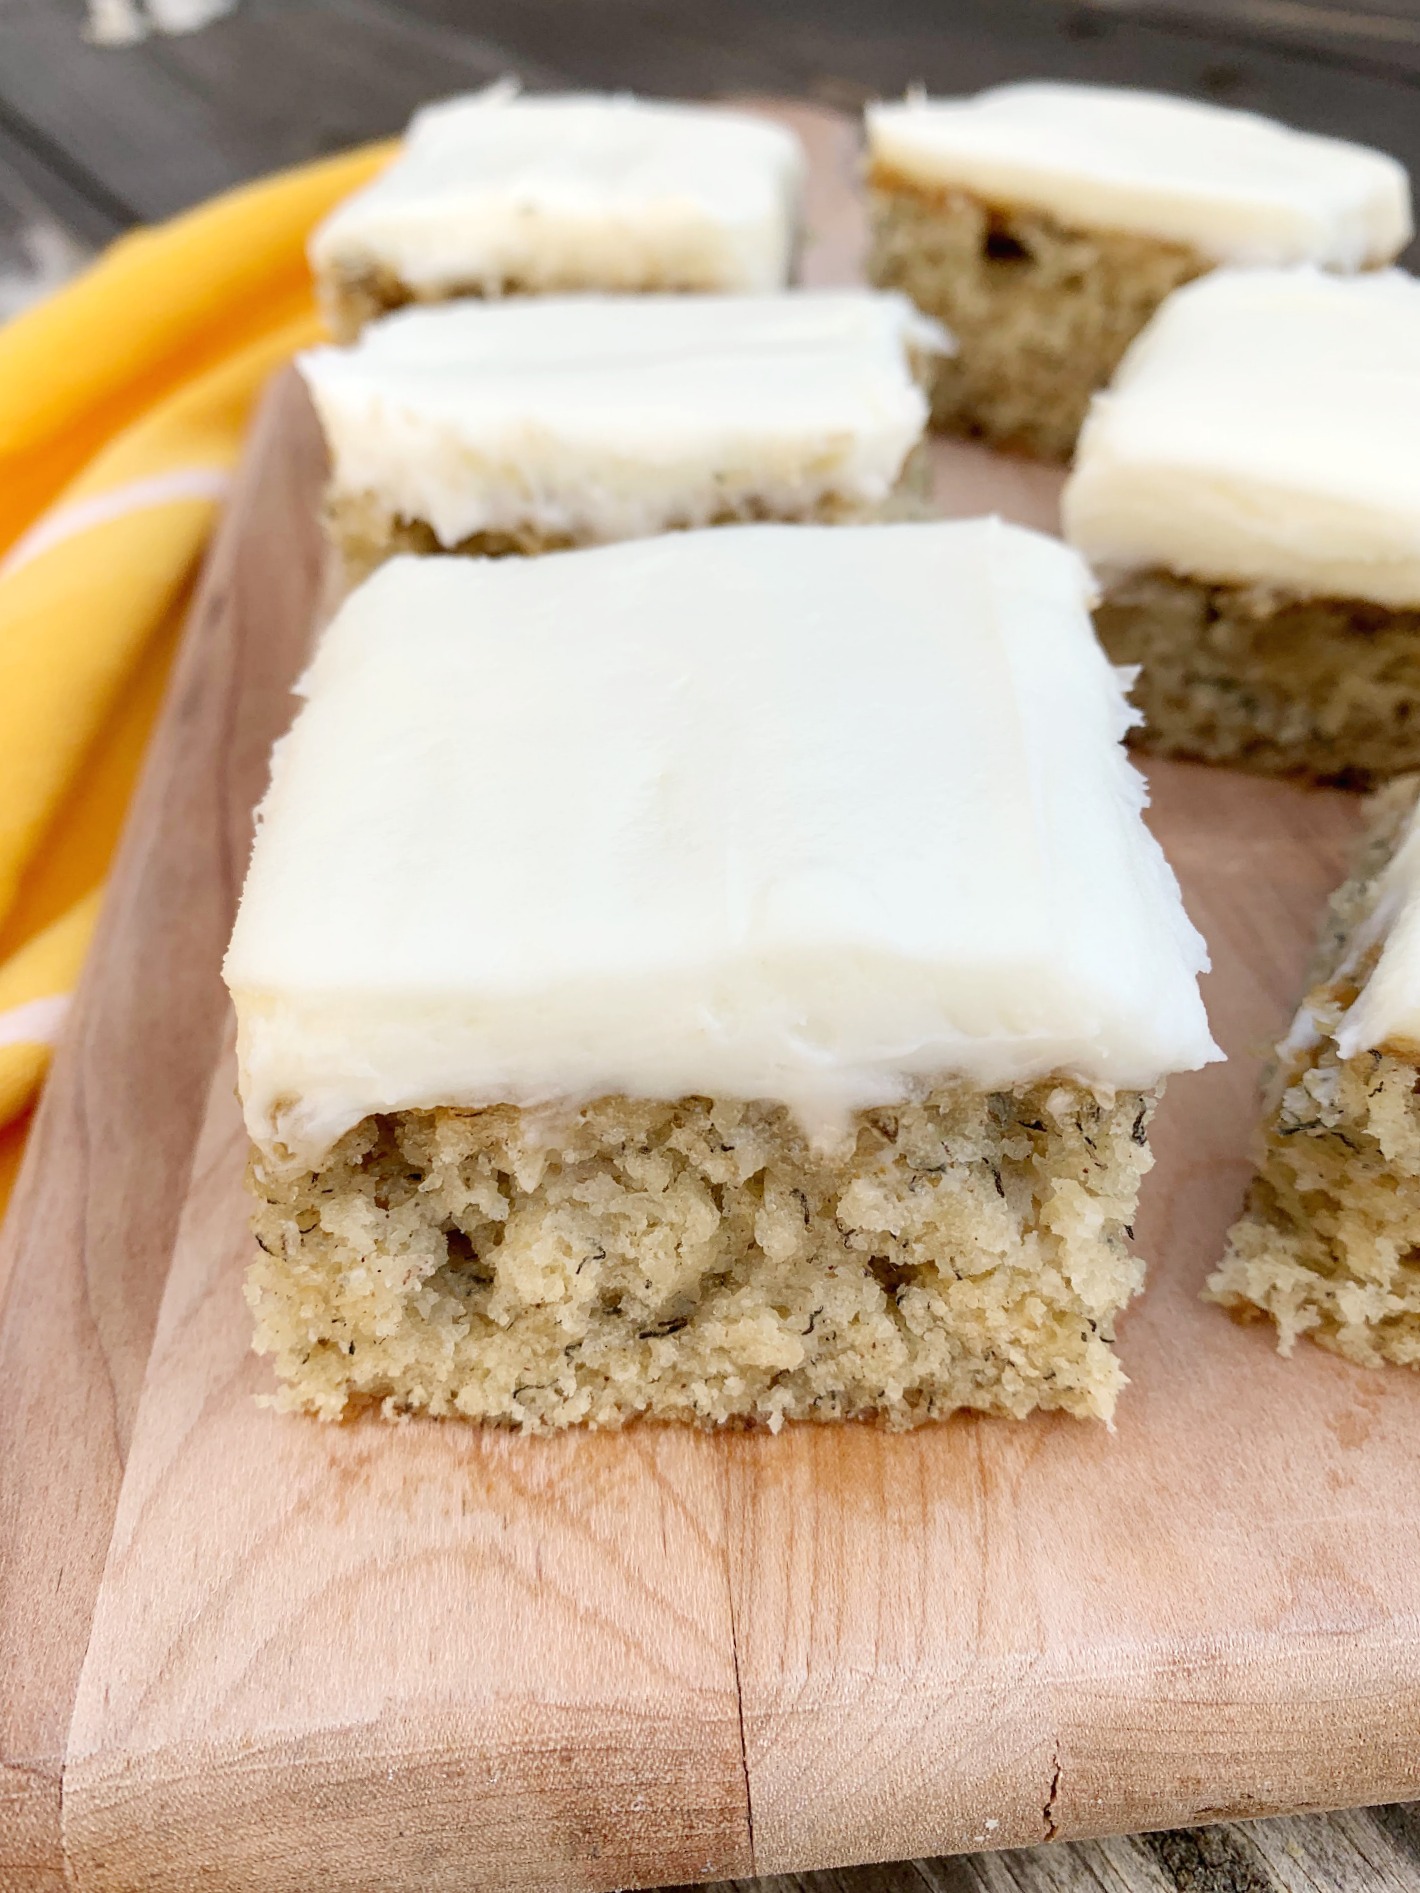
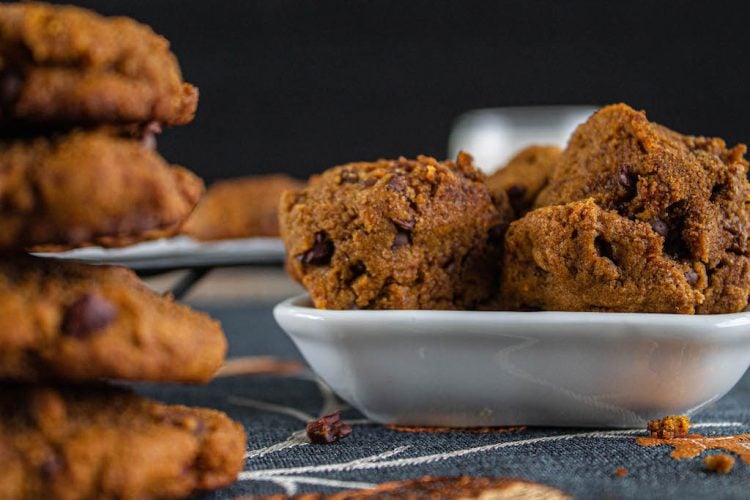
These gluten-free pumpkin chocolate chip bars are soft, moist, and packed with pumpkin spice and melty chocolate, without dairy, eggs, or added oil.
Pumpkin purée keeps the bars tender, while a flax egg helps the egg-free batter hold together. And you only need one 8×8-inch pan to make them.
Table of Contents
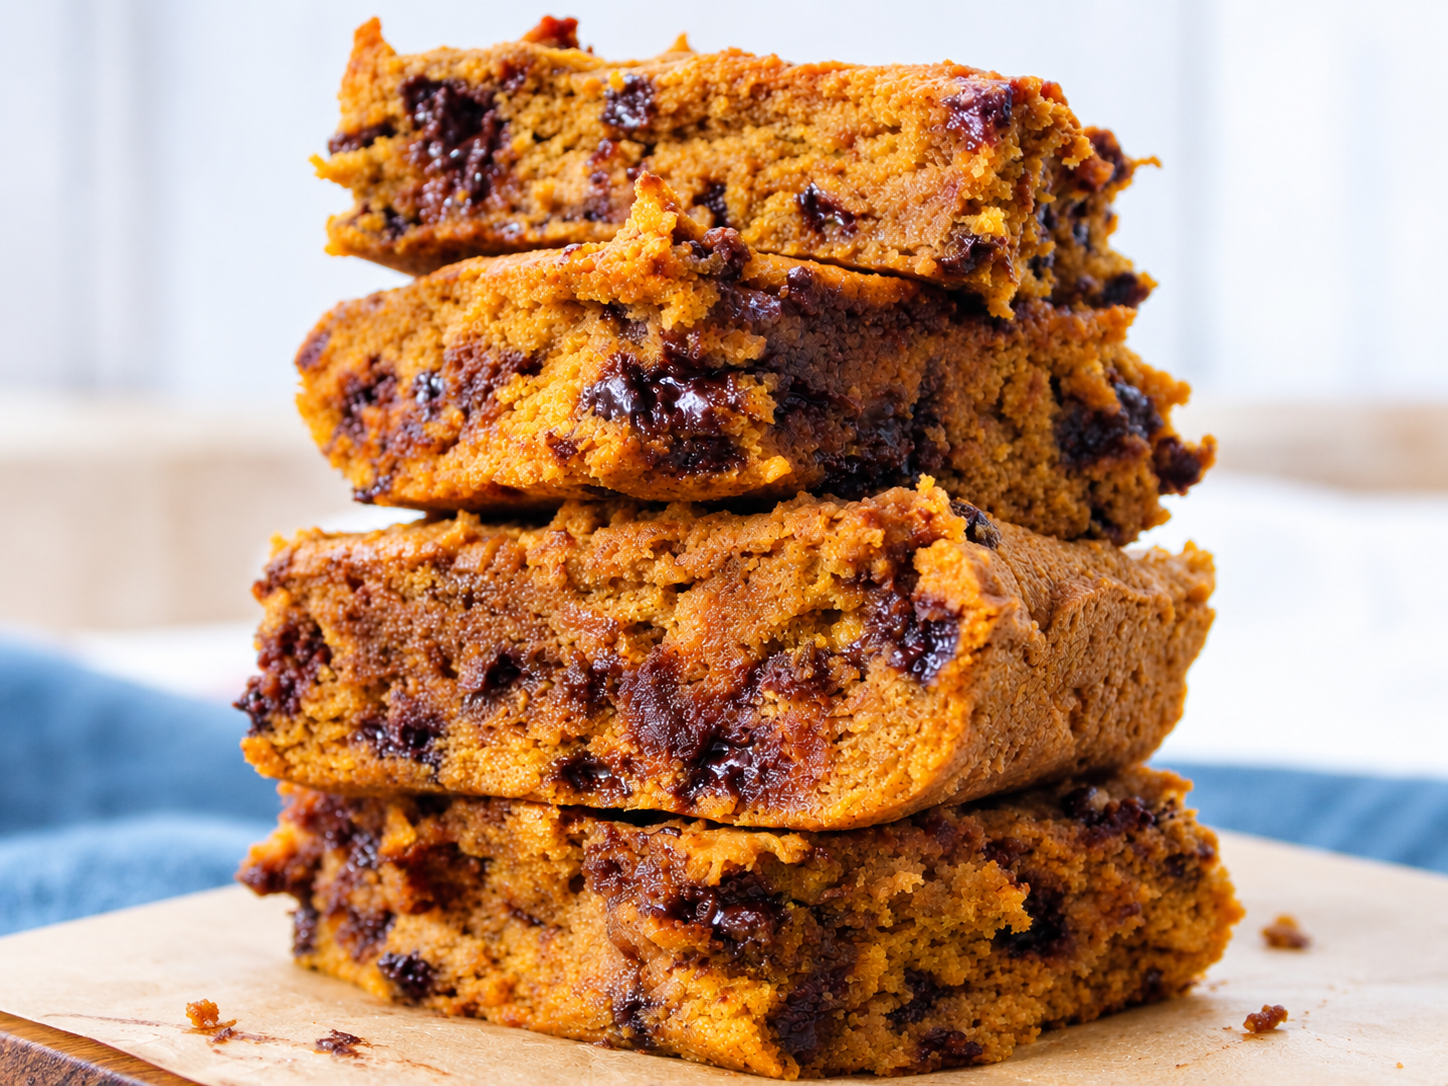
These pumpkin chocolate chip bars bake up soft and cakey, with warm pumpkin spice flavor and plenty of chocolate in every bite. They firm up beautifully as they cool, making them easy to slice into neat squares. Best of all, they’re a simple fall treat made with everyday ingredients and no complicated steps.
Why You’ll Love This Recipe
These pumpkin bars get their soft, moist texture from pumpkin puree without relying on added oil. Remember that pumpkin contains a lot of water, so balance wet and dry ingredients when baking with pumpkin.
- Gluten-free, vegan, dairy-free, and egg-free
- Made without added oil
- Easy 8×8-inch pan recipe
- Warm pumpkin spice and chocolate flavor
- Sweetened with maple syrup and molasses, plus chocolate chips
- Perfect for fall and holiday baking
These pumpkin bars contain sugars from the maple syrup, molasses, and chocolate chips.
Want our human-written content to rank above AI-generated garbage? Help us out by clicking this button!
If pumpkin and chocolate are your favorite fall combination, try our Peanut Butter Pumpkin Chocolate Chip Granola Bars (Vegan + Gluten Free) next.
Ingredients You’ll Need
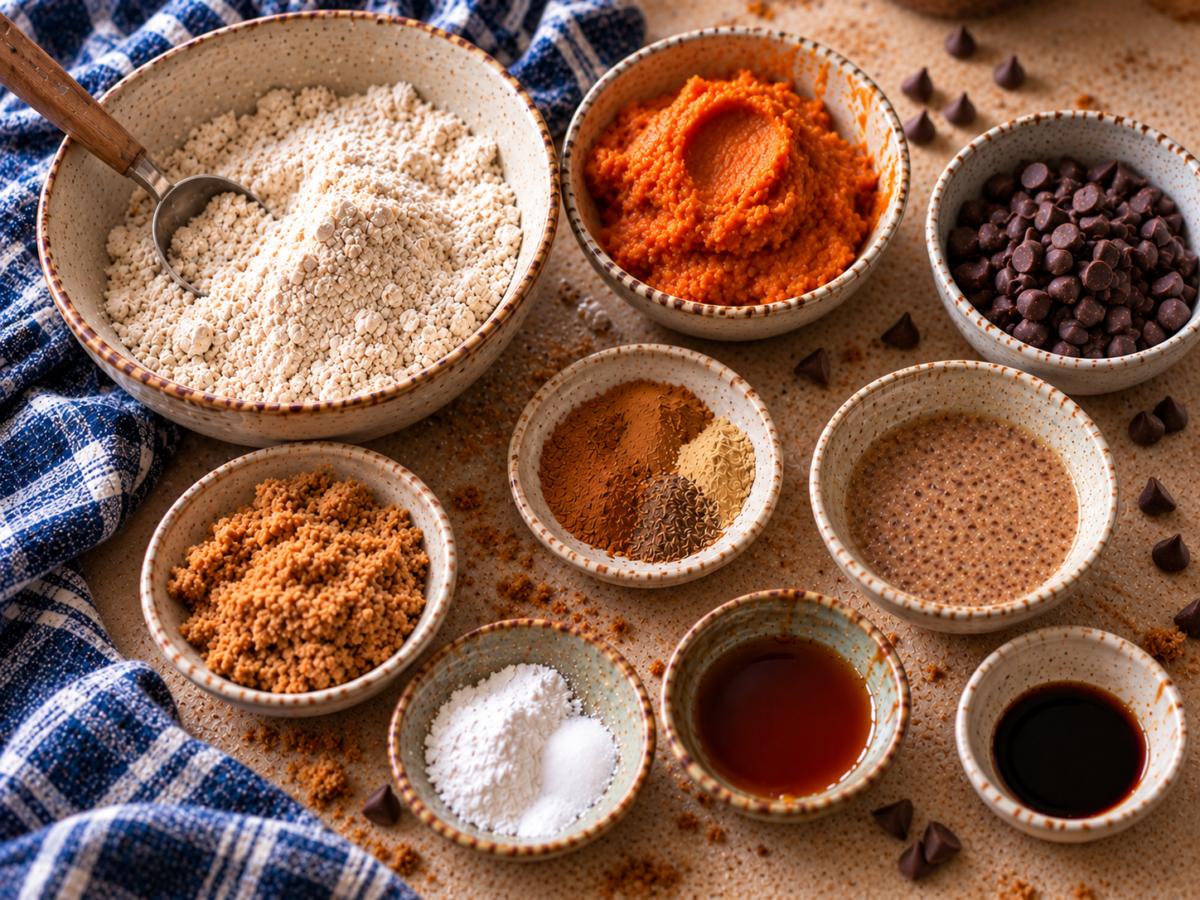
These pumpkin bars come together with a short list of baking staples and fall flavors.
- Gluten-free flour
- Pumpkin pie spice
- Baking soda
- Baking powder
- Salt
- Flax egg
- Pure pumpkin purée
- Pure maple syrup
- Molasses
- Pure vanilla extract
- Mini semi-sweet chocolate chips
Ingredient & Substitutions Notes
Each ingredient helps keep these pumpkin bars moist, flavorful, and sturdy enough to slice. If you swap an ingredient, keep in mind that substitutions can change the final texture, especially in gluten-free baking.
- Gluten-Free Flour: I used the Ryze Yellow Bag gluten-free flour. Another 1:1 blend may work, but results can vary. Don’t substitute almond, coconut, or oat flour 1:1.
- Pumpkin Pie Spice: Adds the warm fall flavor. A homemade blend of cinnamon, ginger, nutmeg, and cloves can also work.
- Baking Soda and Baking Powder: Help the bars rise and give them their cakey texture. For the most reliable results, use both as listed.
- Salt: Balances the sweetness and spices.
- Flax Egg: Binds the egg-free batter. A chia egg may work as a substitute, but we haven’t tested it in this recipe.
- Pumpkin Purée: Provides pumpkin flavor, moisture, and body. Use plain purée, not pumpkin pie filling.
- Maple Syrup: Adds sweetness and moisture.
- Molasses: Adds deeper sweetness that complements the spices.
- Vanilla Extract: Rounds out the pumpkin, spice, and chocolate flavors.
- Mini Semi-Sweet Chocolate Chips: I used Enjoy Life. You can also use regular dairy-free chips or chopped dairy-free chocolate, though the distribution will differ.
Have extra pumpkin purée after baking? This Pumpkin Pie Smoothie Bowl is an easy way to use some of it up.
RECIPE CARD: Gluten-Free Pumpkin Chocolate Chip Bars (PRINTABLE)
Ingredients
- 1 cup gluten-free flour
- 1½ teaspoons pumpkin pie spice
- ½ teaspoon baking soda
- ¼ teaspoon baking powder
- ¼ teaspoon salt
- 1 flax egg
- ½ cup pure pumpkin purée
- ¼ cup pure maple syrup
- 1½ Tablespoons molasses
- 1 teaspoon pure vanilla extract
- ¼ cup mini semi-sweet chocolate chips
- 2 Tablespoons mini semi-sweet chocolate chips, for toppings
Instructions
- Make the Flax Egg: Combine 1 tablespoon ground flaxseed with 1½ tablespoons water in a small bowl. Stir, then let sit for 5 minutes to thicken.
- Prepare the Pan: Preheat the oven to 350°F (175°C). Lightly spray an 8×8-inch baking pan with cooking spray or line it with parchment paper.
- Mix the Dry Ingredients: Add the gluten-free flour, pumpkin pie spice, baking soda, baking powder, and salt to a medium bowl. Stir until evenly combined.
- Combine the Wet Ingredients: In a separate bowl, stir together the pumpkin purée, maple syrup, molasses, and vanilla extract. Add the thickened flax egg and mix well.
- Make the Batter: Add the wet mixture to the dry ingredients and stir until everything is combined.
- Add the Chocolate Chips: Fold ¼ cup of the mini chocolate chips evenly into the batter.
- Fill the Pan: Spread the batter evenly in the prepared 8×8-inch pan. Sprinkle and gently press the remaining 2 tablespoons of chocolate chips over the top.
- Bake: Bake for 25–35 minutes. Begin checking the bars at 25 minutes. They are ready when the center is set, and a toothpick inserted near the middle comes out without wet batter.
- Cool and Slice: Allow the bars to cool before slicing into 9 squares. Cooling gives the bars time to set before you cut them.
Notes
- I tested the recipe with Ryze yellow bag gluten-free flour.
- If you don’t need the recipe to be gluten-free, you can use unbleached white flour instead.
- Make the flax egg first, so it has the full 5 minutes to thicken while you prepare the other ingredients.
- Use pure pumpkin purée, not pumpkin pie filling.
- An 8×8-inch pan gives the bars the intended thickness.
- Parchment paper makes it easier to lift the cooled bars from the pan.
- I used Enjoy Life Semi-Sweet Mini Chocolate Chips, which the manufacturer currently identifies as gluten-free, dairy-free, and vegan.
- The edges look set.
- The center no longer looks wet.
- A toothpick inserted near the center comes out clean.
- A few moist crumbs on the toothpick are fine.
- The bars feel more stable after cooling.
- Refrigerator: Store the cooled bars in an airtight container in the refrigerator.
- Freezer: Wrap cooled bars individually and place them in a freezer-safe container or bag. Freeze for up to 3 months. Thaw overnight in the refrigerator or at room temperature before serving.
- Make Ahead: You can bake the bars a day ahead. Let them cool completely, cover, and refrigerate until ready to serve.
Nutrition
How To Make Gluten-Free Pumpkin Chocolate Chip Bars
The recipe card has the full measurements and instructions, but there are a few things worth watching for as you make these pumpkin bars. Batter consistency, the flax egg, and knowing when the center is actually baked make the biggest difference in the final texture.
Let the Flax Egg Thicken
Give the flaxseed and water the full 5 minutes to rest before adding it to the batter. You’ll know it’s ready when the mixture has thickened and looks slightly gel-like rather than watery.
This small step is important because the flax egg helps bind these bars without using eggs.
What to look for: When you stir the flax egg, it should have enough body to cling slightly to the spoon.
Watch the Batter Consistency
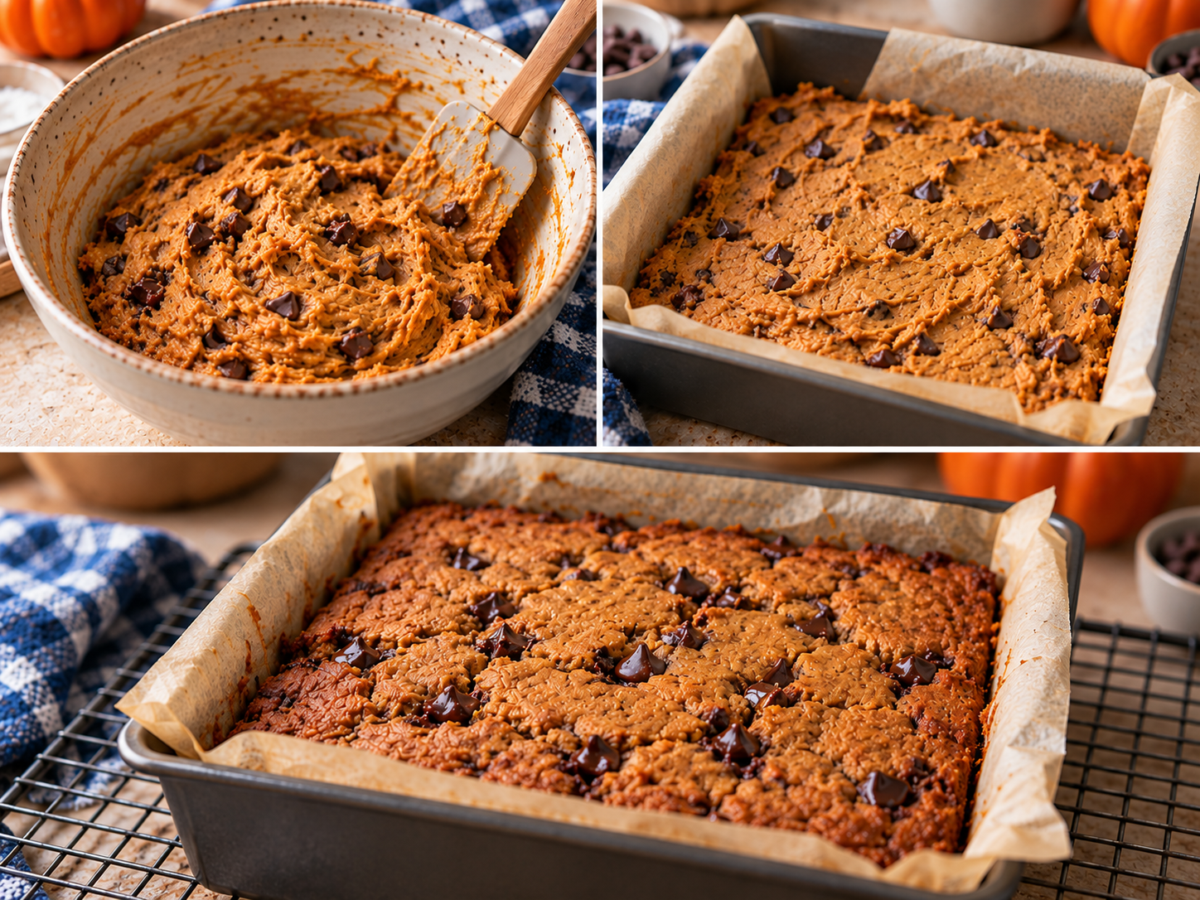
Once the wet and dry ingredients come together, expect a fairly thick batter. It won’t pour into the baking pan like cake batter—you’ll need to scoop it out and spread it with a spatula.
That thickness is normal, so resist the temptation to add extra liquid.
Stir only until you no longer see pockets of dry flour, then gently fold in the chocolate chips. Overmixing isn’t necessary and can make it harder to judge the natural consistency of the batter.
What to look for: The finished batter should be thick, moist, and spreadable rather than runny or dry and crumbly.
Spread the Batter Evenly
Use a spatula to push the batter all the way into the corners of your 8×8-inch pan and smooth the top into an even layer.
This is more important than it might seem. Because the batter is thick, an uneven layer can leave you with thin edges that finish baking before a thicker center.
After smoothing the surface, add the reserved chocolate chips and gently press them into the top.
Tip: If you’re using parchment paper, leave some hanging over two opposite sides of the pan. Once the bars have cooled, you can use it to lift the whole batch out before slicing.
Don’t Rely Only on the Baking Time
This is the stage where I recommend paying the most attention.
Start checking the bars around 25 minutes. Mine were fully baked at about 30 minutes, but ovens and baking pans can affect how quickly they finish.
Instead of pulling them out simply because the timer goes off, look at the center. It should appear set rather than shiny or visibly wet. The edges should also look baked and slightly firmer than the middle.
Insert a toothpick near the center. A few moist crumbs are fine, but you shouldn’t see wet, uncooked batter.
If the center still looks wet, give the bars a few more minutes and check again.
Let Them Cool Before Cutting
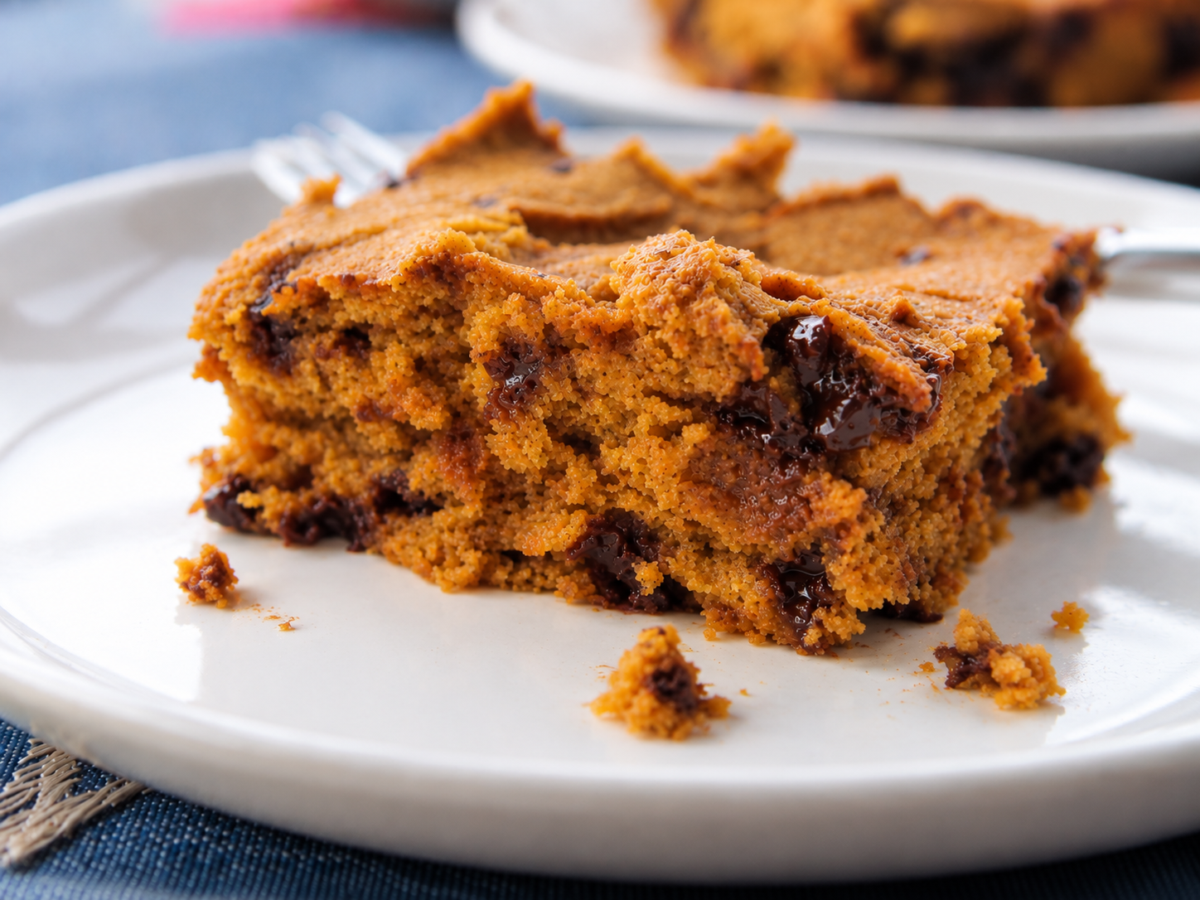
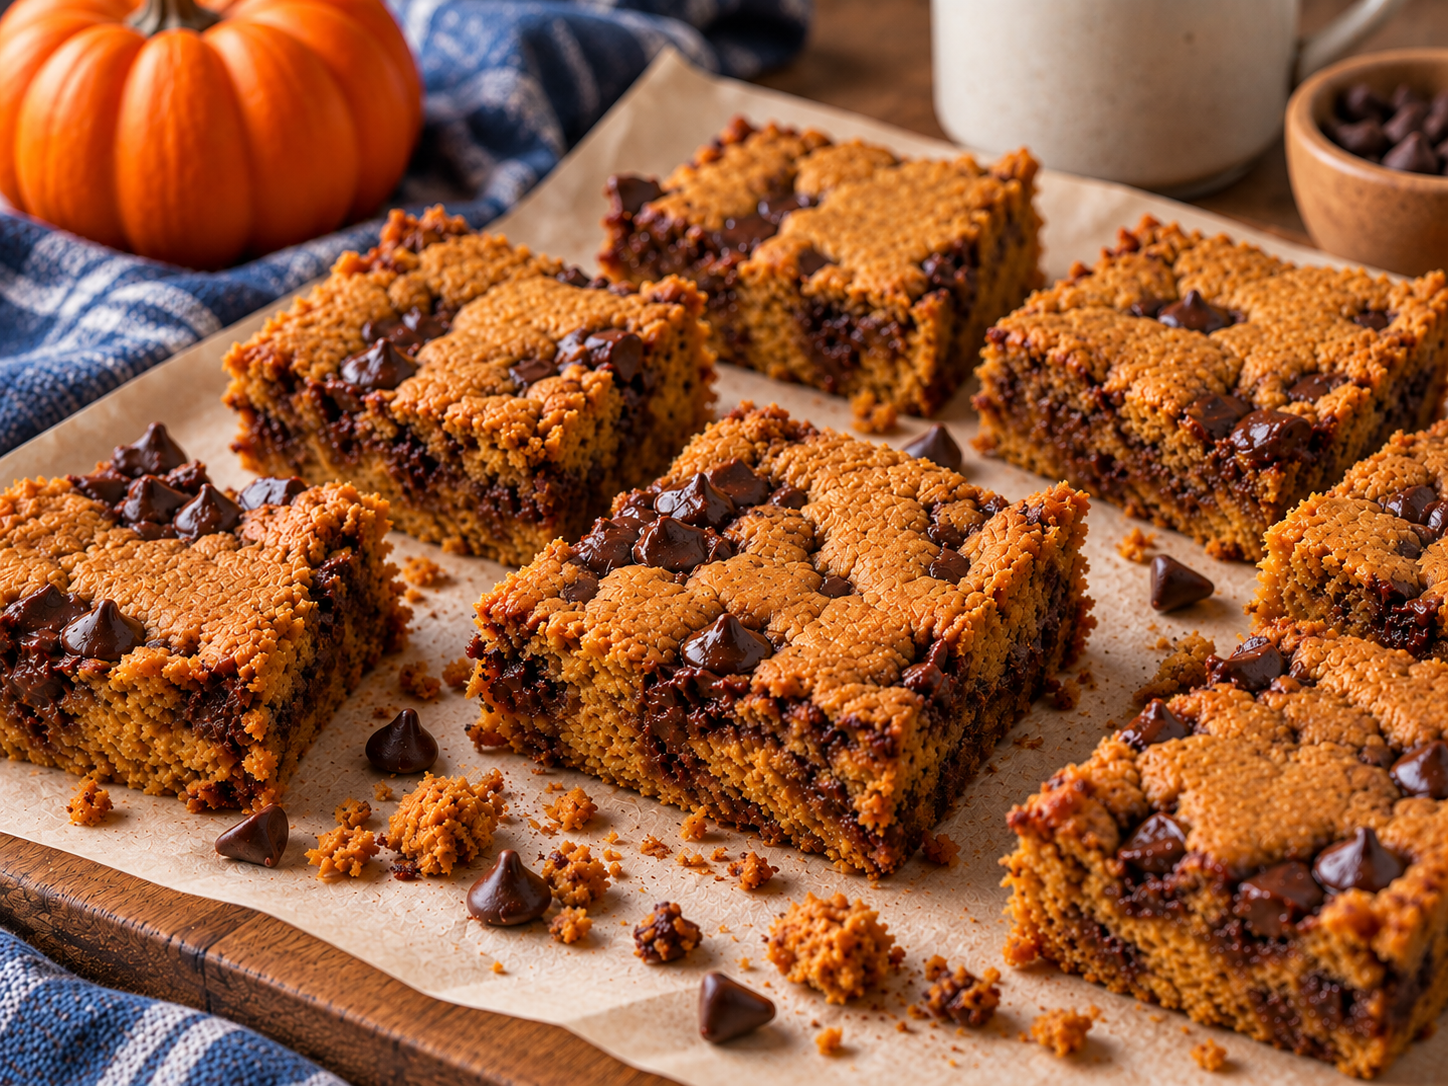
Fresh from the oven, these pumpkin bars are still soft and haven’t reached their final texture. Cooling gives them time to firm up and makes them much easier to slice without falling apart.
For cleaner squares, let them cool completely before lifting them from the pan and cutting them into 9 bars.
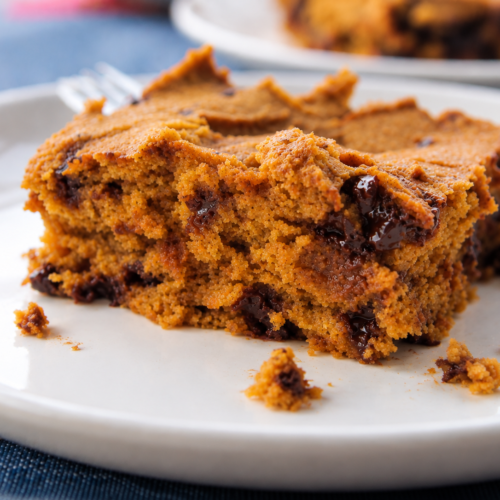
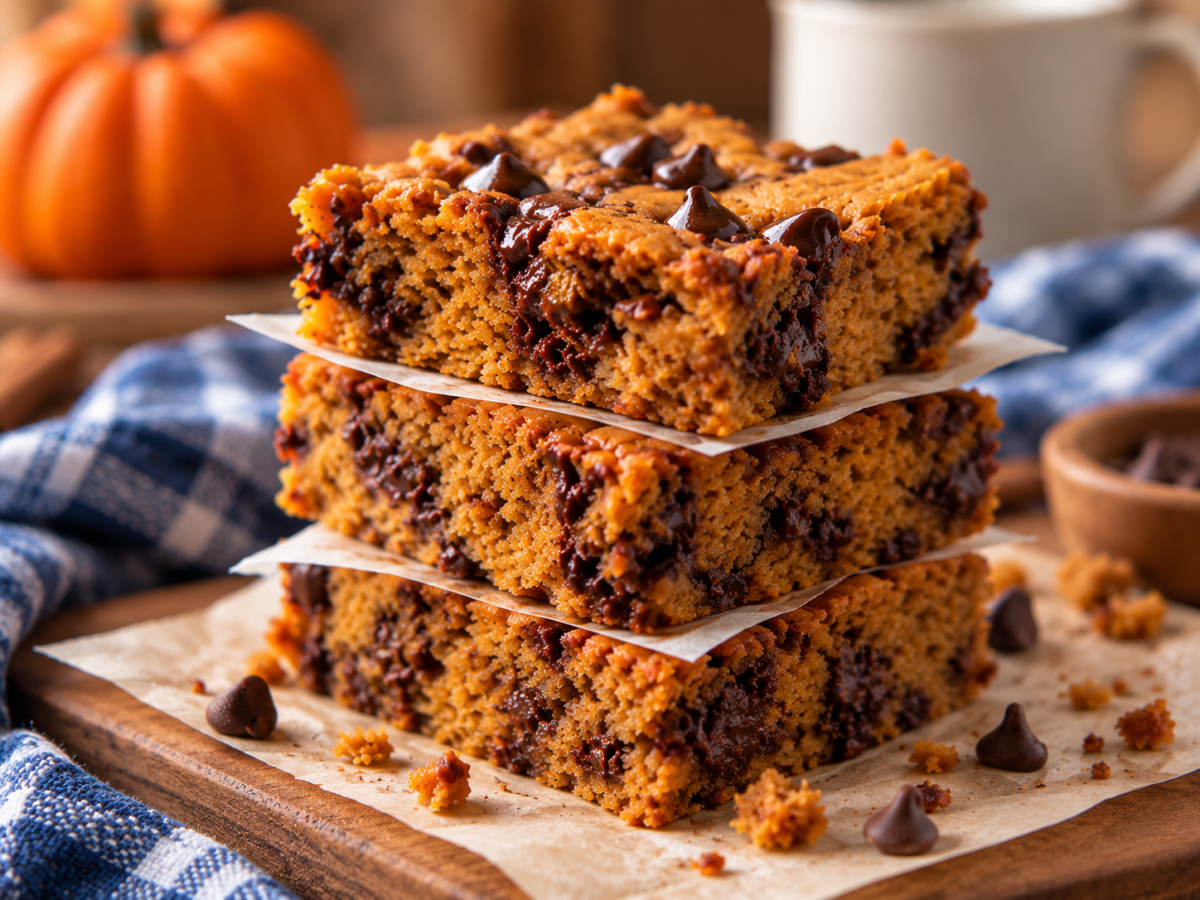
The final texture: These bars should be soft and moist with a tender, cakey crumb and pockets of melted chocolate throughout.
Expert Tips
A few small details can make a big difference with gluten-free baking. These are the details most likely to affect your results:
- Measure the flour carefully. Too much can dry out the bars.
- Use pure pumpkin purée. Pumpkin pie filling changes the sweetness and ingredient balance.
- Let the flax egg thicken. Give it the full 5 minutes.
- Be careful when changing flour. Gluten-free blends aren’t formulated identically.
- Use an 8×8-inch pan. A different size changes the thickness and baking time.
- Start checking at 25 minutes. Do not assume the bars need to bake for the full 35 minutes.
- Cool before slicing. The bars firm up as they cool.
- Use parchment for easier removal. Leave an overhang so you can lift out the cooled bars.
Have more pumpkin to use? Make a bowl of Creamy Vegan Pumpkin Soup.
Troubleshooting Tips
If your bars don’t turn out as expected, start here:
- Gummy: They may be underbaked, contain too much liquid, or have been sliced too soon. Bake until the center is set and cool completely.
- Dry: Too much flour or overbaking are the most likely causes. Measure carefully and begin checking at 25 minutes.
- Falling apart: Make sure the flax egg thickened before use. Changing the flour can also affect binding. I used the same flax-egg technique in this recipe, Grain Free Pumpkin Pie Spiced Waffles.
- Center stays wet: Check that you’re using an 8×8-inch pan and haven’t added extra pumpkin or liquid. Continue baking until the center sets.
- Sticking: Line the pan with parchment and let the bars cool before lifting them out.
Easy Pumpkin Bar Variations
Looking to switch things up? Try these simple add-ins for extra flavor, texture, or a seasonal twist.
- Pumpkin Walnut Bars: Fold a small handful of chopped walnuts or pecans into the batter with the chocolate chips for extra crunch and nutty flavor.
- Extra Chocolate Pumpkin Bars: For more chocolate in every bite, add a few extra mini chocolate chips to the batter or sprinkle more over the top before baking.
- Extra-Spiced Pumpkin Bars: Prefer a stronger fall-spice flavor? Add a small extra pinch of pumpkin pie spice rather than making a large adjustment that could overpower the pumpkin and chocolate.
- Cranberry Pumpkin Bars: Fold in a small handful of dried cranberries for chewy, tart bites that contrast with the sweet chocolate.
And if you’d rather take your pumpkin in a savory direction, try this Massaged Kale Salad with Pumpkin Tahini Dressing next.
How To Serve Pumpkin Chocolate Chip Bars
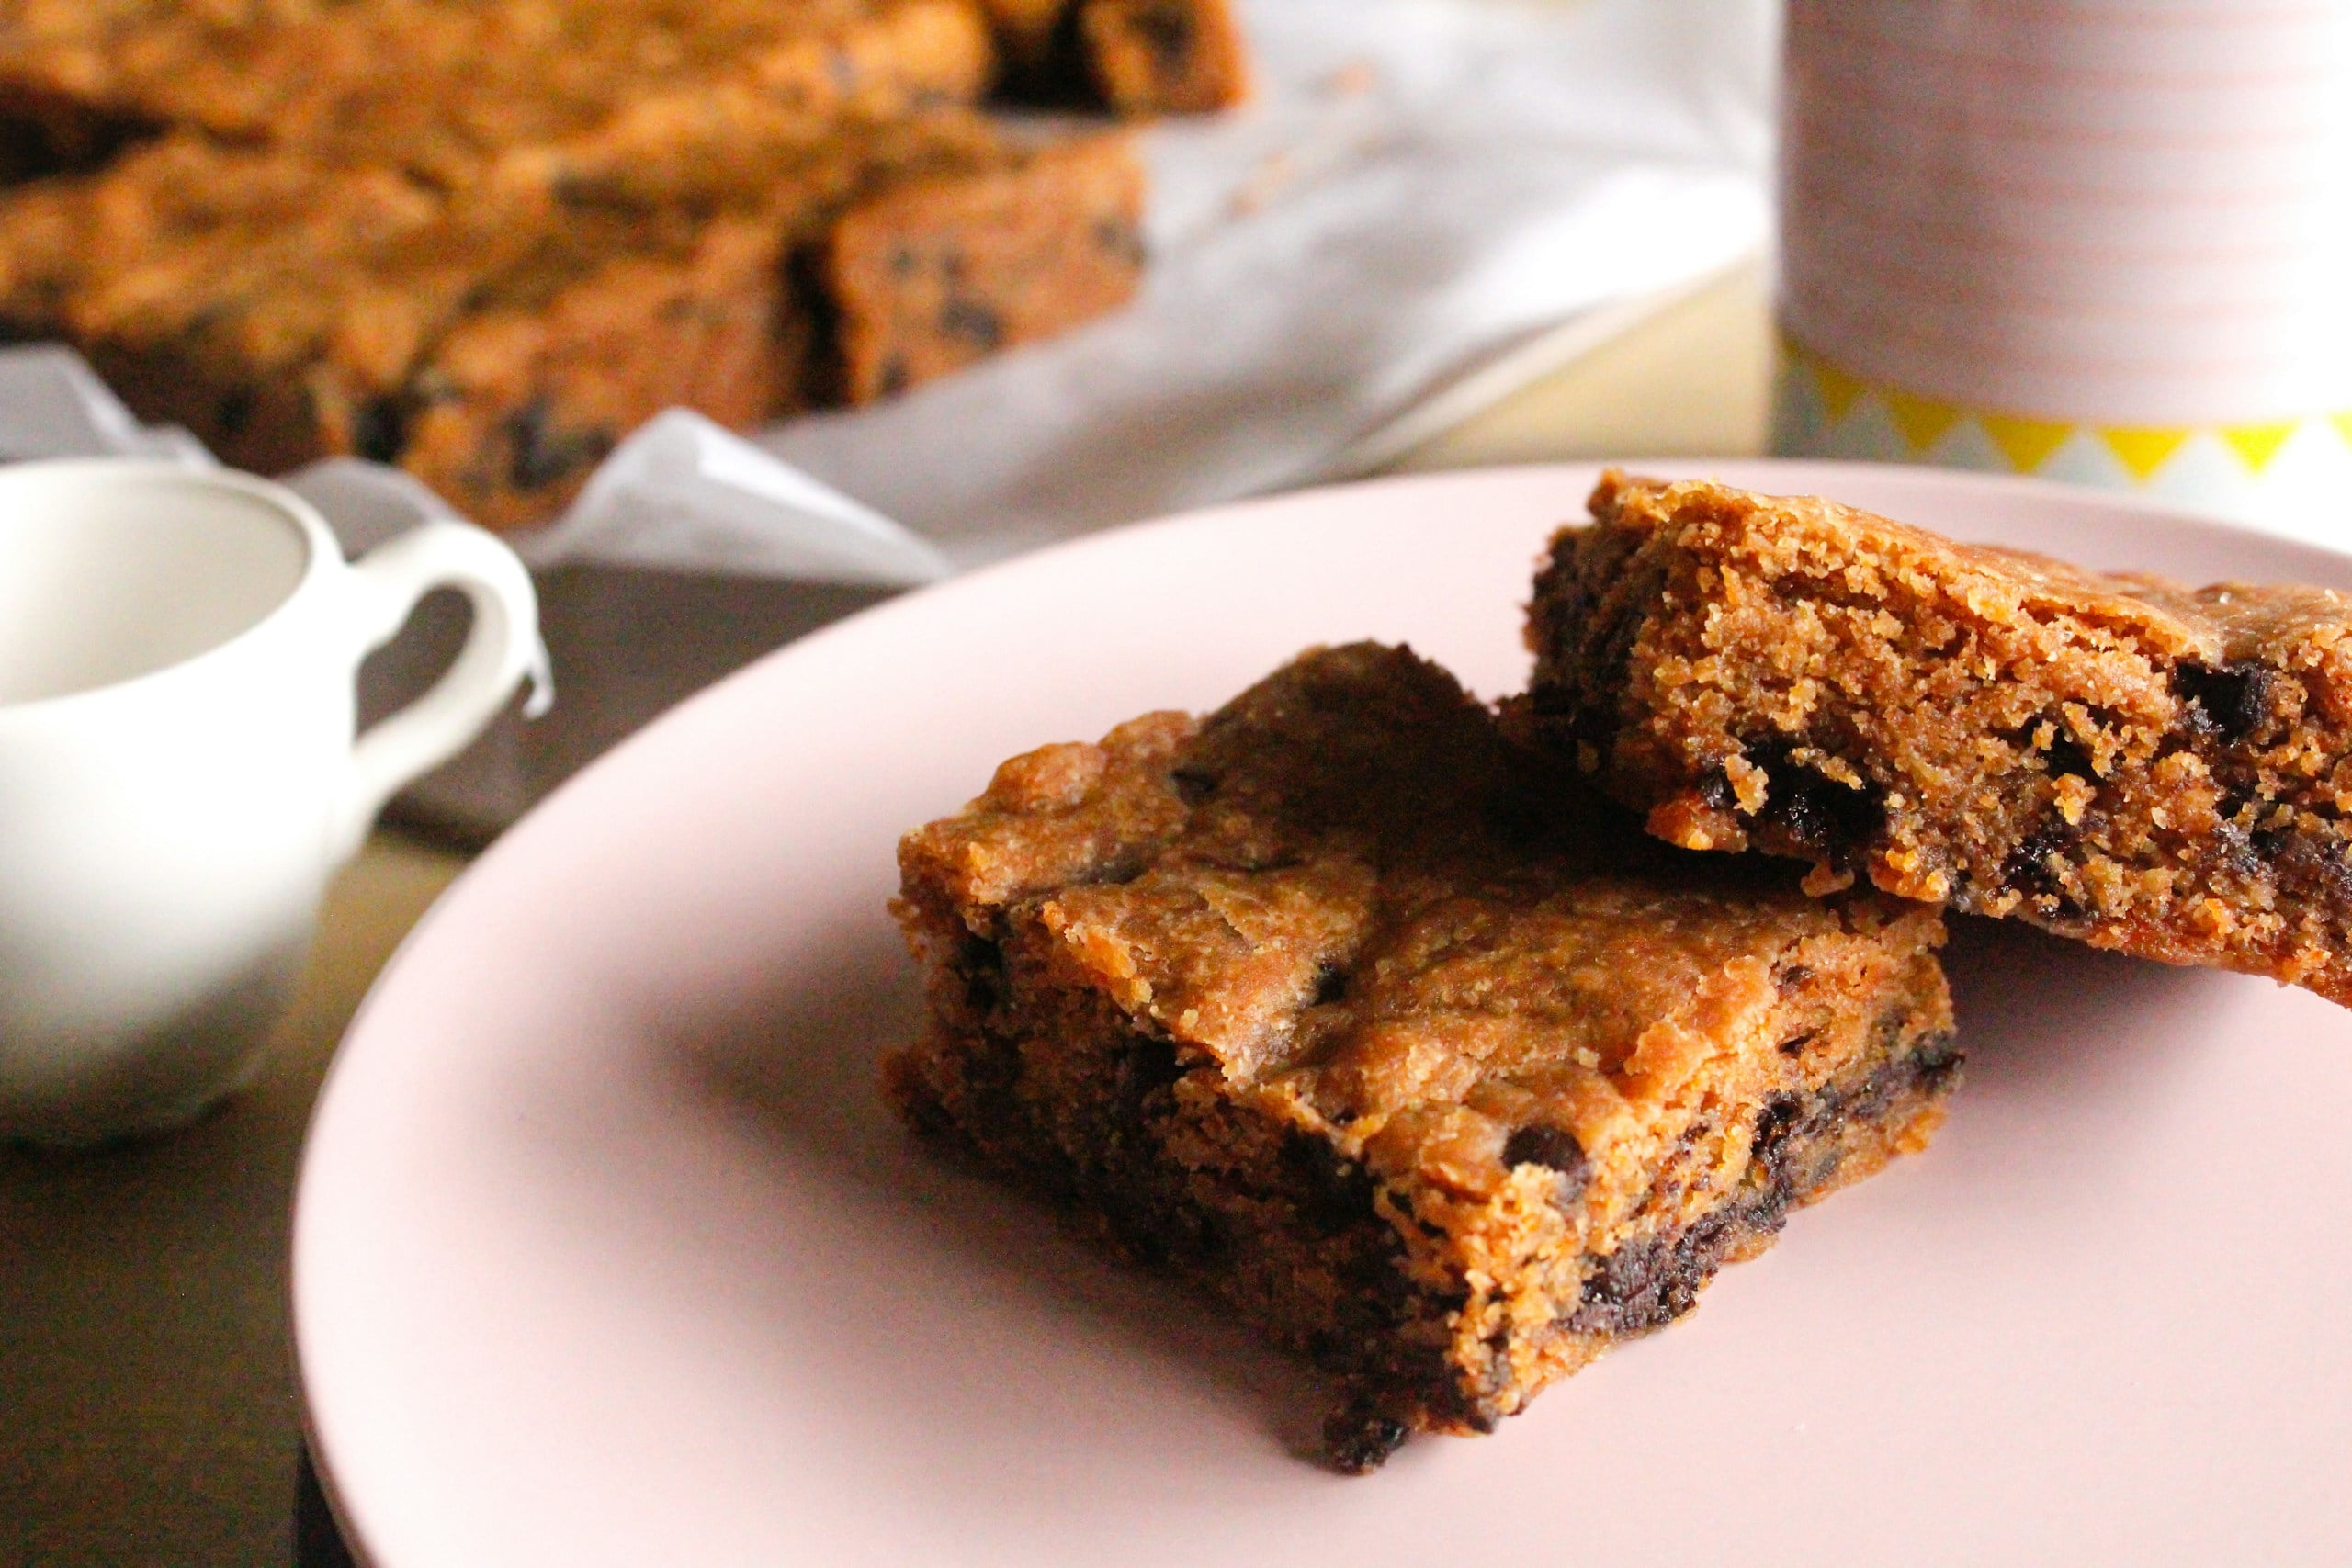
Once the bars have cooled enough to set, you can serve them based on the occasion and the texture you prefer.
- Slightly Warm: Enjoy them after cooling and setting for a softer bite and melty chocolate chips.
- At Room Temperature: Let refrigerated bars sit at room temperature briefly before serving for a softer texture. These bars are an easy option for an afternoon snack or for packing in a fall lunchbox.
- Chilled: Serve straight from the refrigerator if you prefer your pumpkin bars cold.
- With Coffee or Tea: The pumpkin pie spice and chocolate make these bars a natural pairing with a hot drink.
- On a Thanksgiving Dessert Platter: Cut them into smaller squares and serve alongside other seasonal treats. For more plant-based ideas for the table, browse these 25 Thanksgiving Vegan Desserts, which include pies, cookies, pumpkin desserts, and other holiday options.
- With Dairy-Free Whipped Topping: Add a spoonful just before serving for a creamy finish.
How To Store & Freeze
These bars are easy to store once they’ve cooled completely. For the best results, keep them covered so the soft pumpkin texture doesn’t dry out.
- Refrigerator: Store the cooled bars in an airtight container in the refrigerator.
- Freezer: Once completely cooled, slice the bars and wrap each one individually in plastic wrap or parchment paper. Place the wrapped bars in a freezer-safe container or bag and freeze for up to 3 months. Thaw overnight in the refrigerator or at room temperature before serving.
- Make Ahead: You can bake the bars a day ahead. Let them cool completely, cover, and refrigerate until ready to serve.
For another pumpkin bake, try these Almond Butter Pumpkin Spice Chocolate Chip Cookies (V + GF).
Pumpkin Baking Questions Answered
Still unsure about an ingredient? These answers cover the most common questions. If yours isn’t here, drop it in the comments.
What’s The Difference Between Pumpkin Purée and Pumpkin Pie Filling?
Pumpkin purée is plain pumpkin. Pumpkin pie filling contains additional ingredients such as sweeteners and spices, which would change this recipe.
Use exactly ½ cup plain pumpkin purée.
What Gluten-Free Flour Works Best For Pumpkin Bars?
I tested Ryze Yellow Bag Gluten-Free Flour. Another gluten-free blend may behave differently, so don’t assume every 1:1 flour will produce an identical texture.
If you don’t need the recipe to be gluten-free, I recommend unbleached white flour. Almond and oat flour aren’t direct 1:1 substitutes.
Do You Need Xanthan Gum For This Recipe?
Not necessarily. If your gluten-free flour blend already contains xanthan gum, you don’t need to add more. Because different gluten-free flours behave differently, follow the flour blend’s instructions rather than automatically adding xanthan gum.
Can I Make These Without Chocolate Chips?
Yes, although the bars will be less sweet and lose their chocolate flavor. The pumpkin, molasses, maple syrup, vanilla, and spices will stand out more.
More Gluten-Free Pumpkin & Vegan Recipes
Still have pumpkin left in the can? Keep it going with another fall recipe. Whether you’re in the mood for breakfast, dessert, or something savory, these are easy places to start.
- Creamy One Pot Pumpkin Pasta (Vegan + Gluten Free): Turn pumpkin into dinner with a creamy, savory pasta made with pumpkin purée, coconut milk, kale, and warming herbs.
- Brown Sugar Pumpkin Banana Muffins (V + GF): Pumpkin and banana keep these gluten-free, vegan muffins moist, while brown sugar adds a richer sweetness. They’re especially good when you want pumpkin for breakfast rather than dessert.
- Pumpkin Snickerdoodle Cookies: Soft, chewy pumpkin cookies rolled in cinnamon sugar make an easy next bake when you’re still craving those warm fall spices.
- Pumpkin Cake with Cream Cheese Frosting: For something a little more indulgent, this one-bowl pumpkin cake pairs a moist pumpkin base with a rich homemade cream cheese frosting.
- Vegan Pumpkin Spice Popcorn is another easy fall treat packed with warm pumpkin spice flavor.
Pick your favorite and keep that open can of pumpkin working.
Did You Make These Pumpkin Chocolate Chip Bars?
Tell us how they turned out in the comments, especially which gluten-free flour you used and how the texture came out. Tried a substitution or variation? Share that too so other bakers can learn from your results.