You follow a “crispy” salt and pepper chicken recipe, expecting crunch, only to pull out pieces with a soggy coating and flat, forgettable seasoning. Rather than that satisfying snap, some bites turn chewy while others crisp unevenly, which leaves the whole batch disappointingly inconsistent.
We built this recipe around a cornstarch-only coating because it delivers the lightest, most consistent crisp without contradiction. While some cooks mix cornstarch with flour, this recipe intentionally stays with cornstarch only, so you get the classic restaurant-style crunch every time.
Table of Contents
In a few minutes, you’ll learn how to create an ultra-crispy crust and get this salt and pepper chicken on the table fast. Even if coating and heat control have let you down before, this method makes takeaway texture easy. Here’s exactly how to get that shatter-crisp bite every time.
What Is Salt and Pepper Chicken?
Salt and pepper chicken isn’t the usual fried chicken recipe. It’s a distinct style of Chinese-inspired takeaway chicken rooted in Cantonese cooking traditions.
Street food vendors and restaurants popularized this method because it produces bold flavor with a light, crispy exterior that goes well with simple aromatics like garlic and chilies.
Unlike a basic fried chicken dinner, this dish thrives on precise texture and seasoning, and the difference shows in every bite. If you love flavor-first, texture-rich chicken, read our take on Melt‑in‑Your‑Mouth Chicken that’s juicy and simple to prepare for another easy, crowd-pleasing chicken dish.
How It Differs from General Fried Chicken
Unlike Southern-style fried chicken or heavily battered versions, salt and pepper chicken uses a light cornstarch coating and dry seasoning instead of a thick batter or rich gravy. The goal isn’t coating thickness, it’s pure, unmasked crispiness that lets the seasoning shine.
Are you into flavor-forward chicken dishes with texture that delivers? Skim through this twist on a classic in our honey sesame chicken recipe for a crispy, saucy favorite you can make at home.
Dry Seasoning vs Sauced Dishes
Sauce plays a starring role in many fried chicken dishes. It adds gloss, moisture, or sweet-savory layers.
Salt and pepper chicken takes the opposite approach. The magic comes from dry seasoning sprinkled over a perfectly crisp exterior. There’s no sauce to dilute or mask the crunch; every bite delivers salt, pepper, garlic, and chili in a burst.
Why Texture Matters More Than Sauce
In this recipe, texture is the star. The contrast between the ultra-crisp crust and juicy chicken inside is what keeps people coming back, not a sauce covering up for bland meat. That’s why mastering heat, cornstarch coating, and seasoning balance is essential before worrying about any sauce accompaniment.
Texture Comes First: This dish is all about crisp exterior and juicy inside, not sauce or heavy batter. The sections below explain why that happens, so you understand the technique instead of just following the steps.
Quick Ingredient Scan
Let’s keep things simple before we heat the oil or start coating. Salt and pepper chicken comes together with just a number of everyday ingredients that deliver bold flavour and that unmistakable crispy bite.
- chicken thighs
- cornstarch
- salt
- white pepper
- garlic
- chilies
- oil
Ingredients & Substitutions
Since you’ve scanned the core ingredients, let’s look at everything you’ll actually use. This includes the marinade that seasons the chicken and helps the coating cling, plus smart ways to tweak things without losing texture or flavour.
For the Marinade
These ingredients season the meat and help build flavour throughout:
- soy sauce
- rice wine (or dry sherry)
- water
- brown sugar
- salt
- white pepper
- garlic
For the Coating & Frying
These deliver the signature texture:
- chicken thighs (or your choice of cut)
- cornstarch
- oil (for frying)
- white pepper (extra for tossing)
- chilies (optional, for heat)
Key Ingredients Explained
- Cornstarch (Crisp Texture): Cornstarch is what gives the outer part that ultra-light, shatter-crisp finish you’re after. It dries quickly and fries up beautifully in hot oil.
- Thighs (Juicier Bite): Dark meat holds moisture better under high heat, helping keep the interior tender while the outside gets crispy.
- White Pepper (Authentic Flavor): White pepper adds the classic, aromatic heat that defines salt and pepper chicken more than black pepper does in this dish.
- Soy Sauce + Rice Wine (Balanced Umami): These marinade components draw flavour into the chicken and help make the coating adhere during frying.
Substitution Quick Guide
Use this table for easy adjustments. Every swap changes texture slightly, but still works with the core method.
| Ingredients | Suggested Swap | Impact |
|---|---|---|
| Chicken thighs | Boneless breast | Leaner, less juicy |
| Cornstarch | ½ cornstarch + ½ flour | Slightly thicker, heavier crust |
| Soy Sauce | Tamari (gluten-free) | Keeps gluten-free with a similar flavour |
| Chillies | Chili flakes or jalapeño | Different heat profile |
Common Mistakes to Avoid
To set you up for success before you even fry, watch out for these texture killers:
- Overcrowding the pan causes uneven cooking and steam buildup
- If the chicken is too wet before coating, it would prevent crisp adhesion
- If the oil is not hot enough, it will lead to a greasy, soft crust

Printable Salt and Pepper Chicken Recipe Card
Ingredients
Marinade
- 1 lb boneless, skinless chicken thigh or breast, cut into bite-size pieces
- 2 tbsp soy sauce
- 1 tbsp rice wine or dry sherry
- 1 tsp brown sugar
- ½ tsp salt
- ½ tsp. white pepper
- 2 cloves garlic minced
Coating & Frying
- ¾ cups Cornstarch
- ¼ tsp. extra white pepper for tossing
- 2-3 chillies sliced (optional)
- Oil for frying
Instructions
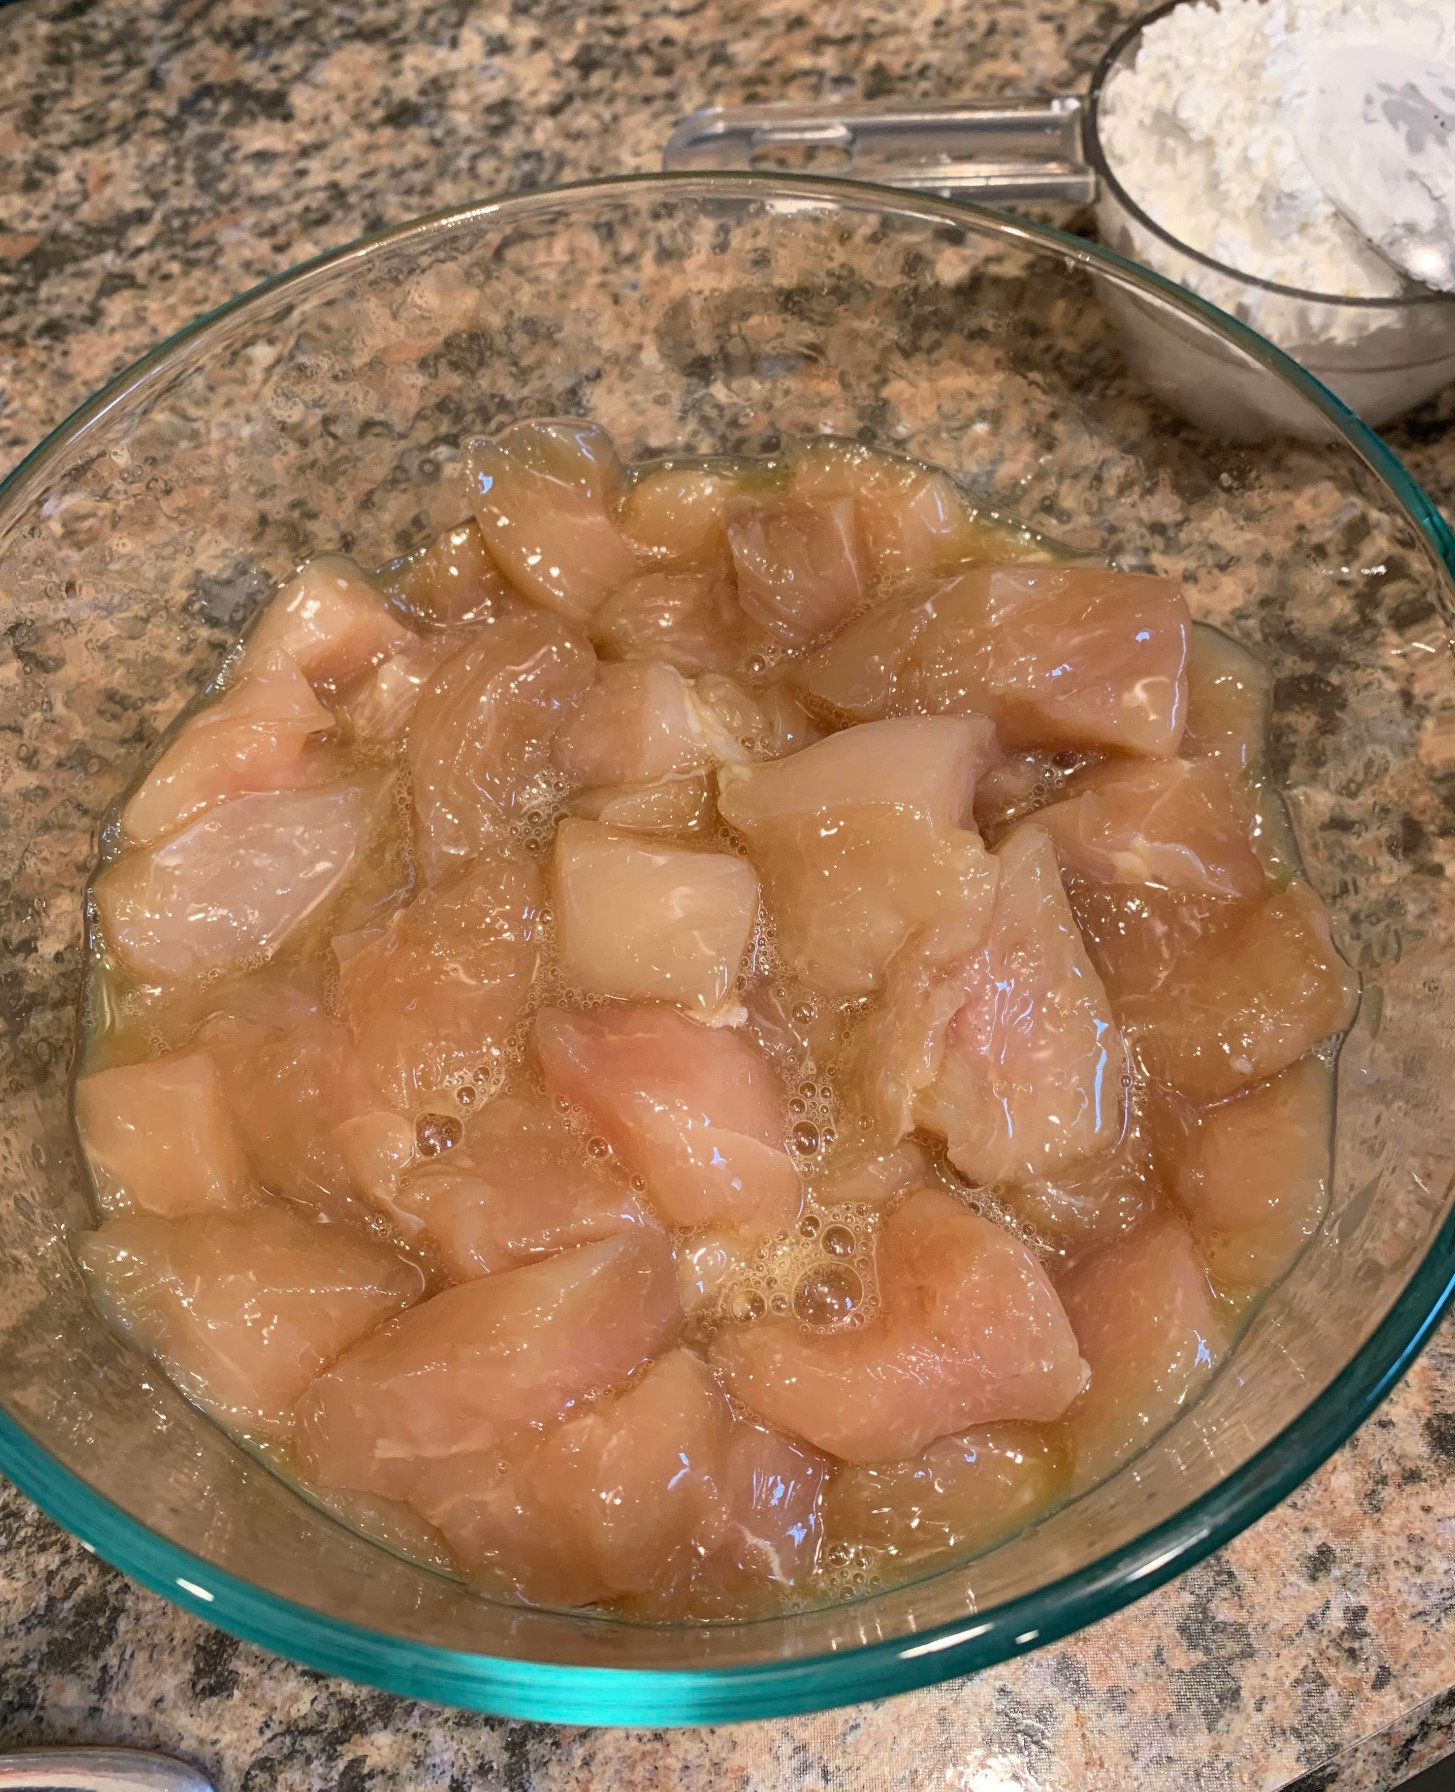
- Marinate: In a bowl, combine chicken with soy sauce, rice wine, brown sugar, salt, white pepper, and minced garlic. After mixing, let it rest for 10–15 minutes.
- Prep Coating: Place cornstarch in a shallow dish. Dredge each piece of marinated chicken in cornstarch until fully coated. Then, shake off the excess.
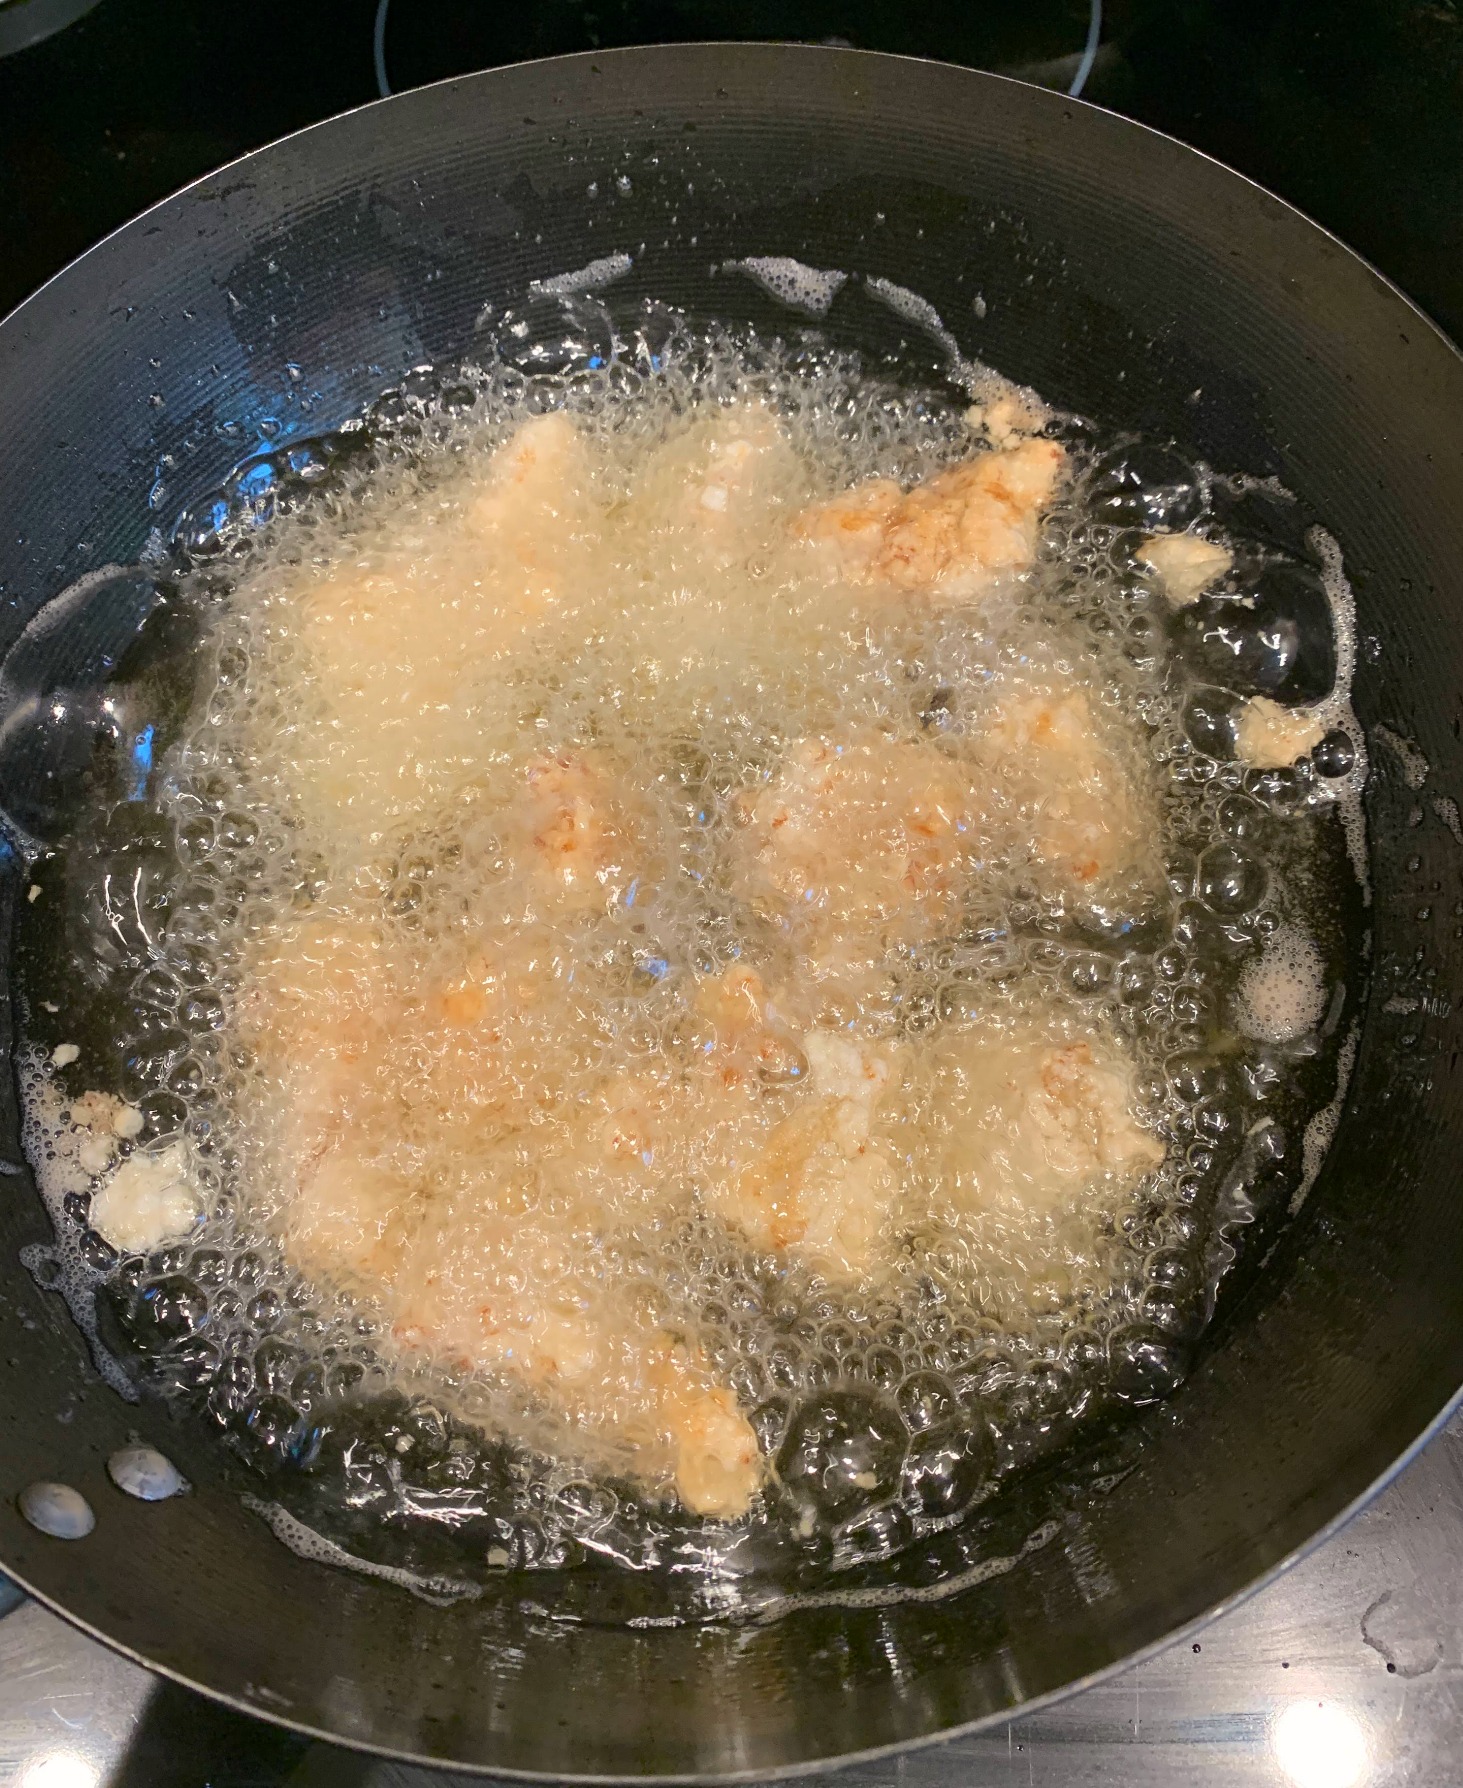
- Heat Oil: Warm oil in a deep pan to 350–360 °F (175–180 °C). Use a thermometer if you have one, because proper oil temp is key for crisp.
- Fry: Working in batches, fry chicken until golden and crisp, for about 3–4 minutes per batch. Make sure you don’t crowd the pan.
- Drain & Toss: Remove with a slotted spoon to a wire rack or paper towel-lined tray. Toss lightly with extra white pepper and sliced chilies for flavor.
- Rest: Let the chicken rest for 5 minutes before serving. This helps lock in crisp and lets juices redistribute.
Notes
Technique at a Glance
- Oil Temperature: 350–360 °F (175–180 °C)
- Fry Time per Batch: ~3–4 minutes
- Rest Time After Frying: ~5 minutes
- Cut Size Guide: Bite-size cubes 1–1½ in (2.5–3.8 cm)
Crisping Tips
- Oil Temp Is Everything: If the oil is too cool, the chicken turns greasy; if it’s too hot, the outside burns before the inside cooks. Heat the oil to about 350–360 °F (175–180 °C) for best results.
- Dry Before Coating: Pat chicken thoroughly to help cornstarch cling.
- Don’t Overbake: Fry the chicken in small batches so pieces don’t touch, this helps them stay extra crispy.
Estimated Nutrition (Per Serving, ~¼ Recipe)
Nutrition values vary significantly by exact ingredients and frying method. But we’ve prepared a reasonable estimate based on typical salt & pepper chicken profiles from nutrition databases.- Calories: ~300–400 kcal per serving
- Protein: ~25–40 g
- Carbohydrates: ~10–25 g
- Fat: ~12–20 g
Nutrition
Understanding The Science Behind This Chinese Salt and Pepper Chicken Recipe
Great salt and pepper chicken isn’t luck, it’s technique. Once you understand what makes the coating crisp, the meat juicy, and the crunch last longer than a few minutes, the whole recipe becomes predictable instead of hit-or-miss.
We’ve broken down the simple food science behind it so you know exactly why this method works every time.
Why Cornstarch Creates Crispier Chicken Than Flour
Cornstarch isn’t just for tradition; it affects how the coating behaves under high heat:
- Lower Protein: Cornstarch has much less protein than wheat flour, which means it doesn’t form gluten. Less gluten leads to a lighter, airier crust rather than a dense shell.
- Less Gluten Formation: With less gluten, the coating doesn’t get tough or chewy; it fries up crisp and delicate.
- Faster Moisture Evaporation: As the oil heats the surface, water escapes quickly. This rapid moisture loss helps the crust dry out and harden faster, which gives you that break-apart crunch. Rapid dehydration is a key part of crisp texture in fried foods.
- Lighter Crust Overall: Because cornstarch dries faster and holds less moisture, it produces a shell that’s thin yet noticeably crisp with every bite.
This mechanism is supported by food science research. It shows how coating composition and moisture movement during frying affect crust formation and texture.
Why Small Pieces Fry Better
How you cut the chicken has a big impact on texture, too:
- More Surface Area: Smaller pieces expose more of the meat to hot oil, which creates more opportunities for that crisp surface to form.
- Faster Cook Time: Bite-sized pieces cook through quickly, reducing the risk of overcooking the outside while the inside stays underdone.
- More Crunch Per Bite: With a high ratio of exterior crust to interior meat, every bite gives you more of that crisp texture you’re aiming for.
Which Coating Is Better between Cornstarch and Flour?
When it comes to coating salt and pepper chicken, there are two main approaches. Choosing the right one between them dramatically influences how crispy, light, and satisfying the final bite feels.
Option 1: 100% Cornstarch (This Recipe)
This is the method used in this recipe, and below are reasons it’s so effective:
- Crispier: Cornstarch fries up with a very light, extra-crunchy shell because it sets quickly in hot oil and sheds moisture fast.
- Lighter: Without a gluten structure to thicken the crust, the coating stays delicate instead of dense.
- Restaurant style: This is the texture you expect from classic salt and pepper chicken; a thin, shatter-crisp outside with full seasoning impact.
This recipe uses cornstarch only for maximum crispness. There are no mixed signals and no guessing; it’s just that takeaway-style crunch every time.
Would you like to see how a different crispy chicken coating plays out in another popular weeknight chicken dish? Check out our ranch chicken tenders in the air fryer. It’s another simple recipe where coating choice shapes the final texture dramatically.
Option 2: Cornstarch + Flour Blend
Some cooks like to blend cornstarch with all-purpose flour for a slightly different effect:
- Thicker Crust: The addition of flour creates a heartier, more substantial shell.
- Slightly Denser: More body in the coating produces a contrast that some find comforting and familiar.
- Home-Style Texture: This would give you a more traditional “fried chicken” mouthfeel rather than the ultra-light crisp of cornstarch alone.
At the end of the day, cornstarch only delivers the lightest, crispest, restaurant-style bite. Meanwhile, the cornstarch-plus-flour blend delivers a heavier, more substantial crust. If you want a salt and pepper chicken that stays true to its identity and maximizes crunch, the cornstarch-only recipe is the one for you.
How to Choose the Right Chicken Cut
Once you’ve got your coating and technique right, selecting the right cut and size of chicken is a major factor in texture, flavor, and even cook time. The way you cut the chicken before it hits hot oil is a determinant of how crispy it gets and how juicy it stays.
Before we go into details, have you ever wondered how different chicken cuts change texture and outcome in other recipes? Our Pesto Caprese Baked Chicken shows how breast meat behaves when prepared differently. This article is a handy reference for understanding meat choice effects.
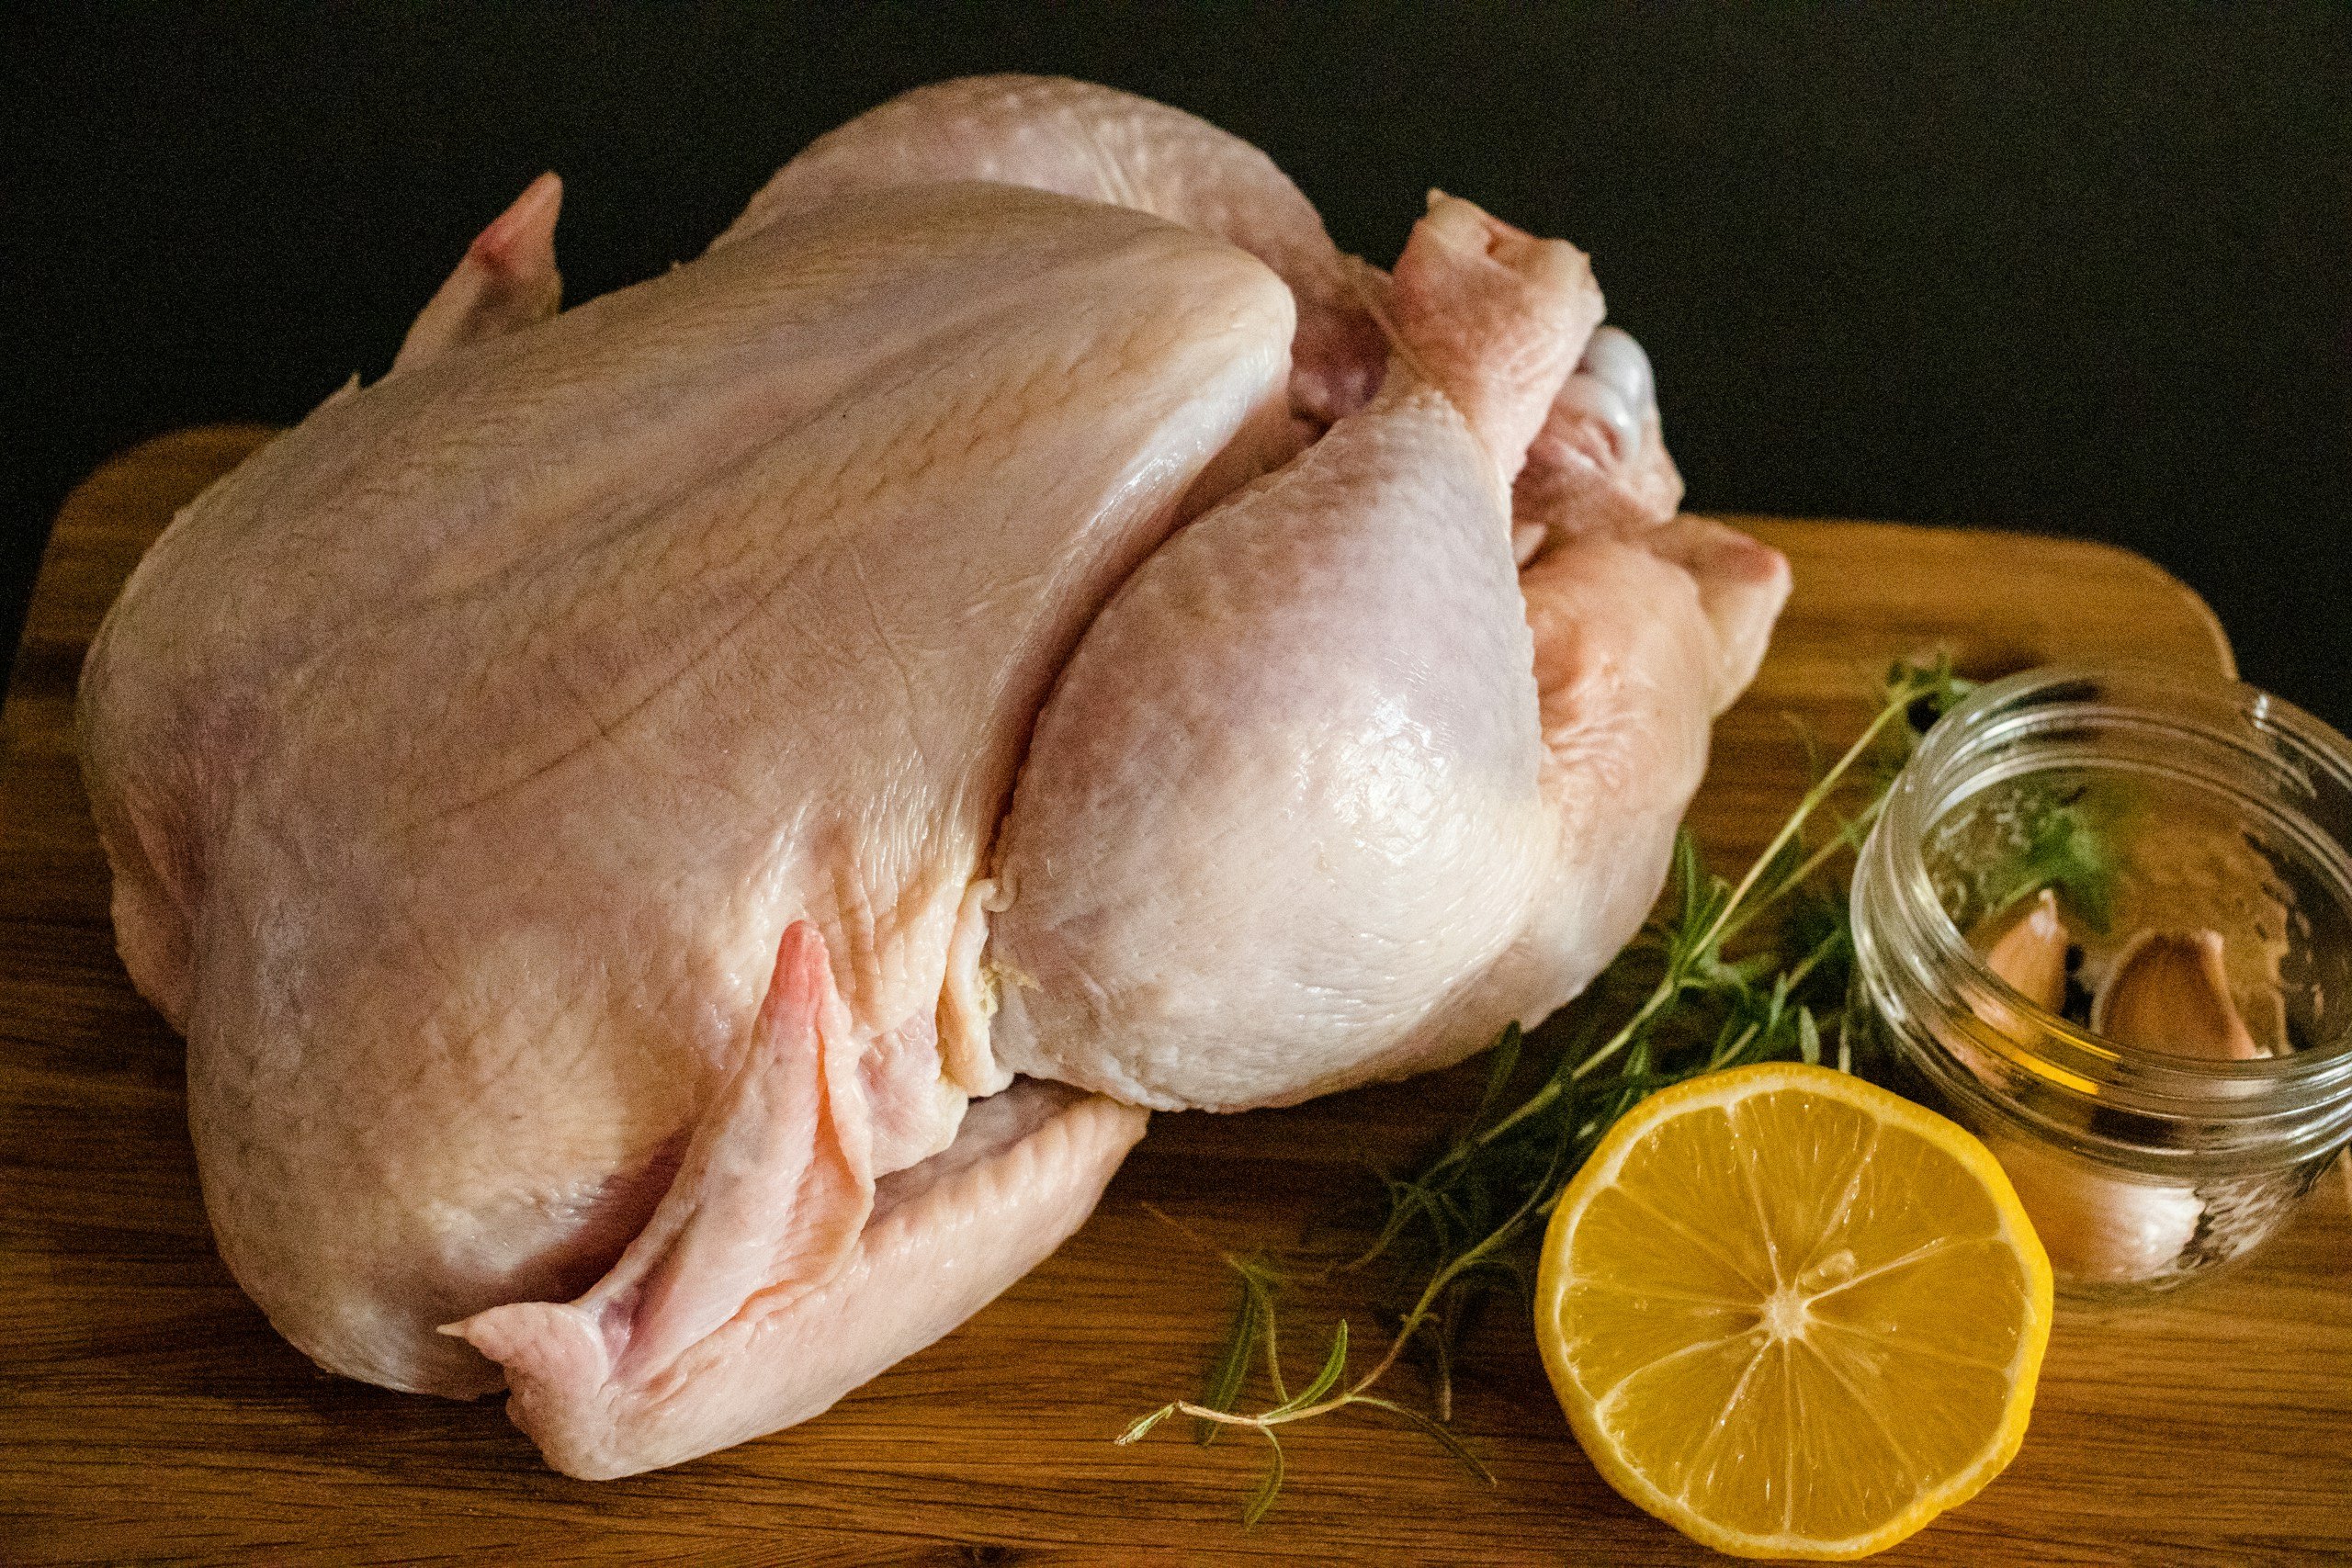
Thighs vs Breast
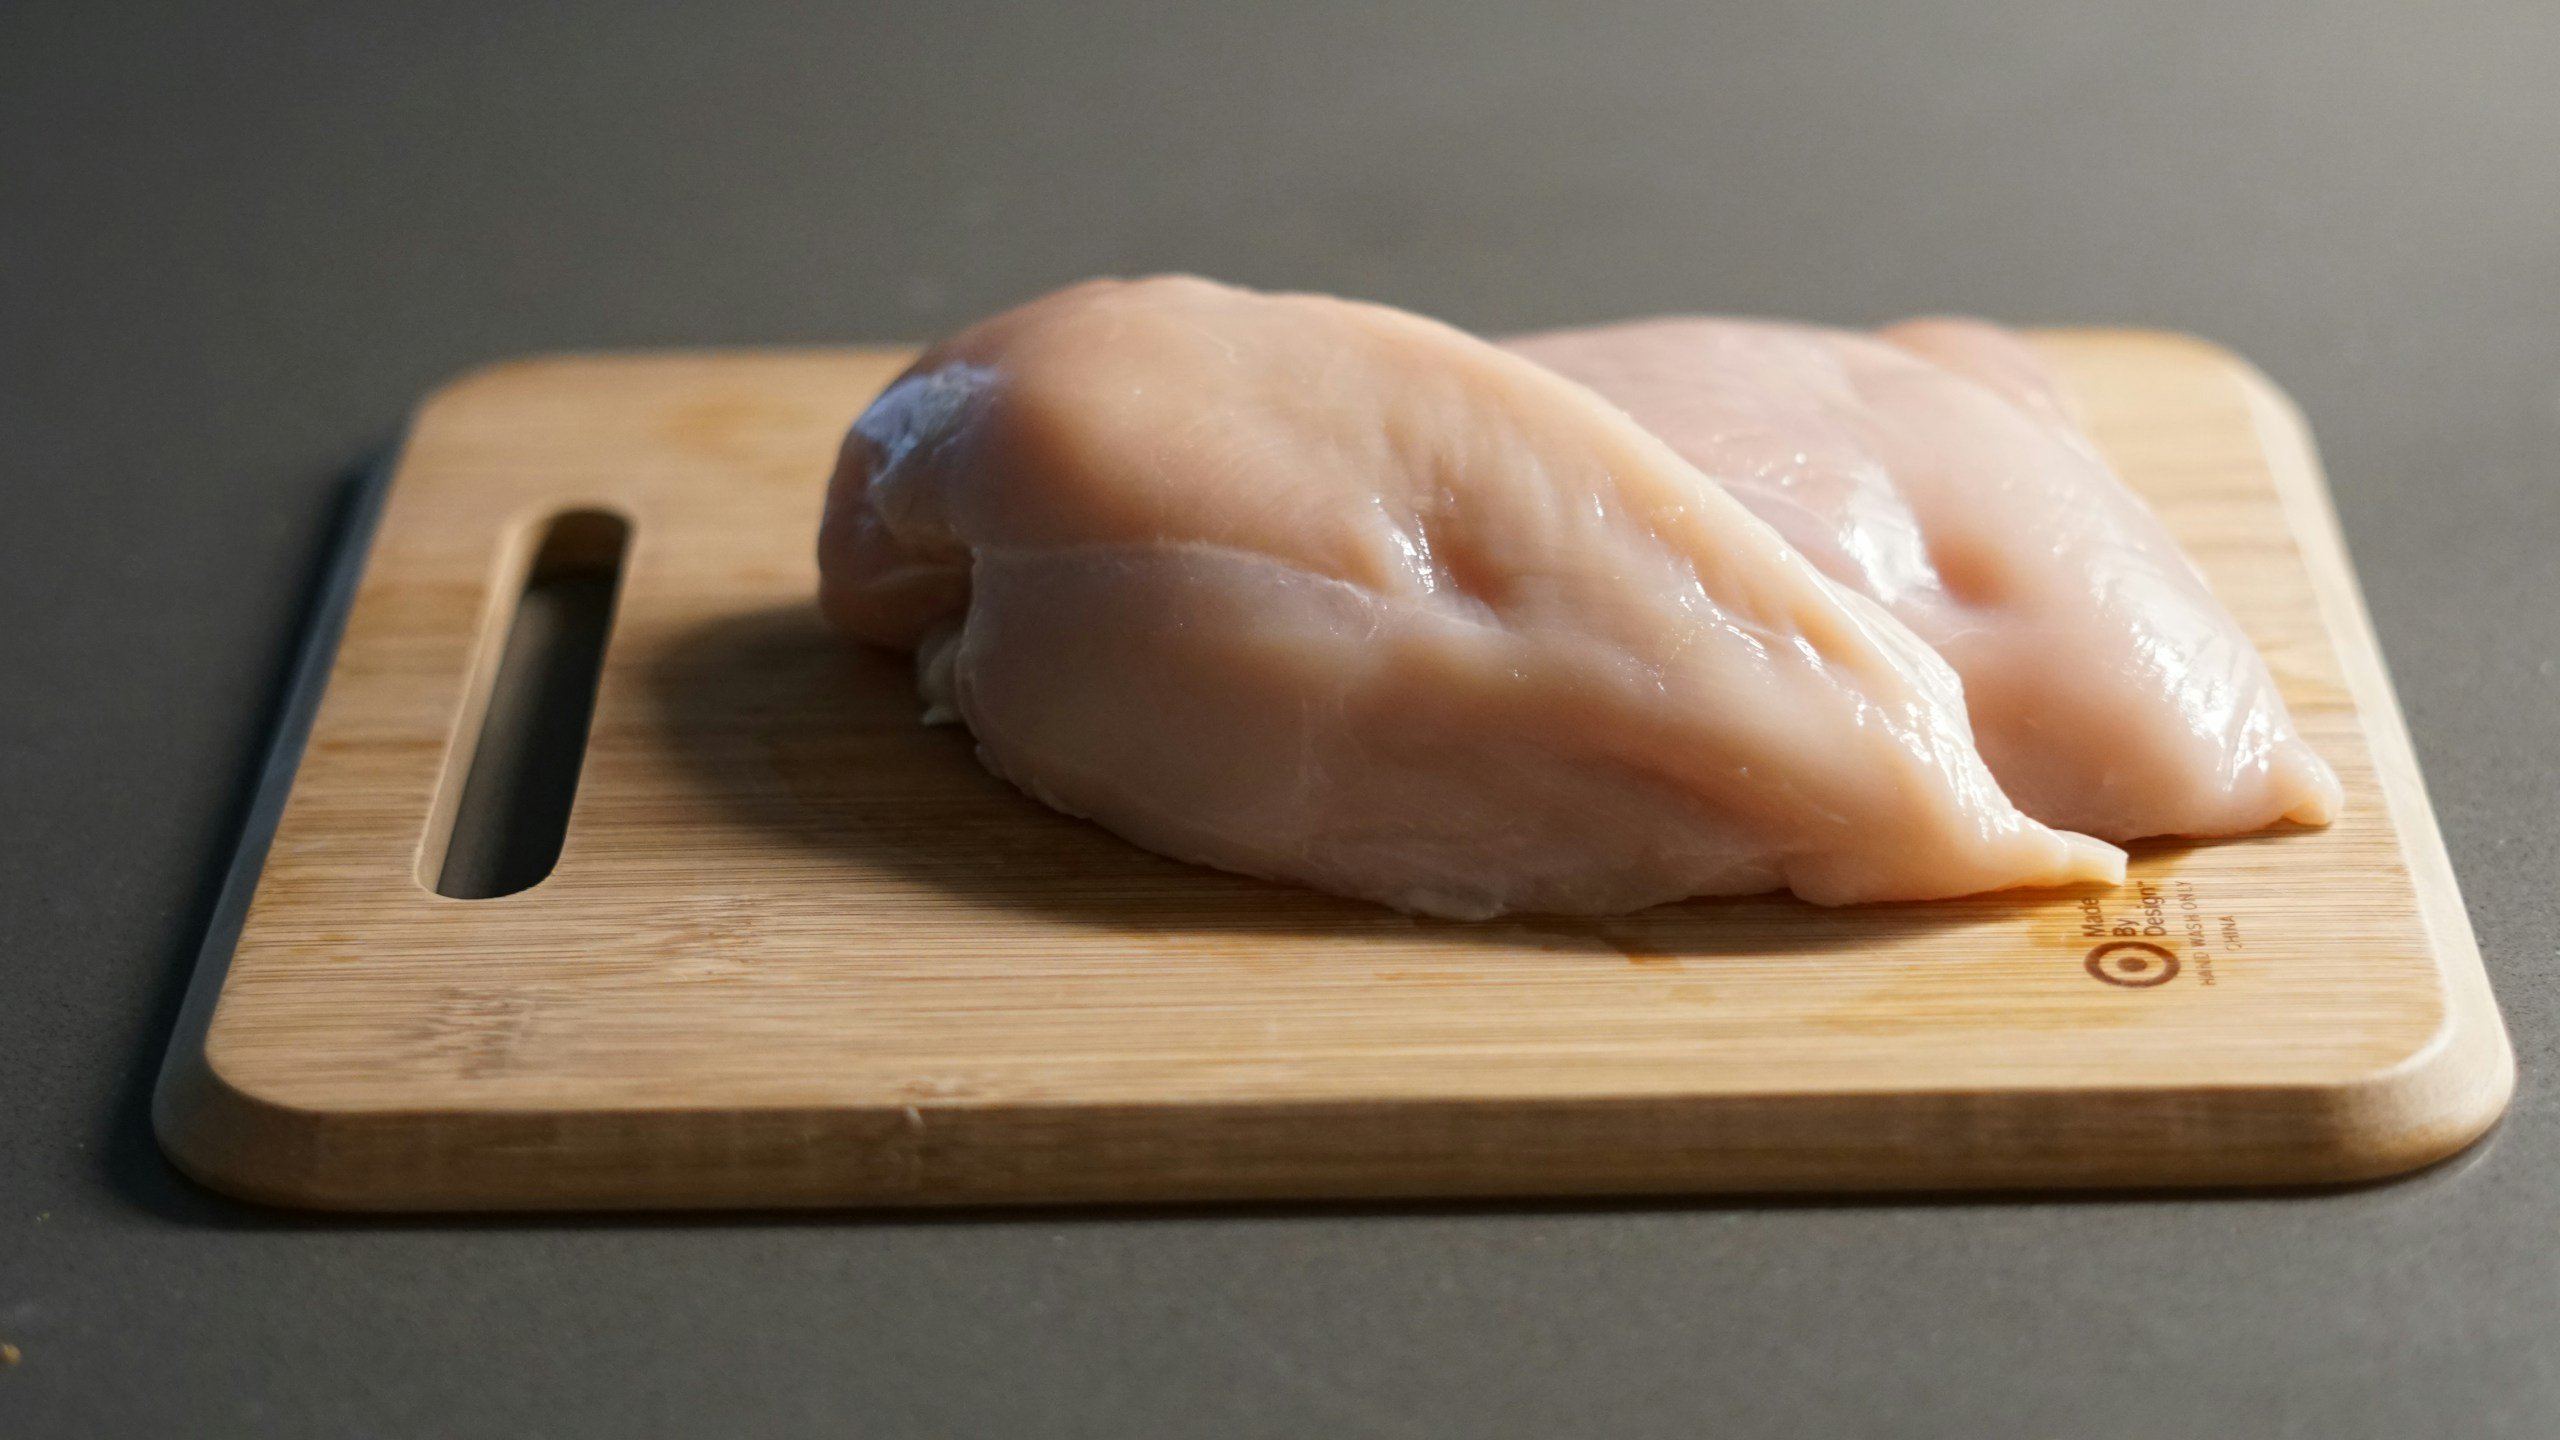
Chicken thighs stay juicy under high heat and hold up well during frying and resting, giving you rich, tender meat under a crisp crust. They’re easier to cook perfectly than leaner cuts, so you get that ideal balance of moist interior and crunchy exterior every time.
On the other hand, chicken breast can work too, but it’s leaner and more likely to dry out if overcooked, so it demands closer attention.
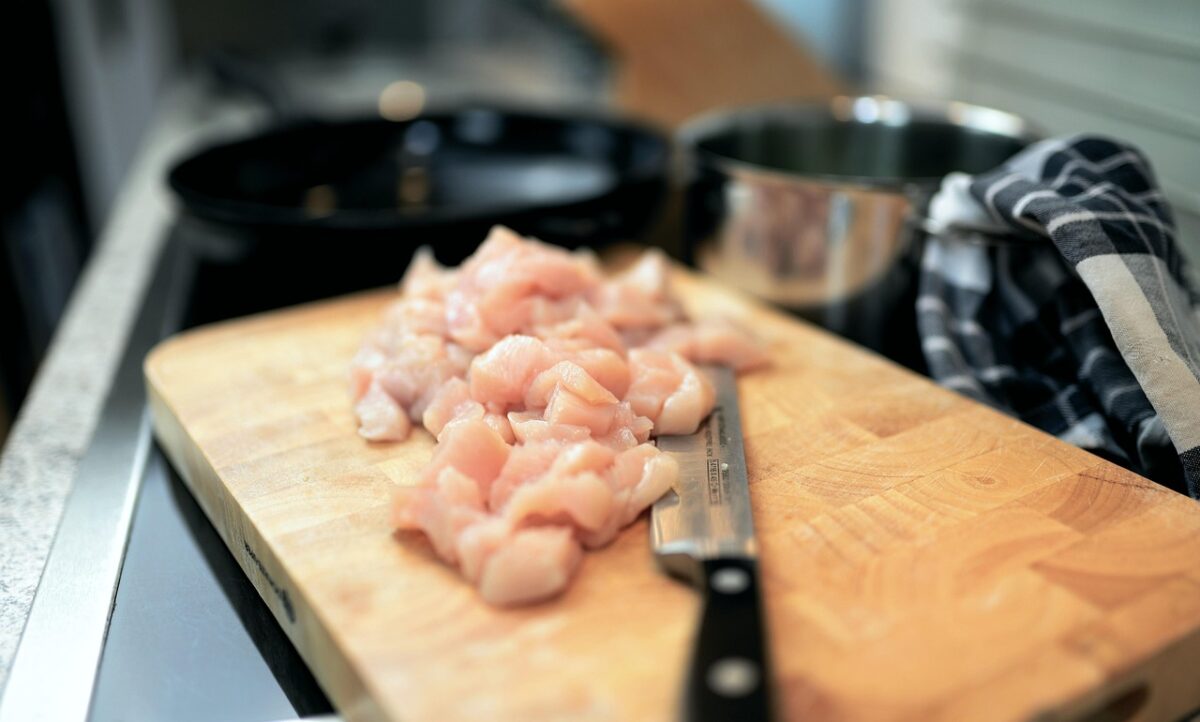
Bite-Size vs Strips
Cutting the chicken into bite-sized pieces increases the surface area that contacts hot oil, which means:
- more crunchy coating per bite
- faster, more even cooking
- easier portioning for serving
Strips are fine if you prefer a larger mouthful, but expect slightly longer cook times and a slightly less crunchy ratio.
Why Uniform Size Matters
Consistency in piece size is one of the biggest texture wins you can get without changing ingredients. When pieces vary too much:
- Tiny bits may overcook or burn
- Larger chunks may end up underdone inside
By keeping everything roughly the same size, you ensure a predictable cook time and consistent crispiness across every piece.
Recommended Size Guide
The sizes below help you balance an extra-crunchy exterior with a juicy interior while keeping cook times efficient and predictable.
- Bite-Size Cubes: ~1–1½ inches (2.5–3.8 cm) per side
- Strips: ~¾–1 inch wide, 3–4 inches long
How to Make Salt and Pepper Chicken (Step-by-Step Guide)
We’ve prepared a clear, numbered cooking roadmap below. Each step includes a single action plus the visual or sensory cues you need to know you’re on the right track. Before you begin, make sure you have the essential equipment listed right after this section.
Step 1: Dry and Prep the Chicken
Use a paper towel to dry each piece thoroughly. Ensure there is no visible moisture to help the coating stick and fry crisp.
Step 2: Mix and Rest the Marinade
Cut the chicken into bite-sized pieces. Combine all liquid marinade ingredients in a bowl until the sugar dissolves. Slide the chicken in and let it rest at room temperature for 10–15 minutes so the flavor can infuse evenly.
Step 3: Shake Off Excess Moisture Before Coating
After marinating, lift the chicken and let any extra liquid drip off. Pat lightly again if needed, because too much marinade clumping makes the coating gummy.
Step 4: Spread the Cornstarch Evenly
Scatter cornstarch on a plate. Press each piece gently into it and turn to coat fully. The surface should feel velvety and never wet or patchy.
Step 5: Bring Oil to Hot Rippling Stage
Heat oil until it shimmers and ripples across the surface. You should see small waves on top of the oil and hear a low sizzle when you dip a wooden spoon handle in. These are visual and sound cues that the oil is hot enough.
Step 6: Fry Using the Bubbling “Lift and Fall” Cue
As you lower the chicken in, bubbles should rush up fast and thick, then taper off slightly as it crisps.
- If the bubbles are tiny and slow, the oil is too cool.
- But if it’s too violent and crack-pop, that means it’s too hot.
Step 7: Check Color, Not Time Alone
Instead of relying strictly on minutes, watch for a deep golden shade all over each piece. That’s your doneness signal for exterior crisp and internal cook-through.
Step 8: Drain and Air-Rest Briefly
Lift pieces into a wire rack (or raised plate) for 2–3 minutes. This stops steam from softening the crust. Letting it breathe preserves crunch.
Step 9: Toss With Heat & Aromatics Last
Only after frying and resting do you add sliced chilies, extra white pepper, or zest. This preserves their bright flavour without wilting them in hot oil.
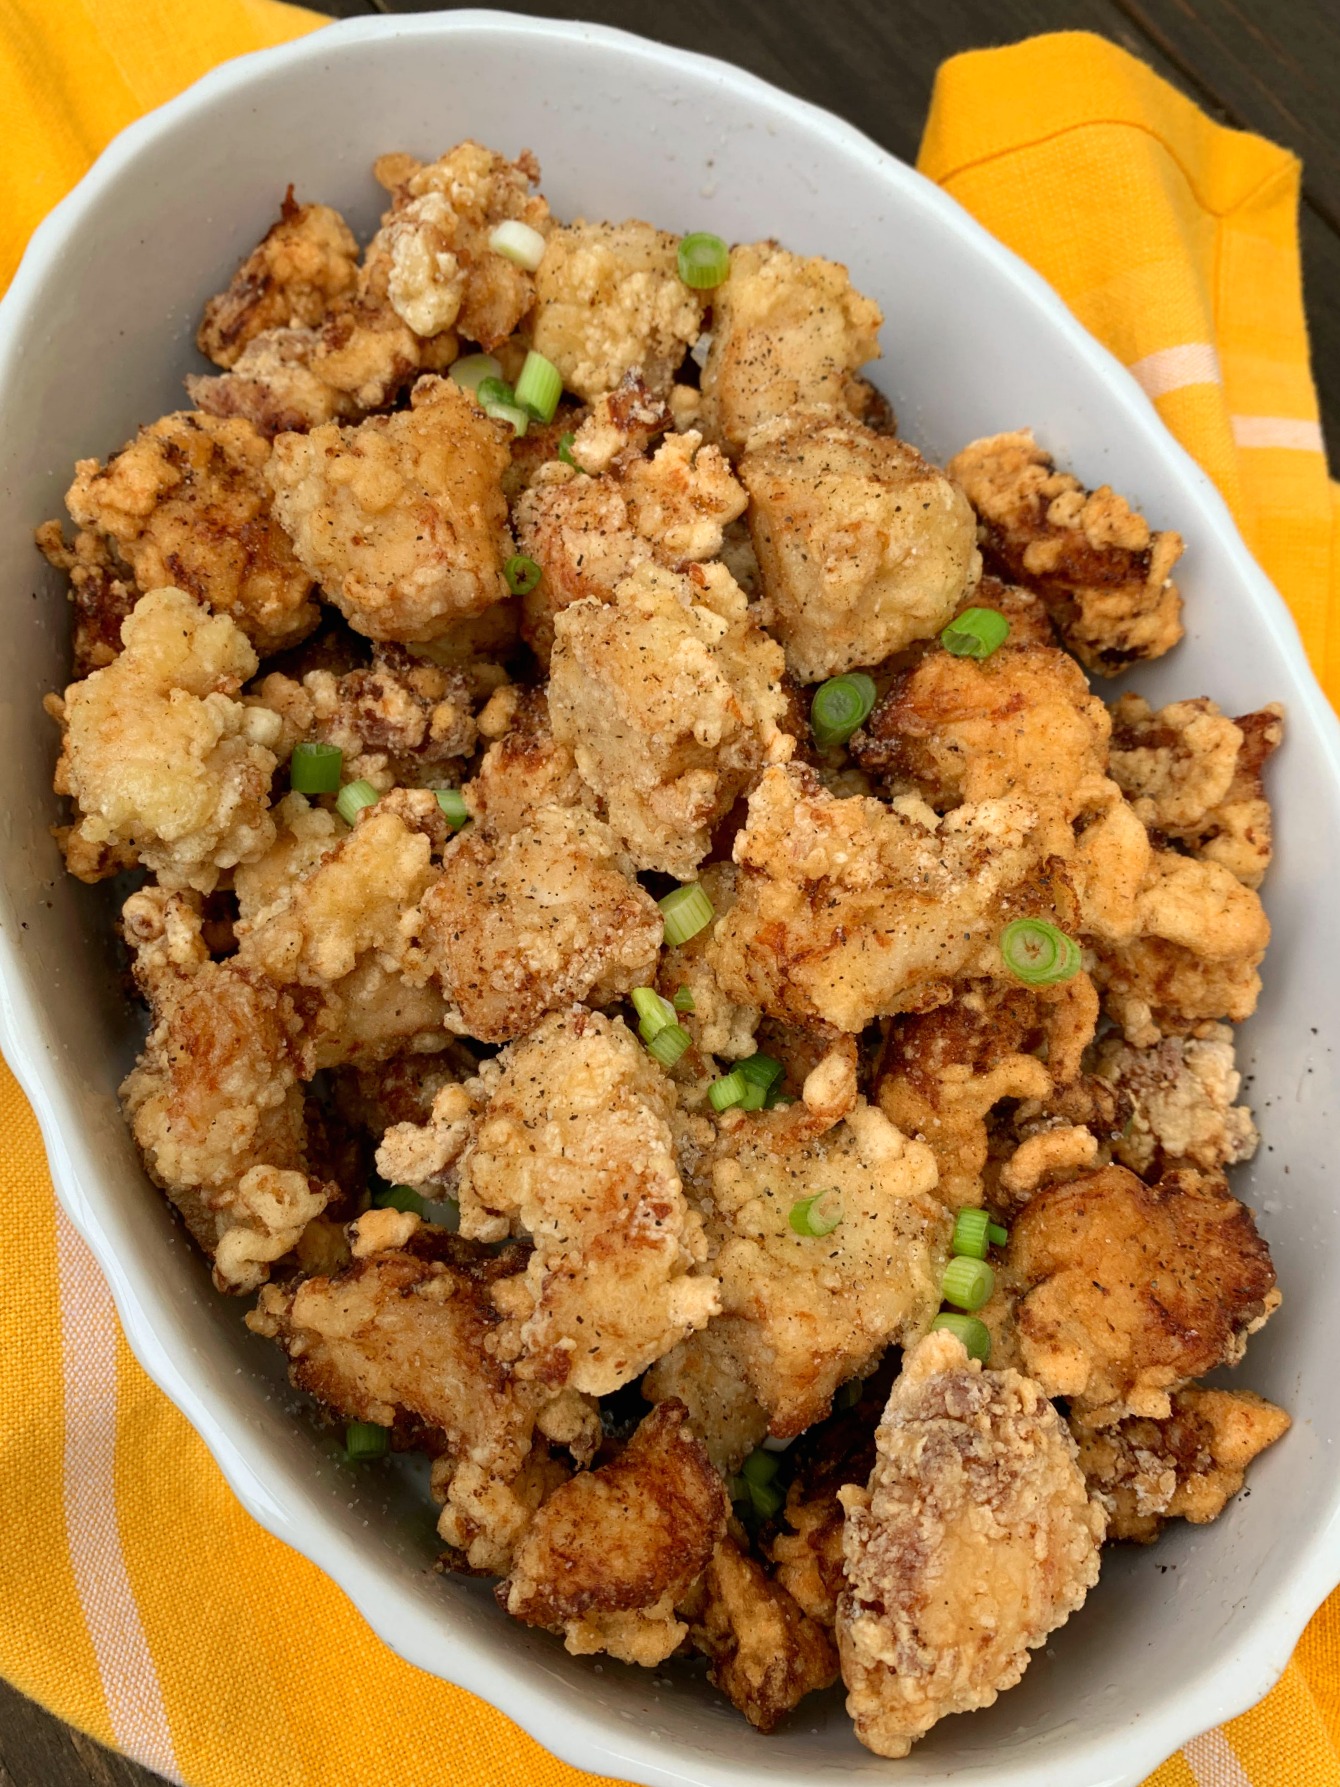
Step 10: Plate for Immediate Serving
Arrange chicken so air can circulate, because overlapping traps steam and softens the crust. Serve immediately while the chicken is hot and still crisp.
Essential Equipment You Need for This Recipe
There are some key tools that make achieving perfect fry results easier and more consistent. They are as follows:
- Deep Fryer Pot with Thermometer: A stainless steel fry pot with a built-in temperature gauge to hit and maintain the right heat for crispy chicken.
- Deep Fry Thermometer: An instant-read thermometer with a clip-on pot attachment so you can watch oil temp without guesswork.
- Breading/Dredging Station: Multiple trays for efficient flour/cornstarch dredging and clean workflow.
- Coating Shaker or Batter Bowl: It helps you evenly coat pieces without flour clouds everywhere.
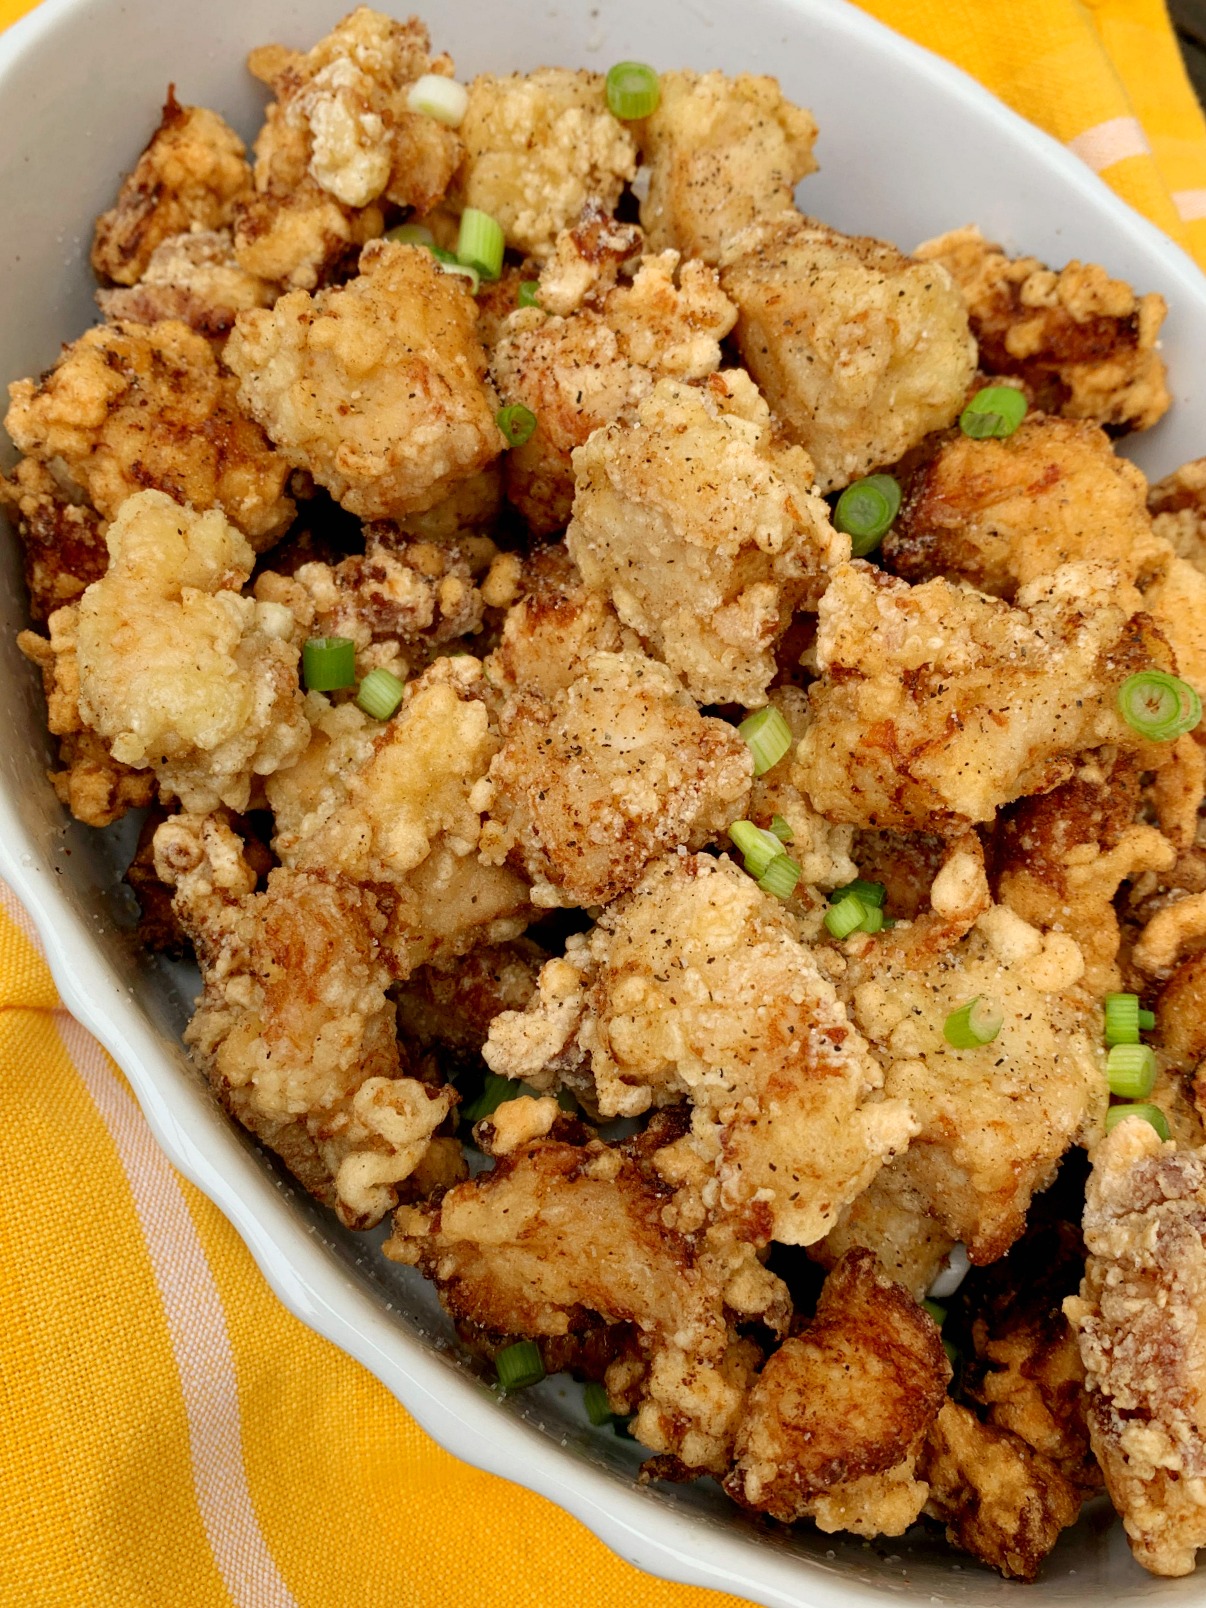
How Your Chicken Should Crunch (Texture Guide)
Understanding what “crispy” actually feels like helps you cook with confidence and appreciate every bite, don’t just follow the steps mechanically. The texture isn’t just about a sound or appearance; it’s about contrast, longevity, and how your senses register it.
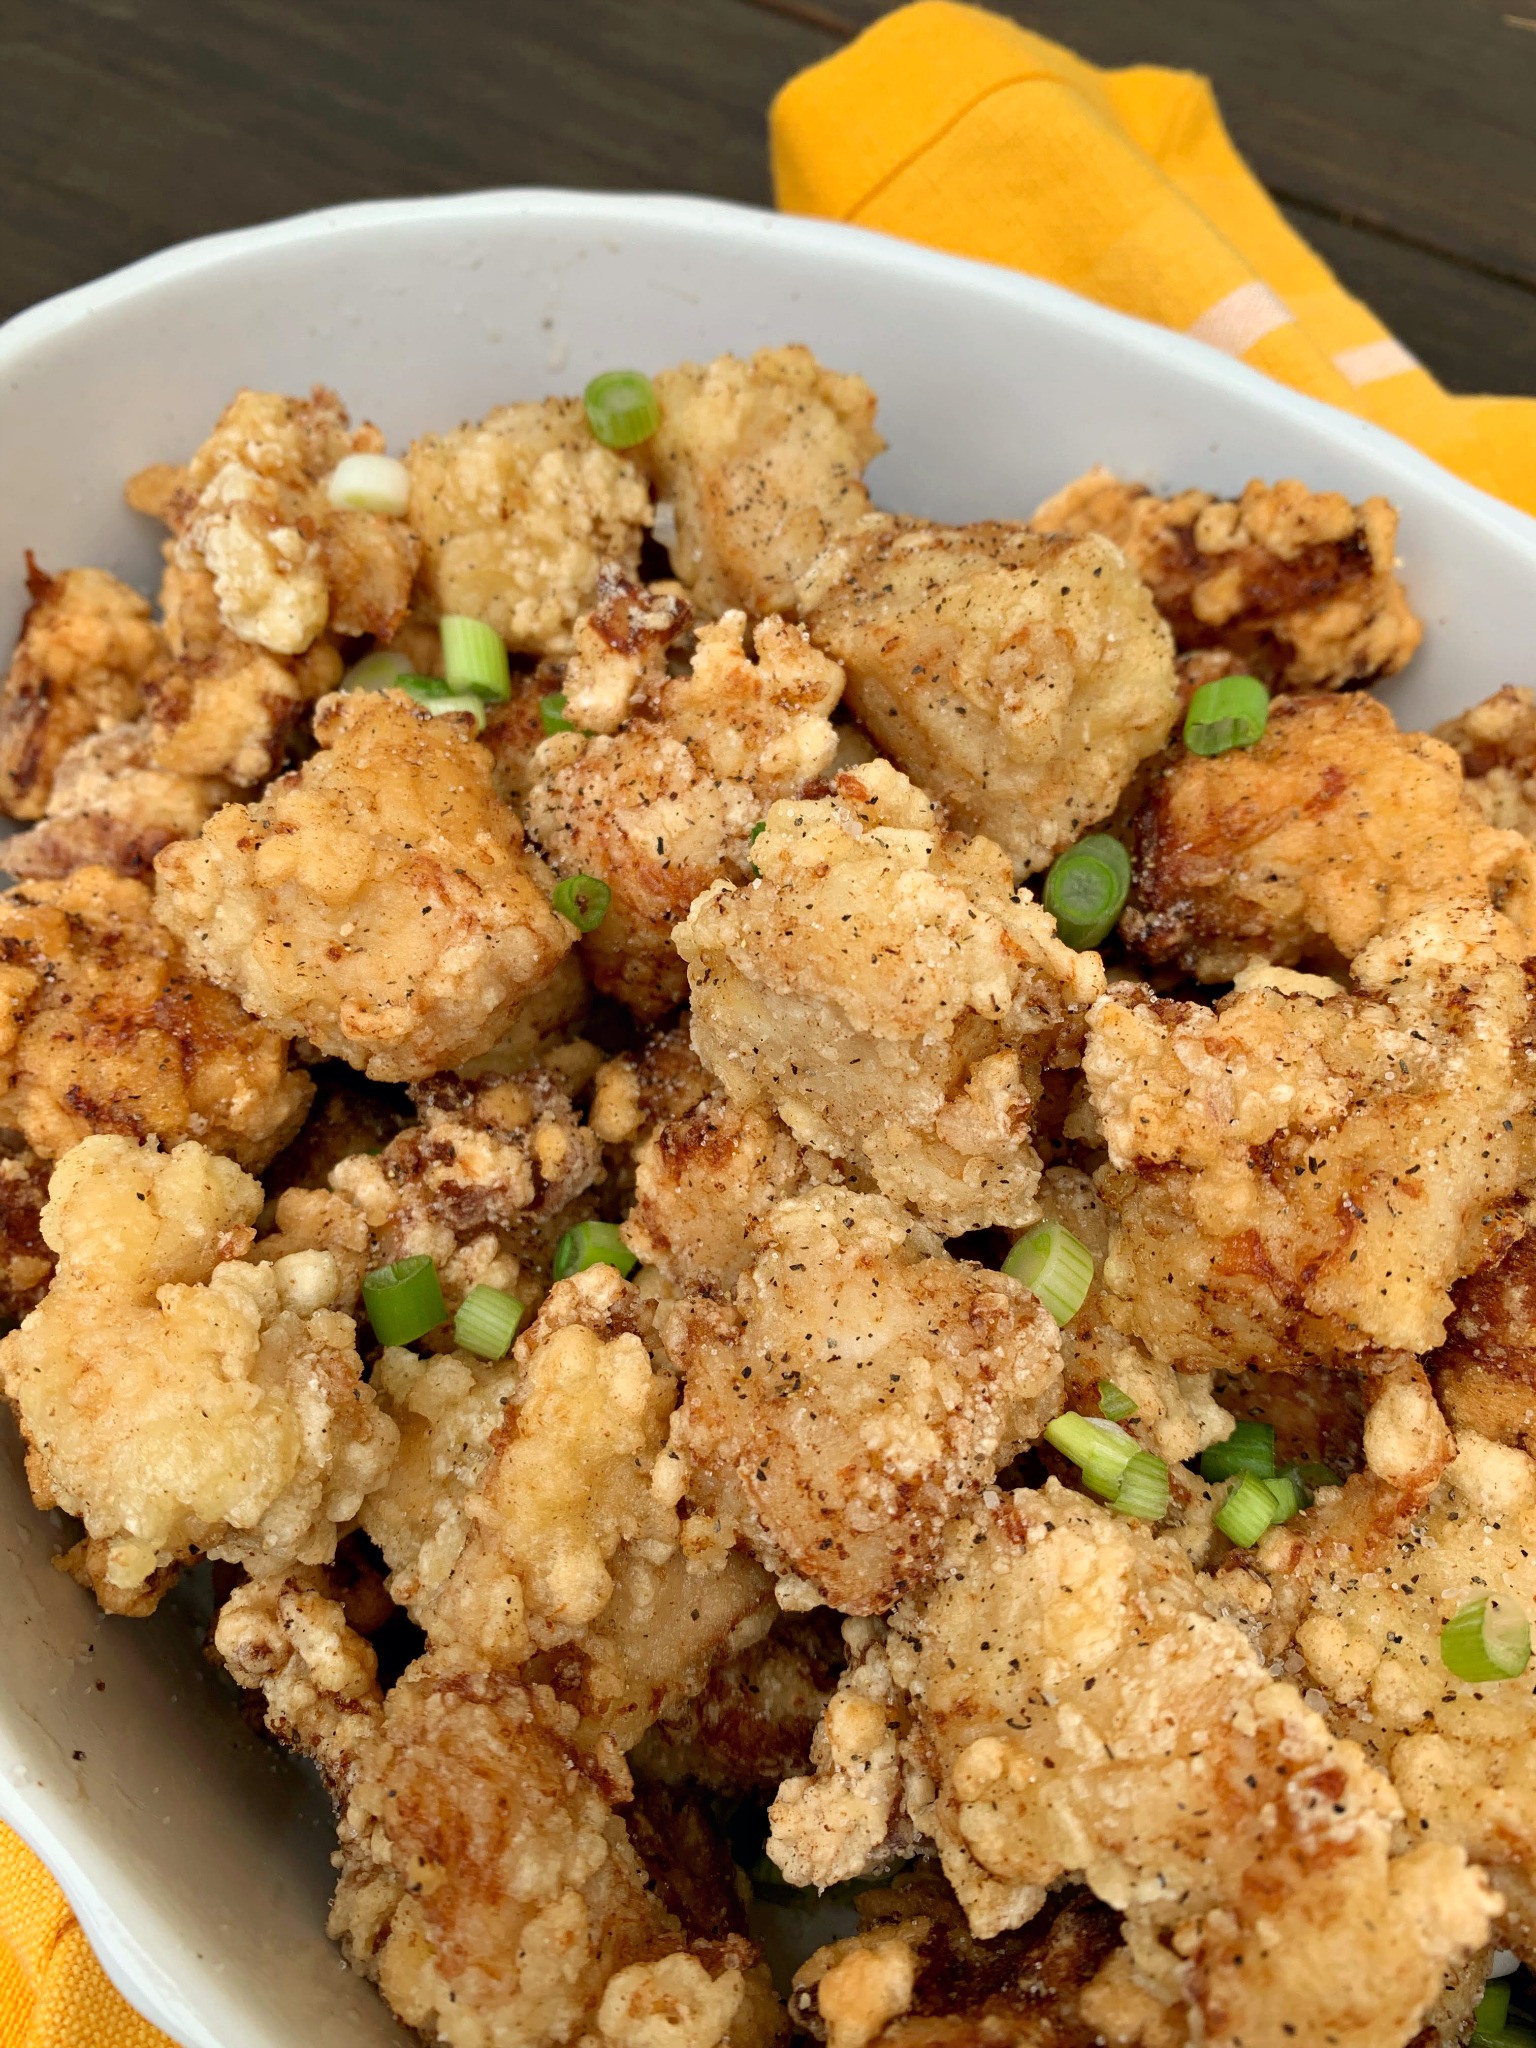
What “Crispy” Should Feel Like
When salt and pepper chicken is done right, the exterior should break with a distinct snap under your teeth, not just a dull crunch or soggy bite. You should hear and feel a dry, light crunch before you reach the juicy interior. It’s that contrast that makes this dish addictive.
Hot vs Cooled Texture
Crispiness changes as the chicken cools. While hot, the crust feels sharp, light, and brittle. As it cools, it naturally softens.
Think of it like chips: freshly fried is peak, but after a few minutes, air and steam start relaxing the structure. That’s why serving soon after cooking matters for texture impact.
Resting Effect
A short rest off the heat, just a couple of minutes, lets steam escape instead of steaming the crust from the inside. This brief pause helps the crisp hold without toughening or drying the inside. Your aim should be air circulation, not heat retention.
How Long Does the Crunch Last?
Crisp can linger well beyond the first bite, especially if you avoid traps like covering while hot or stacking pieces. Leaving space on a rack or platter keeps air moving and the coating dry. Over time, moisture migrates back in, but a good fry technique delays that and keeps you scrolling for more tips.
If you like texture-first recipes, you might also enjoy our sweet chili chicken. It’s another take on crispy chicken pieces with a contrasting sauce that highlights how coating and heat affect mouthfeel.
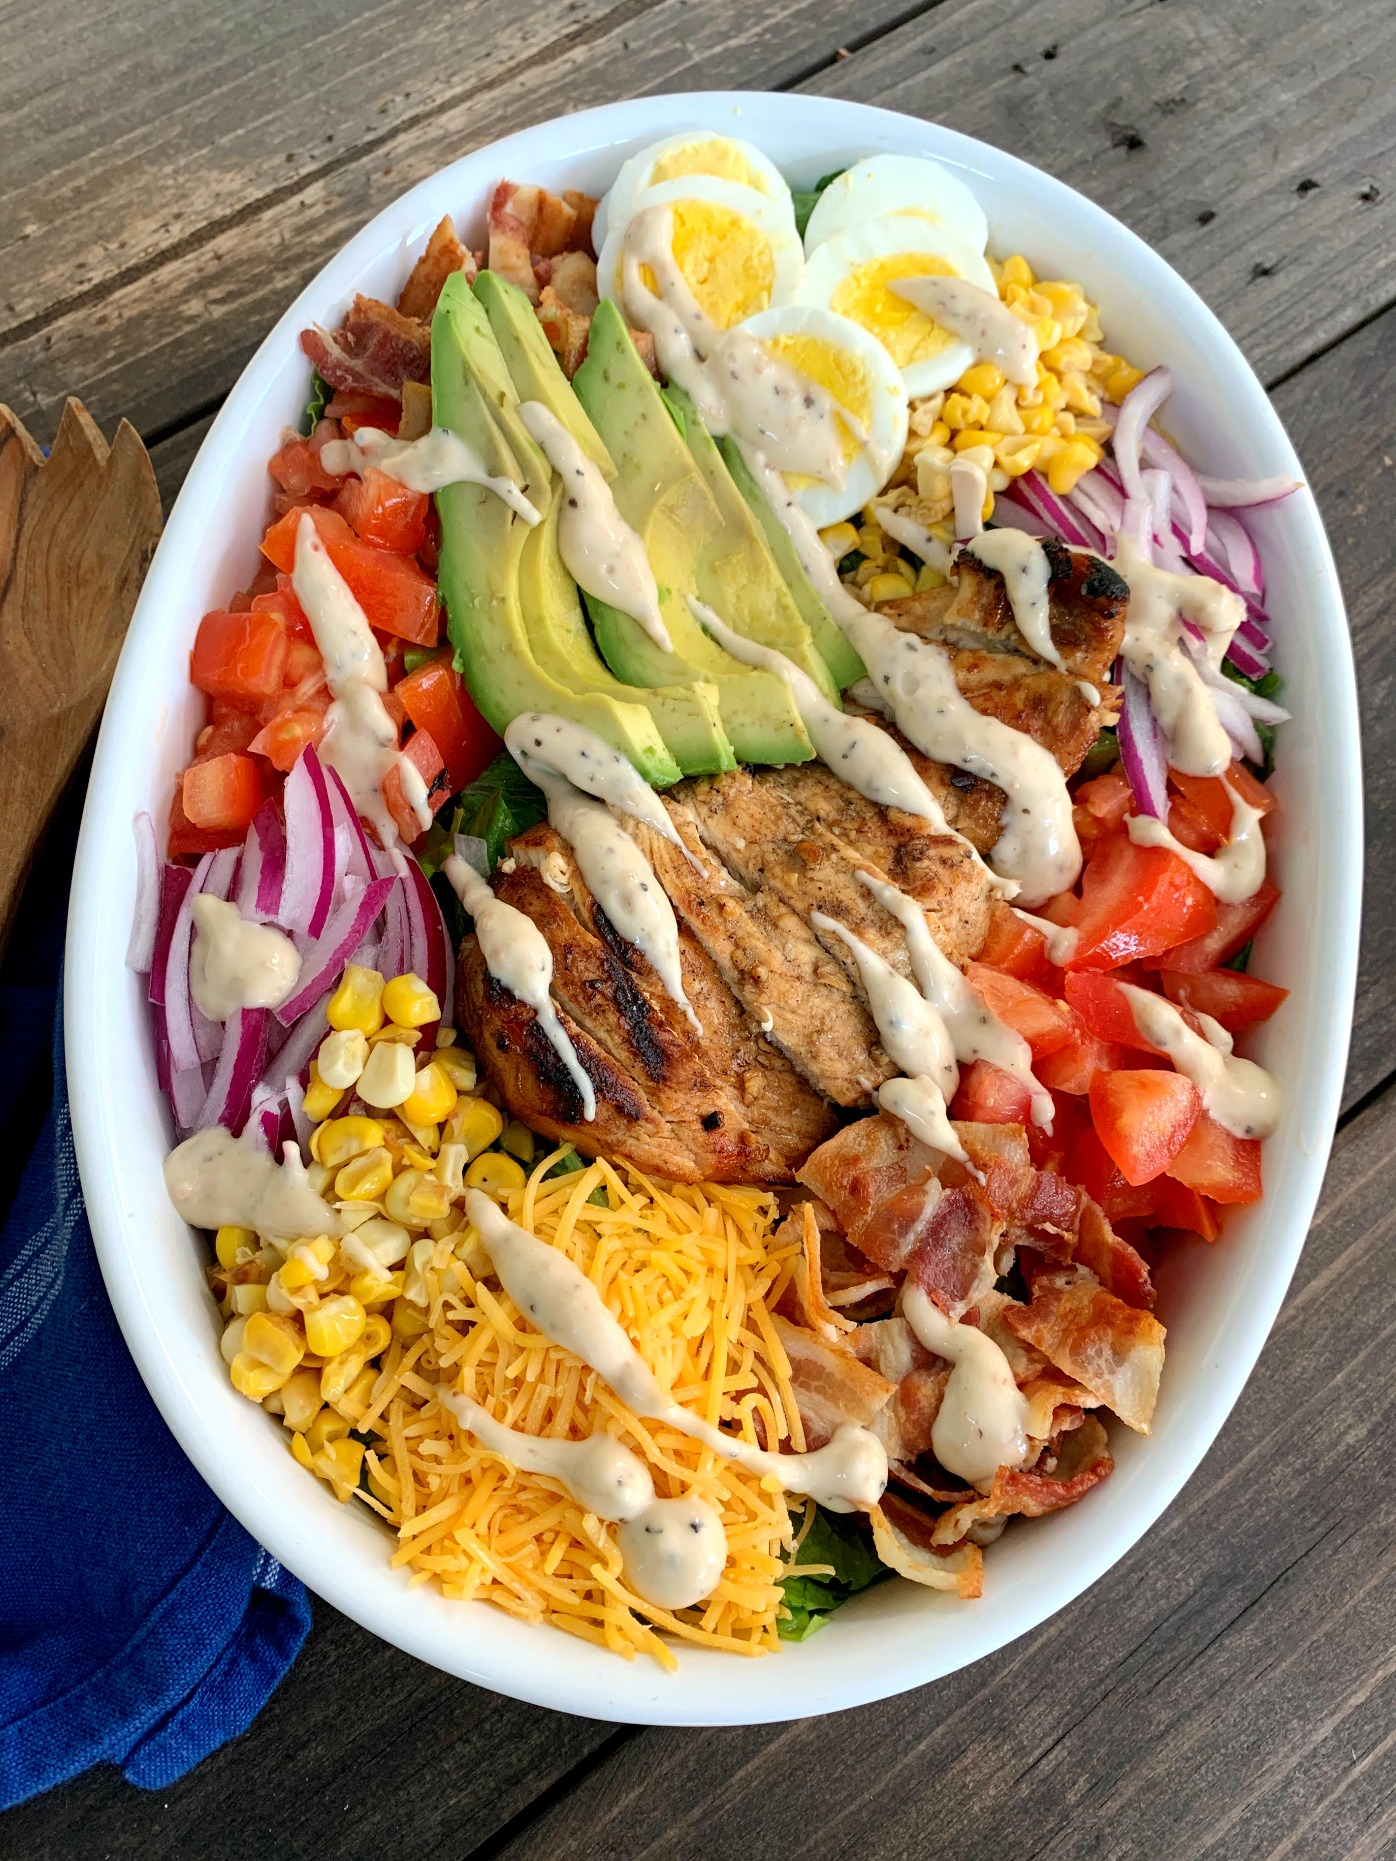
What to Serve With Salt and Pepper Chicken
This dish pairs beautifully with sides that balance its crunch and bold flavour:
- Steamed jasmine or basmati rice (neutral base for flavour)
- Quick Asian slaw (fresh crunch contrasts the fried crust)
- Stir-fried vegetables (colour and lightness for meal balance)
- Sweet chili dipping sauce (optional enhancer for heat and sweet)
How to Fix Common Crispiness Problems (Quick Solutions)
Even when you follow the best steps, textures can sometimes go sideways. Below are the most common crispiness problems, each with a simple cause, fix, and prevention breakdown to help you solve issues fast and learn from them.
If you need another easy chicken recipe that highlights how technique and coating influence texture, try this flavor-packed Instant Pot Shredded Chicken recipe. It’s a versatile base for many meals where moistness and texture matter just as much as seasoning.
Chicken Not Crispy
If your chicken turns out soft instead of crunchy, temperature control is usually the culprit.
- What Causes It: Oil temperature is too low, or the pan is overcrowded.
- How to Fix It: Heat oil to 350–360 °F (175–180 °C) before adding chicken and fry in small batches.
- How to Prevent It: Use a thermometer to maintain heat and avoid adding too many pieces at once.
Coating Falling Off
When the crust slides off after frying, it’s almost always a moisture or adhesion issue.
- What’s the Cause: Chicken surface too wet or coating not properly bonded.
- How to Resolve It: Pat chicken dry before coating and gently press cornstarch so it adheres.
- How to Avoid It: Let coated pieces rest a couple of minutes before frying to set the crust.
Greasy Chicken
If the chicken feels oily instead of light and crisp, the oil likely wasn’t hot enough to seal the coating quickly.
- How to Cause It: Oil temperature is too low or dropping between batches.
- How to Fix It: Let the oil heat fully and return to temp before adding more chicken.
- How to Avoid It: Use a clip-on thermometer and adjust the heat throughout frying.
Burnt Outside, Raw Inside
When the outside browns too fast but the center stays undercooked, heat balance and piece size are the key factors.
- What Causes It: Heat too high or inconsistent piece sizes.
- How to Fix It: Lower the heat slightly so the crust browns without burning, and cut the pieces uniformly.
- How to Avoid It: Keep sizes consistent and watch colour rather than the clock.
Bland Flavor
If the chicken looks perfect but tastes flat, the seasoning strategy needs adjustment before and after frying.
- What’s the Cause: Under-seasoned marinade or lack of finishing seasoning.
- How to Resolve It: Season the marinade boldly and toss finished chicken with extra white pepper and chilies.
- How to Prevent It: Taste the seasoning mix before adding the chicken, and add finishing aromatics after frying.
Visual + Sensory Cues to Watch For
These real-time frying indicators help you adjust heat instantly and prevent soggy or overcooked chicken:
- Rippling Oil Surface: Oil is hot enough to fry, not absorb
- Steady Sizzle on Immersion: Active frying, not greasing
- Deep Gold Colour: Not pale nor dark brown
These cues help you read the chicken and oil so you get crisp reliably.
Alternative Ways to Cook This Chicken
Do you want to make this salt and pepper chicken your own or modify it to different diets and appliances? The following are some tasty variations that capture long-tail search intent and keep readers engaged:
Air Fryer Salt and Pepper Chicken
Skip deep frying and use an air fryer for a lighter version that still gets crisp. Lightly spray the pieces with oil and cook at a high heat until crunchy.
Oven Baked Version
Arrange coated chicken on a rack in the oven and bake at a high temperature until crisp all around.
Gluten-Free Option
Stick with cornstarch and use gluten-free soy sauce or tamari in the marinade for a gluten-free version that doesn’t sacrifice texture.
Extra Spicy
Add more chilies or a pinch of cayenne to the seasoning blend for heat lovers.
Boneless Wings Style
Cut into smaller bite-size pieces and serve with dipping sauces for fun, shareable “boneless wing” bites.
How to Store & Reheat Crispy Chicken the Right Way
This section explains how to keep your salt and pepper chicken just as good after cooking, with the best methods to store and reheat without losing crispness.
How Long Does It Last in the Fridge?
Store leftovers in an airtight container for 3–4 days. This slows moisture and keeps the coating from softening too quickly.
Best Ways to Reheat
The oven or air fryer restores crispness best. Heat to about 350 °F (175 °C) and warm for 8–10 minutes, shaking or flipping once.
Why You Shouldn’t Use a Microwave
Microwaves steam food, which turns the crisp coating soggy and rubbery instead of crunchy. As a result, avoid them for fried chicken.
Make-Ahead Tips
Cool the chicken on a rack before sealing to trap less steam. This helps maintain texture when you reheat later.
Salt and Pepper Chicken Cooking FAQs
These are the most common questions that come up when making salt and pepper chicken. Each answer is clear, straightforward, and fully aligned with the recipe card, so there’s no confusion or second-guessing. If you don’t see your question here, drop it in the comments below, and I’ll be happy to help!
Can I Use Flour Instead?
Yes, you can use a cornstarch + flour blend, but this recipe is built for cornstarch only to get the crispest, lightest texture.
Is “Salt Pepper Chicken” the Same?
Yes, terms like “salt pepper chicken” or “salt & pepper chicken” refer to the same dish style, and this recipe targets all major search variations.
What Oil Temp Is Best?
Heat oil to about 350–360 °F (175–180 °C). That’s the sweet spot for crisp coating without greasy or burnt spots.
Can I Air Fry?
You absolutely can. Air frying works well. Just spray the pieces with a light coating of oil and cook at around 380 °F (190 °C) until crisp.
Why Is My Coating Soggy?
Soggy coating usually means the oil wasn’t hot enough, the chicken was too wet before coating, or the pieces crowded the pan.
Can I Freeze?
Yes, you can. Cool completely, freeze in a single layer, then transfer to a freezer bag. Then, reheat in an oven or air fryer to restore crispness.
More Recipes You’ll Love
Love the crispy, savory vibe of this salt and pepper chicken? Try these delicious recipes next:
- Ranch Chicken Tenders in the Air Fryer – Juicy, crispy tenders with a crunchy coating that’s perfect for snacking or dinner.
- Sweet Chili Chicken – Bite-size pieces of chicken fried then tossed in a glossy sweet chili sauce for a bold, takeaway-style meal.
- Panda Express Crispy Almond Chicken Recipe – A crunchy almond-coated chicken dish with inspired Asian flavors, great as a companion entrée.
If you loved that golden crunch, these recipes will keep the bold, savory flavors going strong.
Did You Try This?
Tell us how it turned out! Did you fry or air fry, and how was the crunch? Drop your answers below and help others perfect their salt and pepper chicken, too. We read every comment and want to see your results!