Baking a truly great peanut butter chocolate cake shouldn’t feel like solving a puzzle. Yet too many recipes leave you with a dry chocolate crumb, barely-there peanut butter flavor, or confusing steps that make you second-guess every move.
If you love the classic chocolate and peanut butter combination, you know it should taste bold, balanced, and indulgent, not heavy or flat. When done right, rich cocoa and creamy peanut butter enhance each other instead of competing.
Table of Contents
This moist peanut butter chocolate cake is designed to eliminate the guesswork. You’ll get deep chocolate flavor, real peanut butter presence, a tender crumb that stays soft for days, and clear, logical steps that actually make sense. Just 20 minutes of prep, and a foolproof cake that delivers every time.

What Kind of Cake Is This?
Before you bake, here’s exactly what to expect, so there are no surprises.
Texture
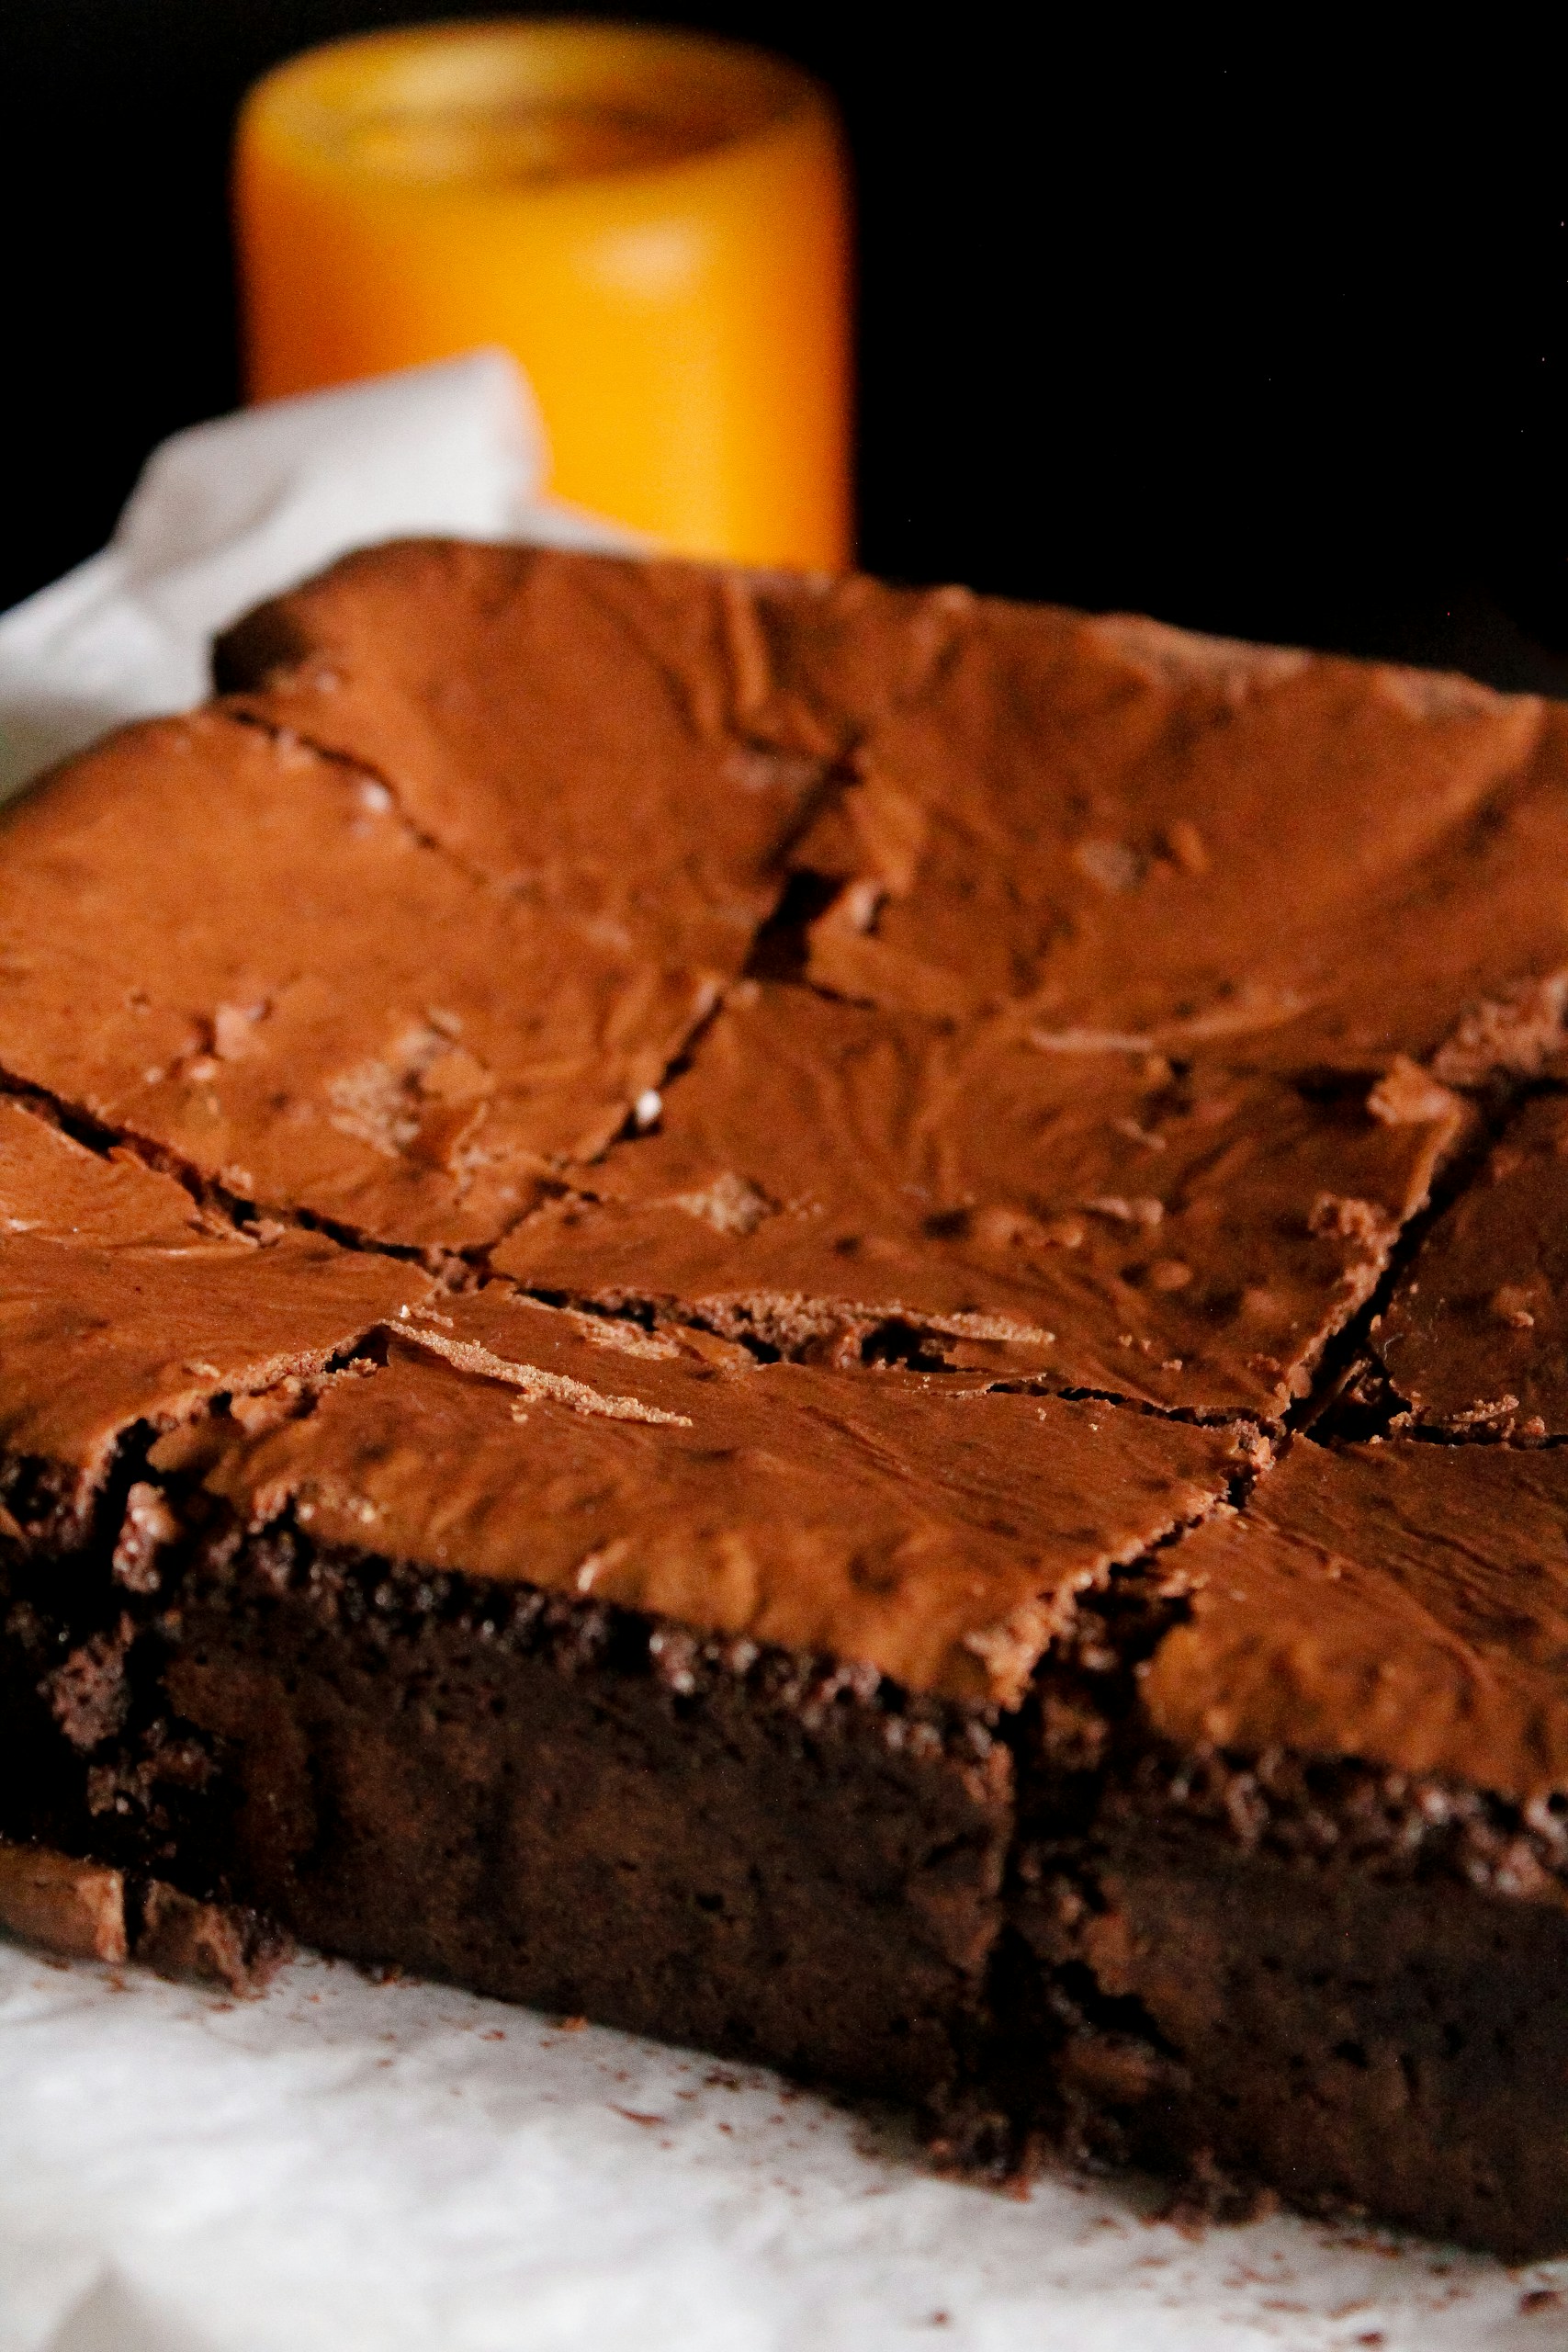
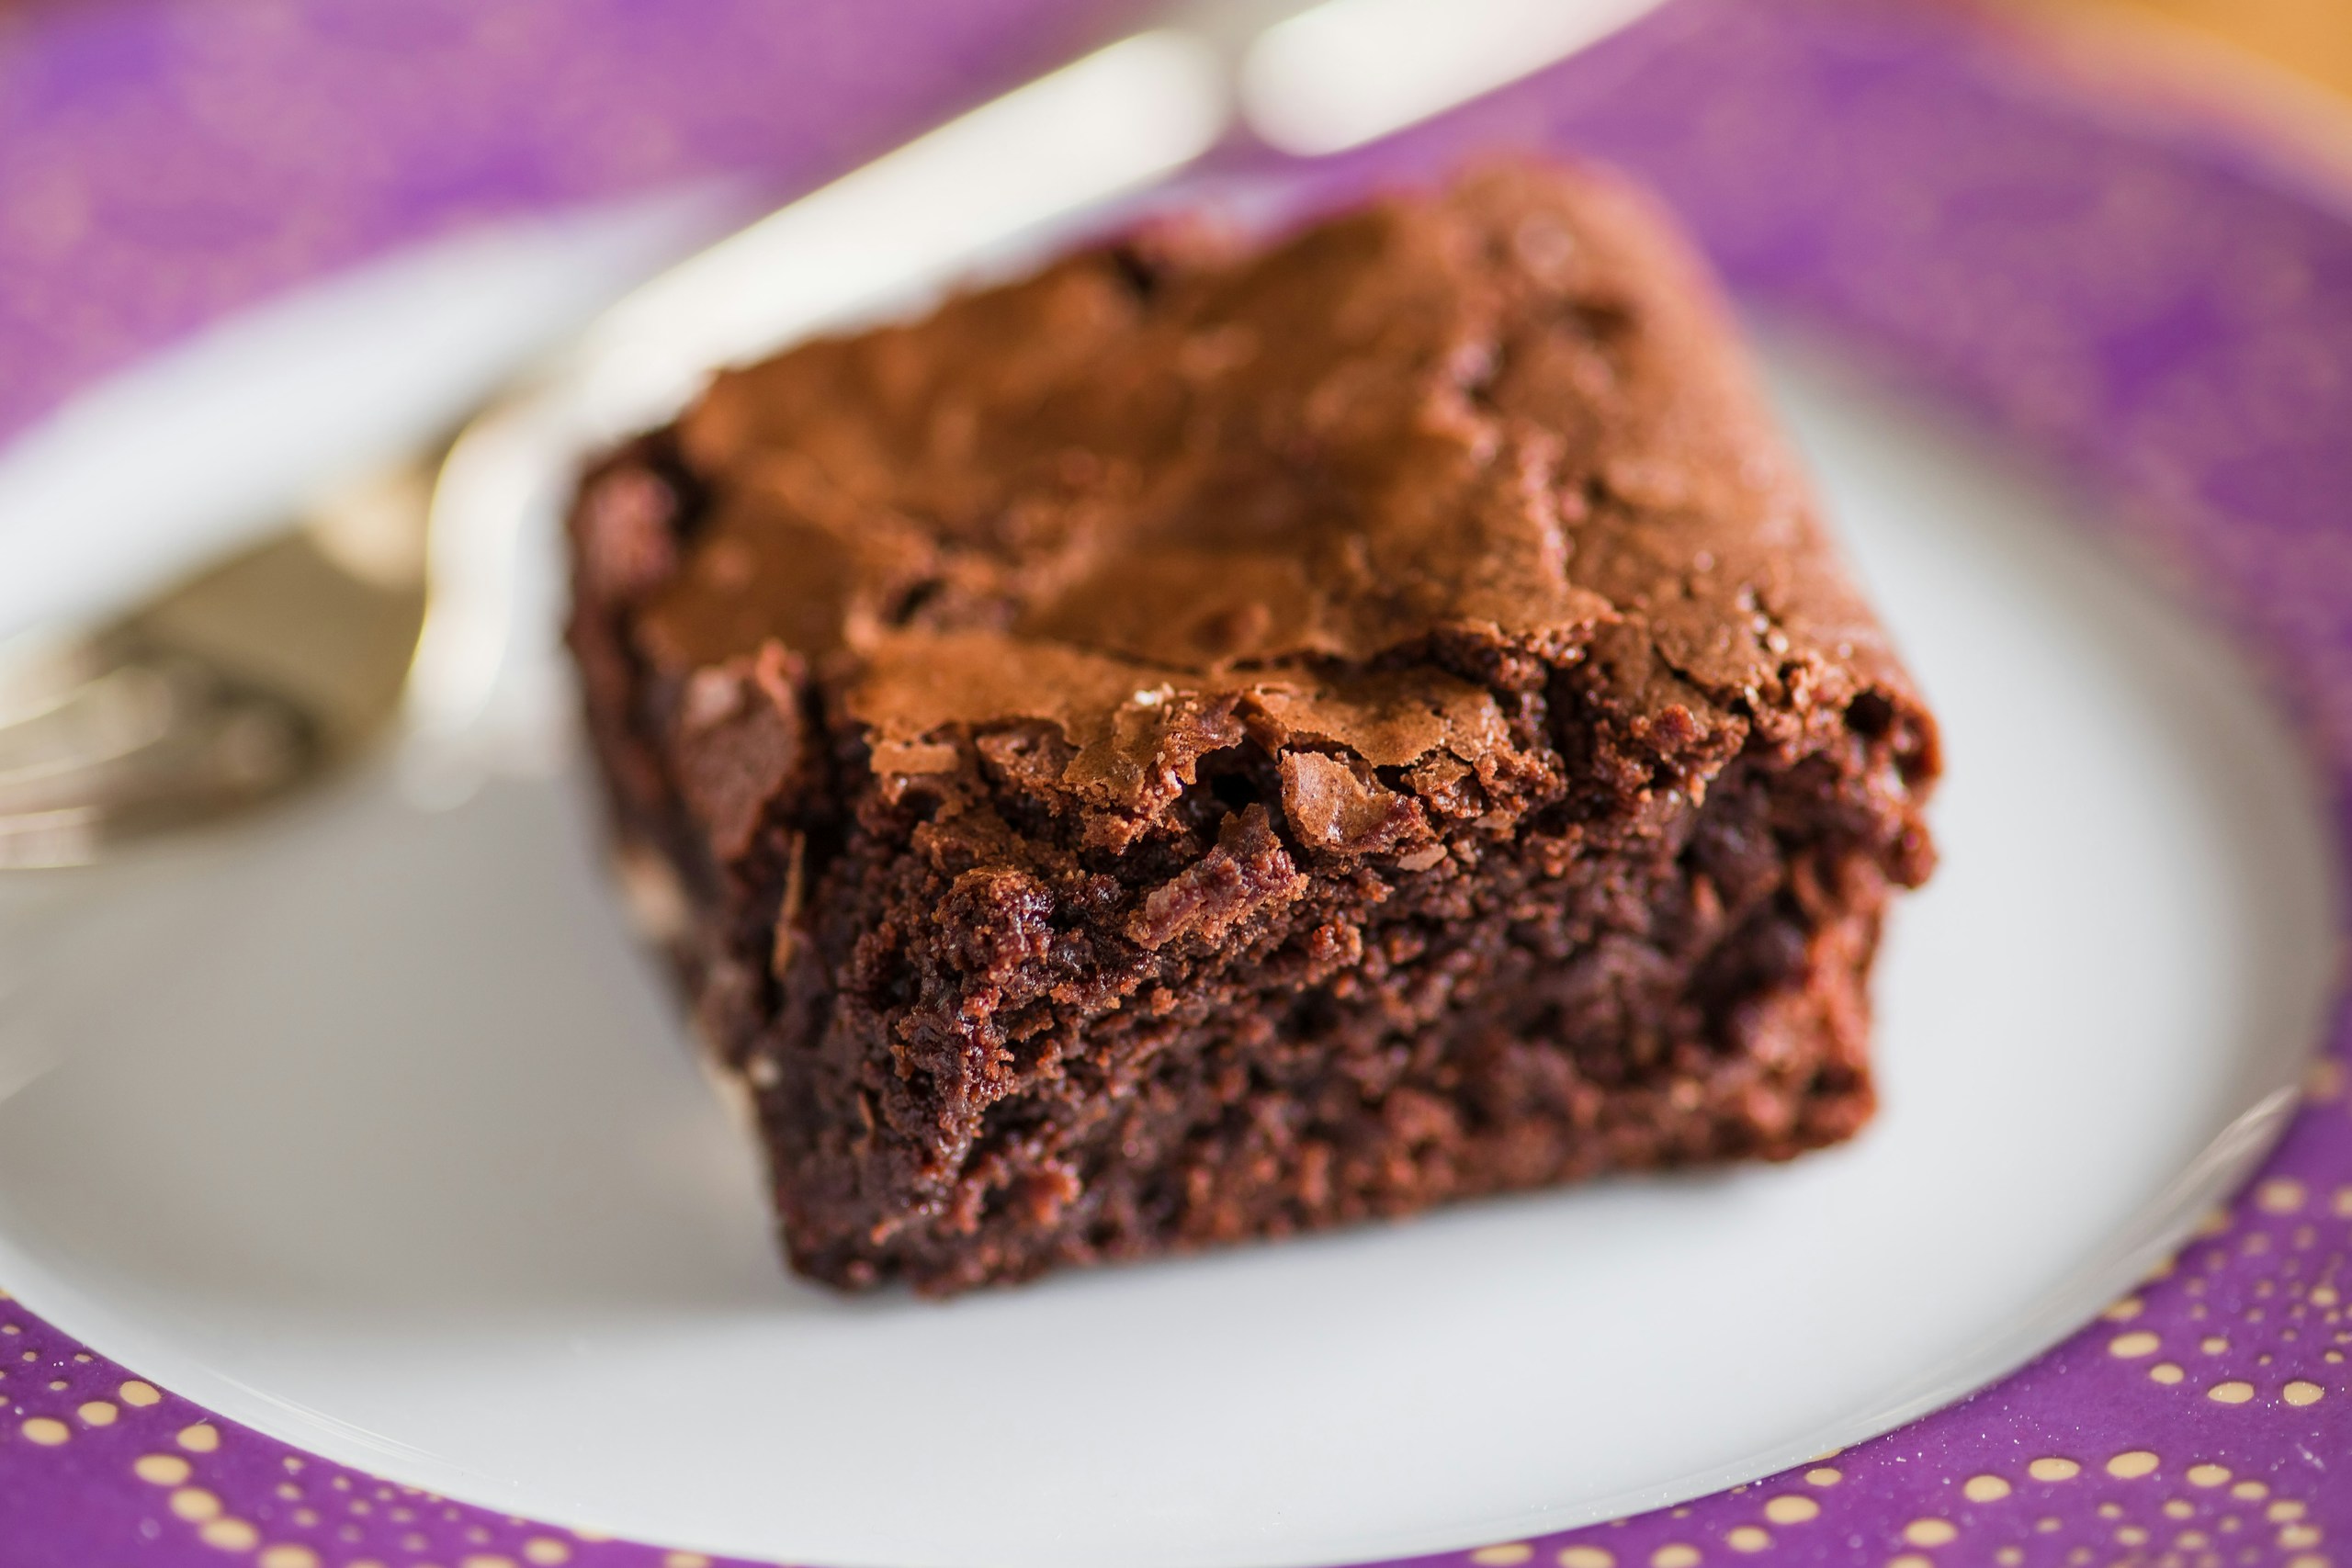
This isn’t a spongy, air-filled cake nor a dry, crumbly cookie masquerading as dessert. It delivers a moist, dense, bakery-style crumb that holds up beautifully whether you slice it, serve it in squares, or frost it generously.
Flavor
Expect a deep chocolate flavor up front with a confident peanut butter finish that complements rather than competes. This balance is why classic combos like the Vegan Chocolate Peanut Butter Pie are timeless favorites; the flavors play together harmoniously.
Structure
The backbone of this cake is a cocoa powder chocolate base. Depending on your preference, the peanut butter component arrives as a frosting or swirl, not an afterthought. That structure ensures reliable results every time.
Is This Cake Vegan?
Yes, this peanut butter chocolate cake is naturally vegan as written. It uses non-dairy milk, plant-based butter (or oil), and applesauce for moisture and structure instead of eggs. The result is a rich, moist cake with bold chocolate flavor and no dairy or eggs required.
Just be sure your sugar and chocolate ingredients are certified vegan if that’s important to you.
Why This Peanut Butter Chocolate Cake Works
We will get to the step-by-step guide, but first, you need to understand the logic behind each choice in this recipe. These aren’t random additions; they’re purposeful tweaks that make the cake reliably moist, flavorful, and balanced every time.

Cocoa Powder (Deep Chocolate Without Heaviness)
Cocoa powder does more than darken the batter. It gives this cake real chocolate depth without extra fat that can make a cake heavy or greasy. Because the chocolate flavor comes from non-fat cocoa solids, you get a rich chocolate taste with a tender, balanced crumb instead of something dense or dry.
Research shows that the flavor-rich compounds in cocoa are concentrated in those solids, which is why unsweetened cocoa adds complexity without weighing down texture.
Peanut Butter Frosting (Flavor That Stands Out)
The peanut butter frosting keeps the peanut flavor bold and unmistakable against the rich chocolate base. Because of the natural fats and proteins in peanut butter, the frosting gets a smooth, substantial texture that feels rich without being greasy.
Research into peanut products shows that the structure and mouthfeel of peanut spreads are part of what makes them so appealing in desserts like this one.
Oil (Keeps the Cake Moist Longer)
Choosing oil for the cake batter has functional benefits beyond ease. Oil stays liquid at room temperature, trapping moisture in the cake crumb as it cools and slowing staling.
Due to the fact that oil doesn’t solidify like butter, it helps retain tenderness and softness long after baking. This is a big reason this cake stays good day after day instead of drying out quickly.
Balanced Sugar (Sweetness + Structure)
Yes, sugar sweetens the recipe, but it does more. It interacts with the liquid and flour to tenderize the crumb, help with browning, and prevent the bitter edge that cocoa can sometimes leave behind.
The right amount of sugar lets the chocolate flavor burst out without tasting flat or bitter. In addition, it gives the cake a pleasing texture that would keep you confident and engaged instead of second-guessing.
Everything You’ll Need (Quick View)
Should you need a quick reference before you bake, the following are the core ingredients that make this cake work:
The Ingredients That Build the Crumb
- Cocoa powder
- All-purpose flour
- Peanut butter
- Granulated sugar
- Oil or vegan butter
- Unsweetened non-dairy milk
- Baking powder and/or baking soda
- Unsweetened applesauce or cooked and cooled sweet potato puree
- Apple cider vinegar
- Salt
- Vanilla extract
Optional (if you prefer a slightly lighter crumb):
1 egg or 1 flax egg (1 tablespoon ground flaxseed + 2½ tablespoons water, rested 5 minutes)
This recipe is designed to work beautifully without eggs, but adding one can create a slightly softer, more traditional cake texture if desired.
Flavor & Performance Enhancers
- Espresso or coffee powder
- Apple cider vinegar
- Salt
Ingredient Swaps & Substitution Guide
Understanding why each ingredient matters makes the recipe easier and gives you confidence in the results. Below, we break down the key components of this cake so you bake it right the first time. Also, you will know how to swap ingredients without losing texture or flavor.

Cocoa Powder (Chocolate Flavor + Moisture)
Cocoa powder is where the deep chocolate character comes from. It gives this cake a rich flavor without extra fat and, when balanced with liquids, helps maintain a moist, dense, bakery-style crumb rather than a dry one.
A hint of espresso or coffee powder (optional) can also intensify the chocolate notes without tasting like coffee itself.
Peanut Butter (Fat + Structure + Flavor)
Peanut butter offers something that’s beyond taste. It adds fat, body, and peanut character to the frosting or swirl. Creamy peanut butter blends smoothly, while natural peanut butter’s thinner texture may need a slight tweak in sugar or liquid to keep the topping stable and flavorful.
Oil vs Butter (Moist vs Rich Crumb)
Fat choice affects bite and loft:
- Oil keeps the cake extra moist after baking.
- Butter brings richer flavor and a firmer finish when cooled.
It’s common to use oil in the cake batter for lasting softness and reserve butter for the frosting if you want maximum flavor depth.
Why This Recipe Doesn’t Use Eggs (And What to Use If You Prefer To)
This cake is designed to work without eggs. The applesauce (or sweet potato) provides moisture and binding, while the vinegar reacts with baking soda to create lift — so you still get structure without traditional eggs.
If you prefer a slightly lighter, more traditional crumb, you can add 1 egg and reduce the applesauce slightly. For a fully plant-based option, a flax or chia egg (1 tablespoon ground seeds + 3 tablespoons water, rested 5 minutes) also works well.
Each option supports structure while keeping the cake moist and stable
Substitutions Table
Below are reliable swaps that keep flavor and texture intact, even when adapting for dietary needs:
| Ingredient | Substitution | What It Changes |
|---|---|---|
| All-purpose flour | Gluten-free flour (1:1 blend) | Slightly denser texture, but may need a bit more moisture |
| Dairy-free milk (almond/oat) | Dairy milk | Keeps the cake tender, and the flavor is neutral |
| Applesauce/Sweet potato | Add 1 egg and reduce the applesauce/sweet potato slightly, or Flax or chia egg (1 tablespoon ground seeds + 3 tablespoons water, rested 5 minutes) | A real egg makes the cake slightly lighter and richer, while a flax or chia egg mainly provides binding and moisture without adding extra lift |
| Creamy peanut butter | Natural peanut butter | Thinner consistency, but may need more powdered sugar |
| Oil/butter | Vegan butter or margarine | Slight flavor and texture variation |
These swaps help you adapt the cake for gluten-free, vegan, or dairy-free diets without losing the cake’s integrity.

Printable Peanut Nutter Butter Chocolate Cake Recipe Card
Ingredients
Cake
- oil or vegan butter for pan
- 1/3 cup natural peanut butter
- 1 1/2 cup unsweetened non-dairy milk
- 2 teaspoon vanilla extract
- 1/2 cup unsweetened applesauce or cooked and cooled sweet potato puree
- 2 tablespoon apple cider vinegar
- 1/2 tsp instant espresso or coffee powder
- 2 cup all-purpose flour
- 1 cup cane or granulated sugar
- 3/4 cup unsweetened cocoa powder
- 2 teaspoon baking soda
- 1 teaspoon baking powder
- 1/2 teaspoon salt
Frosting
- 3/4 cup natural peanut butter
- 1/4 teaspoon salt
- 1 cup + 2 tablespoon powdered sugar
- 4-7 tablespoon unsweetened non dairy milk
Instructions
- Preheat & Prep: Preheat oven to 350°F (176°C). Grease a cake pan with oil or vegan butter and set it aside.
- Wet Mixture: In a large bowl, whisk together peanut butter, non-dairy milk, vanilla, applesauce, vinegar, and espresso/coffee powder.
- Dry Mixture: In another bowl, combine flour, sugar, cocoa powder, baking soda, baking powder, and salt.
- Combine: Add wet ingredients to dry and mix until just combined.
- Bake: Pour batter into prepared pan. Bake it for 30–35 minutes or until a toothpick inserted into the center comes out clean.
- Cool: Let cake cool in pan for 10 minutes, then transfer to a rack to cool completely.
- Frost: To make the frosting, beat peanut butter, salt, powdered sugar, and non-dairy milk until smooth (add milk gradually to control thickness). Then spread it evenly over the cooled cake.
Notes
- The apple cider vinegar + coffee powder enhances the texture and depth of the chocolate flavor while keeping it vegan.
- Frosting thickness varies depending on how much non-dairy milk you add. As a result, you should start on the low end.
- Natural peanut butter works here, but may need a little extra powdered sugar in the frosting for stability.
Resting/Cooling Time
- Rest Before Slicing: for 10–15 minutes
- Best Texture: Cool completely before frosting, because frosting sets best at room temperature.
Nutrition Estimate (Approximate)
Nutrition varies by ingredient brands and exact quantities, but based on standard calculators (e.g., Verywell Fit & MyFitnessPal) for similar vegan chocolate cakes with peanut butter frosting:- Calories: ~390–420 kcal
- Carbohydrates: ~50–60 g
- Fat: ~18–24 g
- Protein: ~6–8 g
- Fiber: ~3–5 g
- Sugar: ~30–40 g
Would you like another twist on this classic chocolate and peanut butter flavor combo? Skim through this easy no-bake peanut butter squares recipe or this reader-favorite chocolate and peanut butter dessert. These are simple desserts that use just a handful of ingredients and showcase how chocolate and peanut butter always work together.
Step-by-Step Instructions
Before we bake, gather the essential tools below.
Step 1: Prep Your Oven and Pan
Begin by positioning your oven rack in the middle and preheating to 350°F (176°C).

While it warms, grease your 9-inch cake pan with a thin coat of oil or vegan butter. Then line the bottom with parchment if available; this ensures the cake releases cleanly later.
A lightly oiled pan should shine evenly without thick deposits.
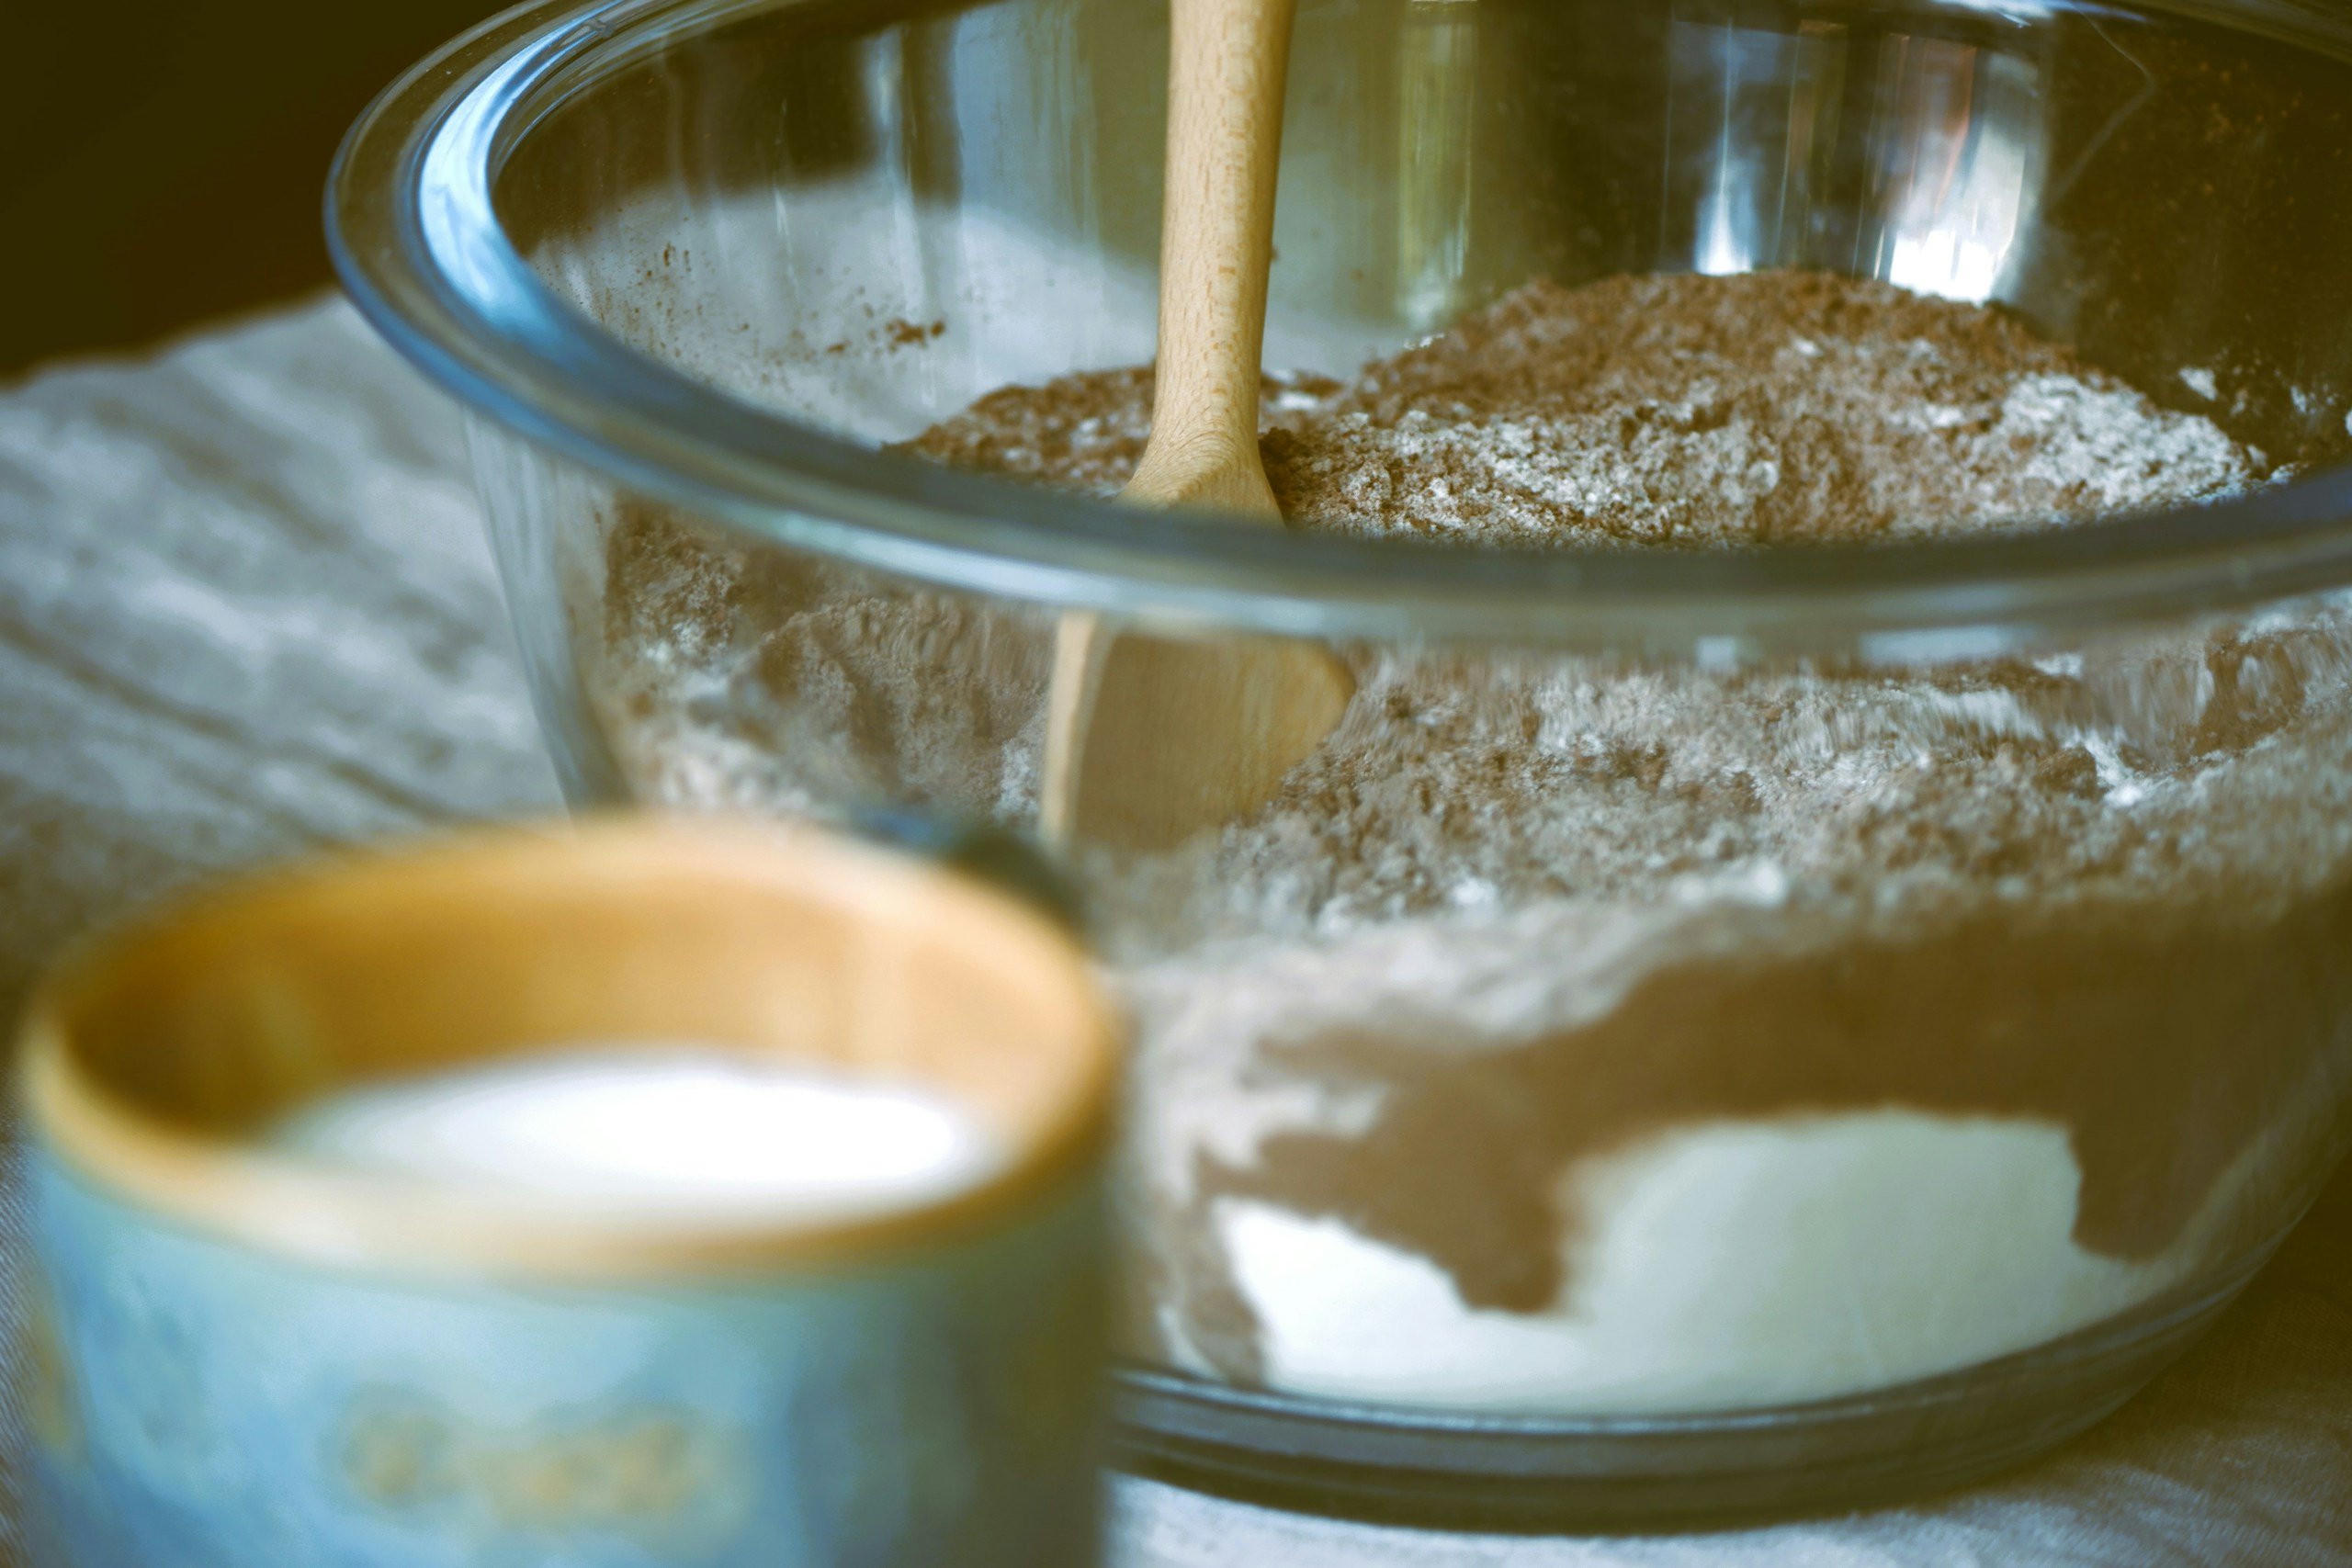
Step 2: Whisk the Dry Ingredients Together
Now that the oven is heating, turn your attention to the dry ingredients. In a large mixing bowl, add:
- all-purpose flour
- sugar
- cocoa powder
- baking soda
- baking powder
- salt
Use a whisk or fork to blend them until they look uniform in color and texture; there should be no streaks of flour or clumps of cocoa.
The mixture should be an even, rich brown shade.
Step 3: Mix the Wet Ingredients
With your dry mix ready, move on to the wet ingredients in a separate bowl. Add:
- non-dairy milk
- natural peanut butter
- applesauce (or egg substitute)
- vanilla extract
- apple cider vinegar
- espresso/coffee powder (optional)
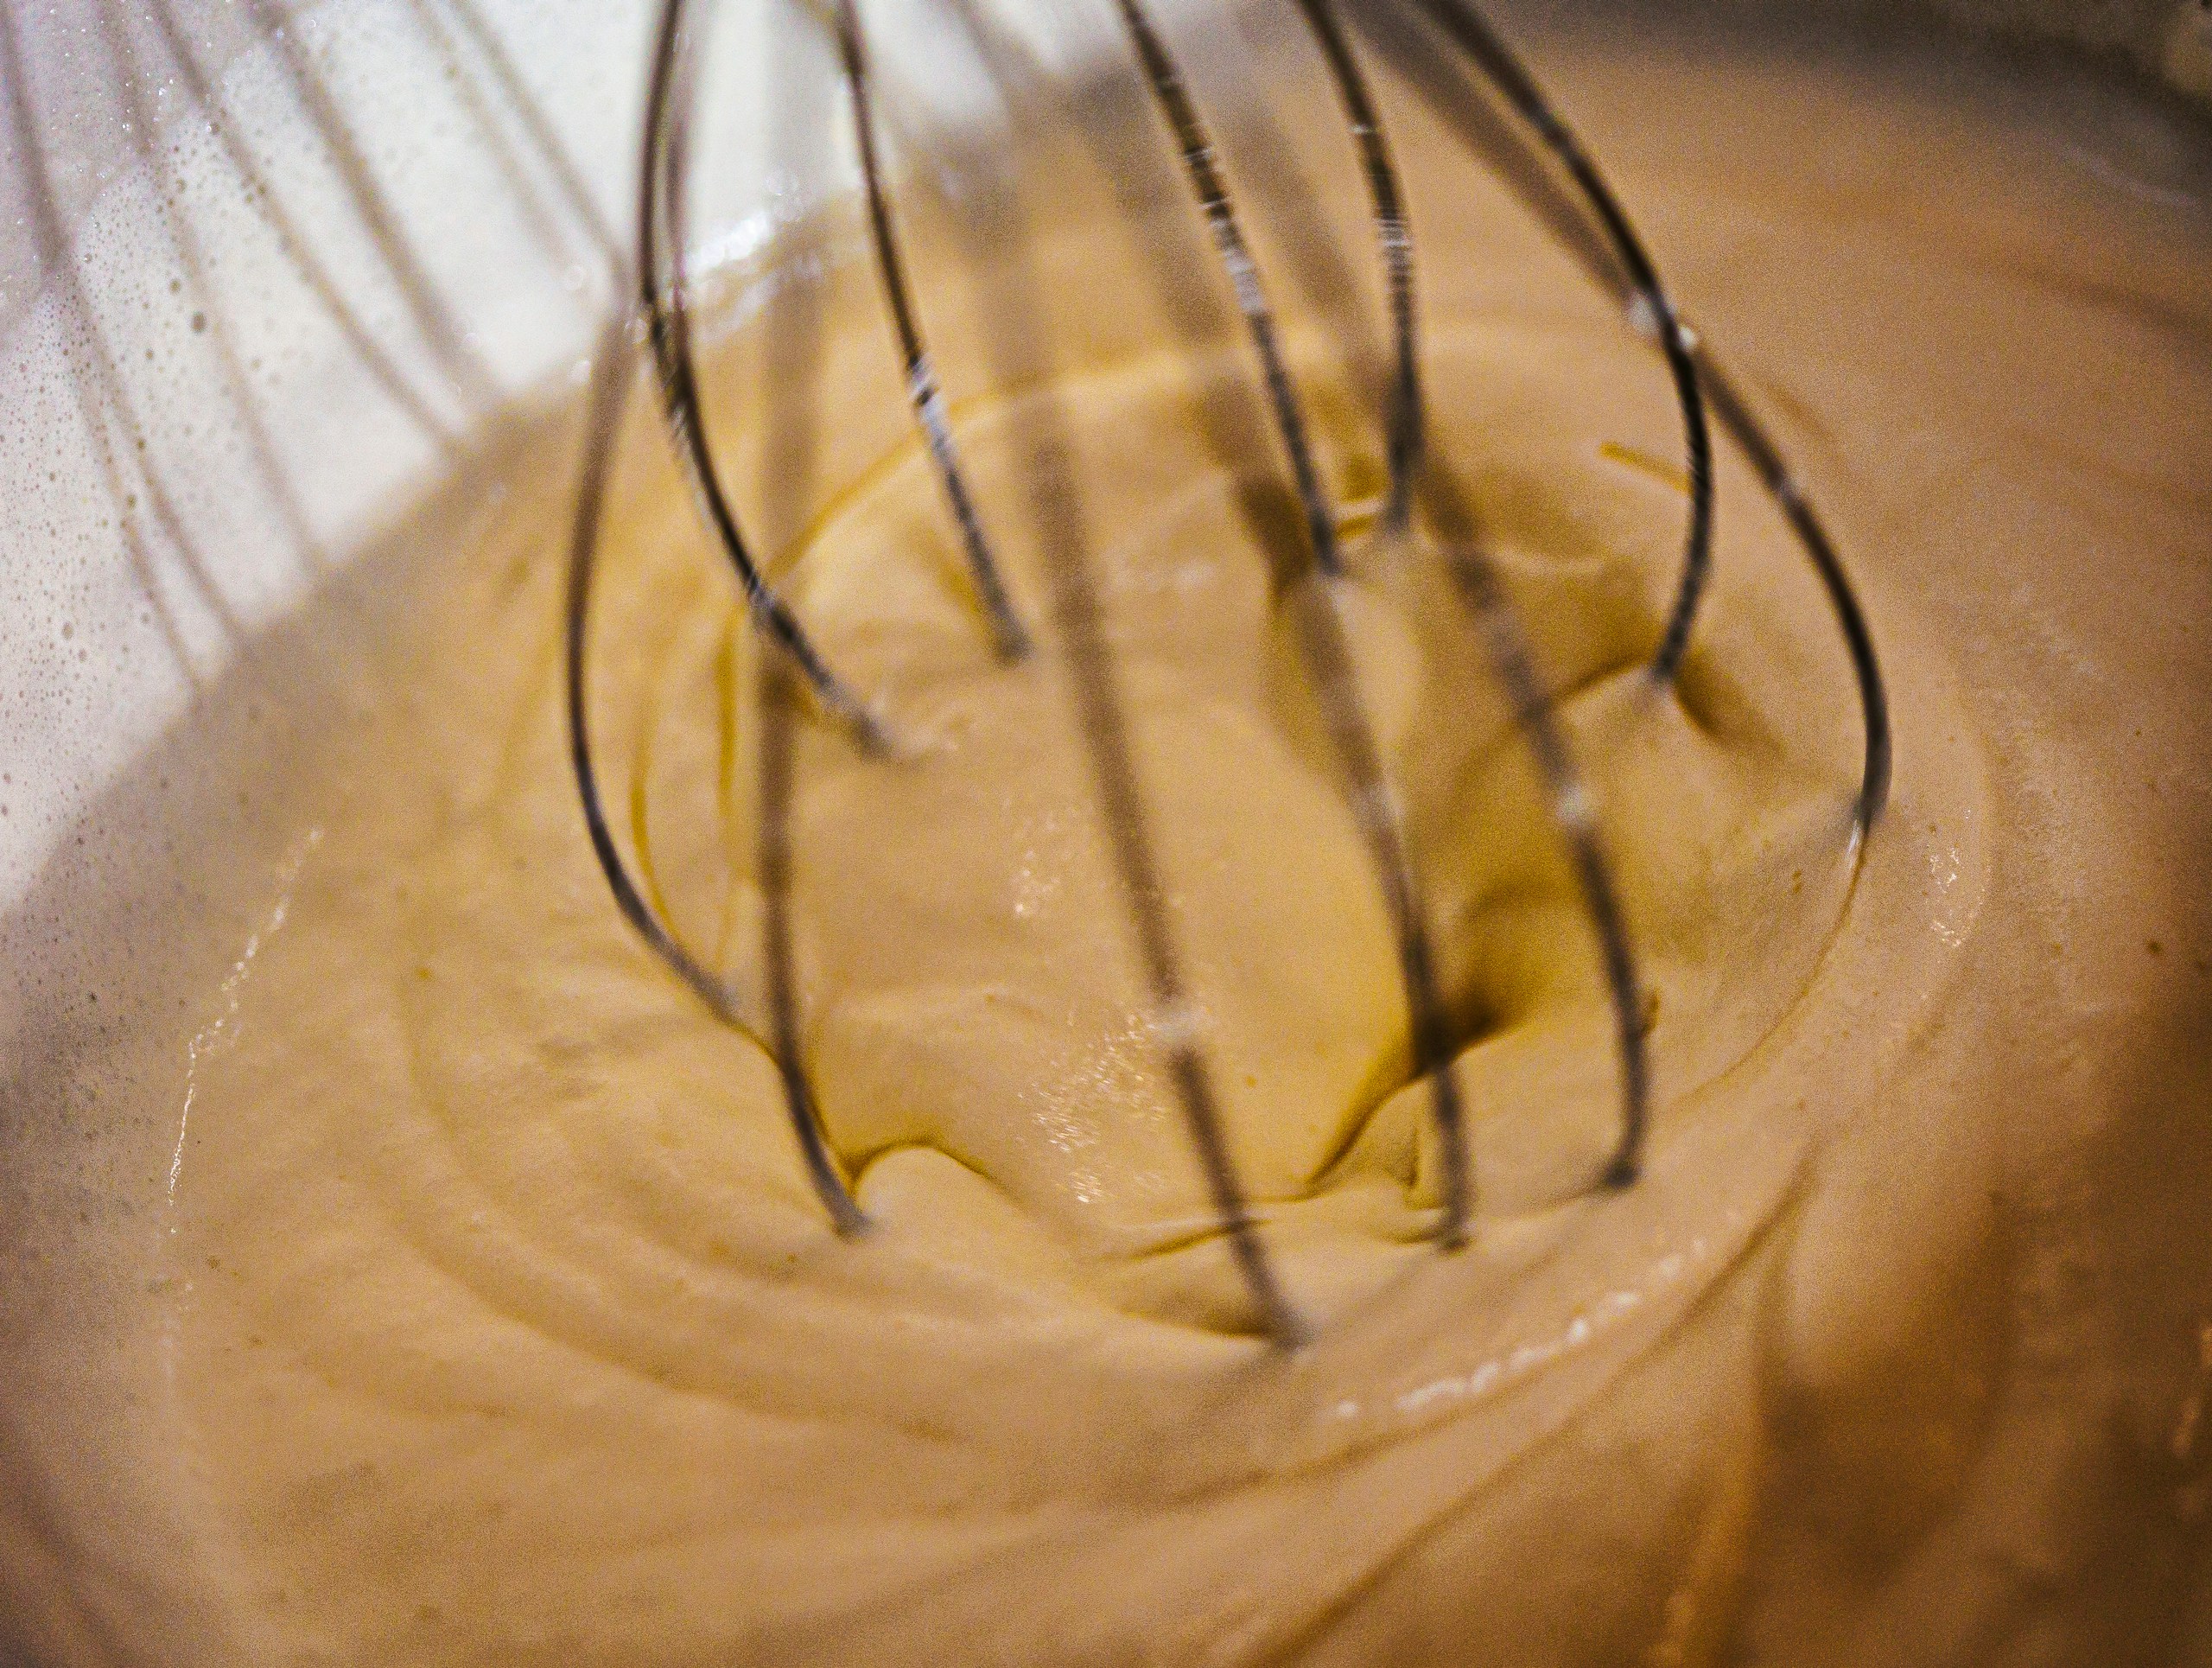
Whisk (or beat with a hand mixer) until smooth and combined. The wet mix should be free of peanut butter clumps and pour easily.
Step 4: Combine Wet & Dry Batter
Now, pour the smooth wet mixture into the bowl of dry ingredients. Using a spatula or low-speed hand mixer, fold just until all flour is incorporated. Then, stop mixing as soon as the streaks disappear.
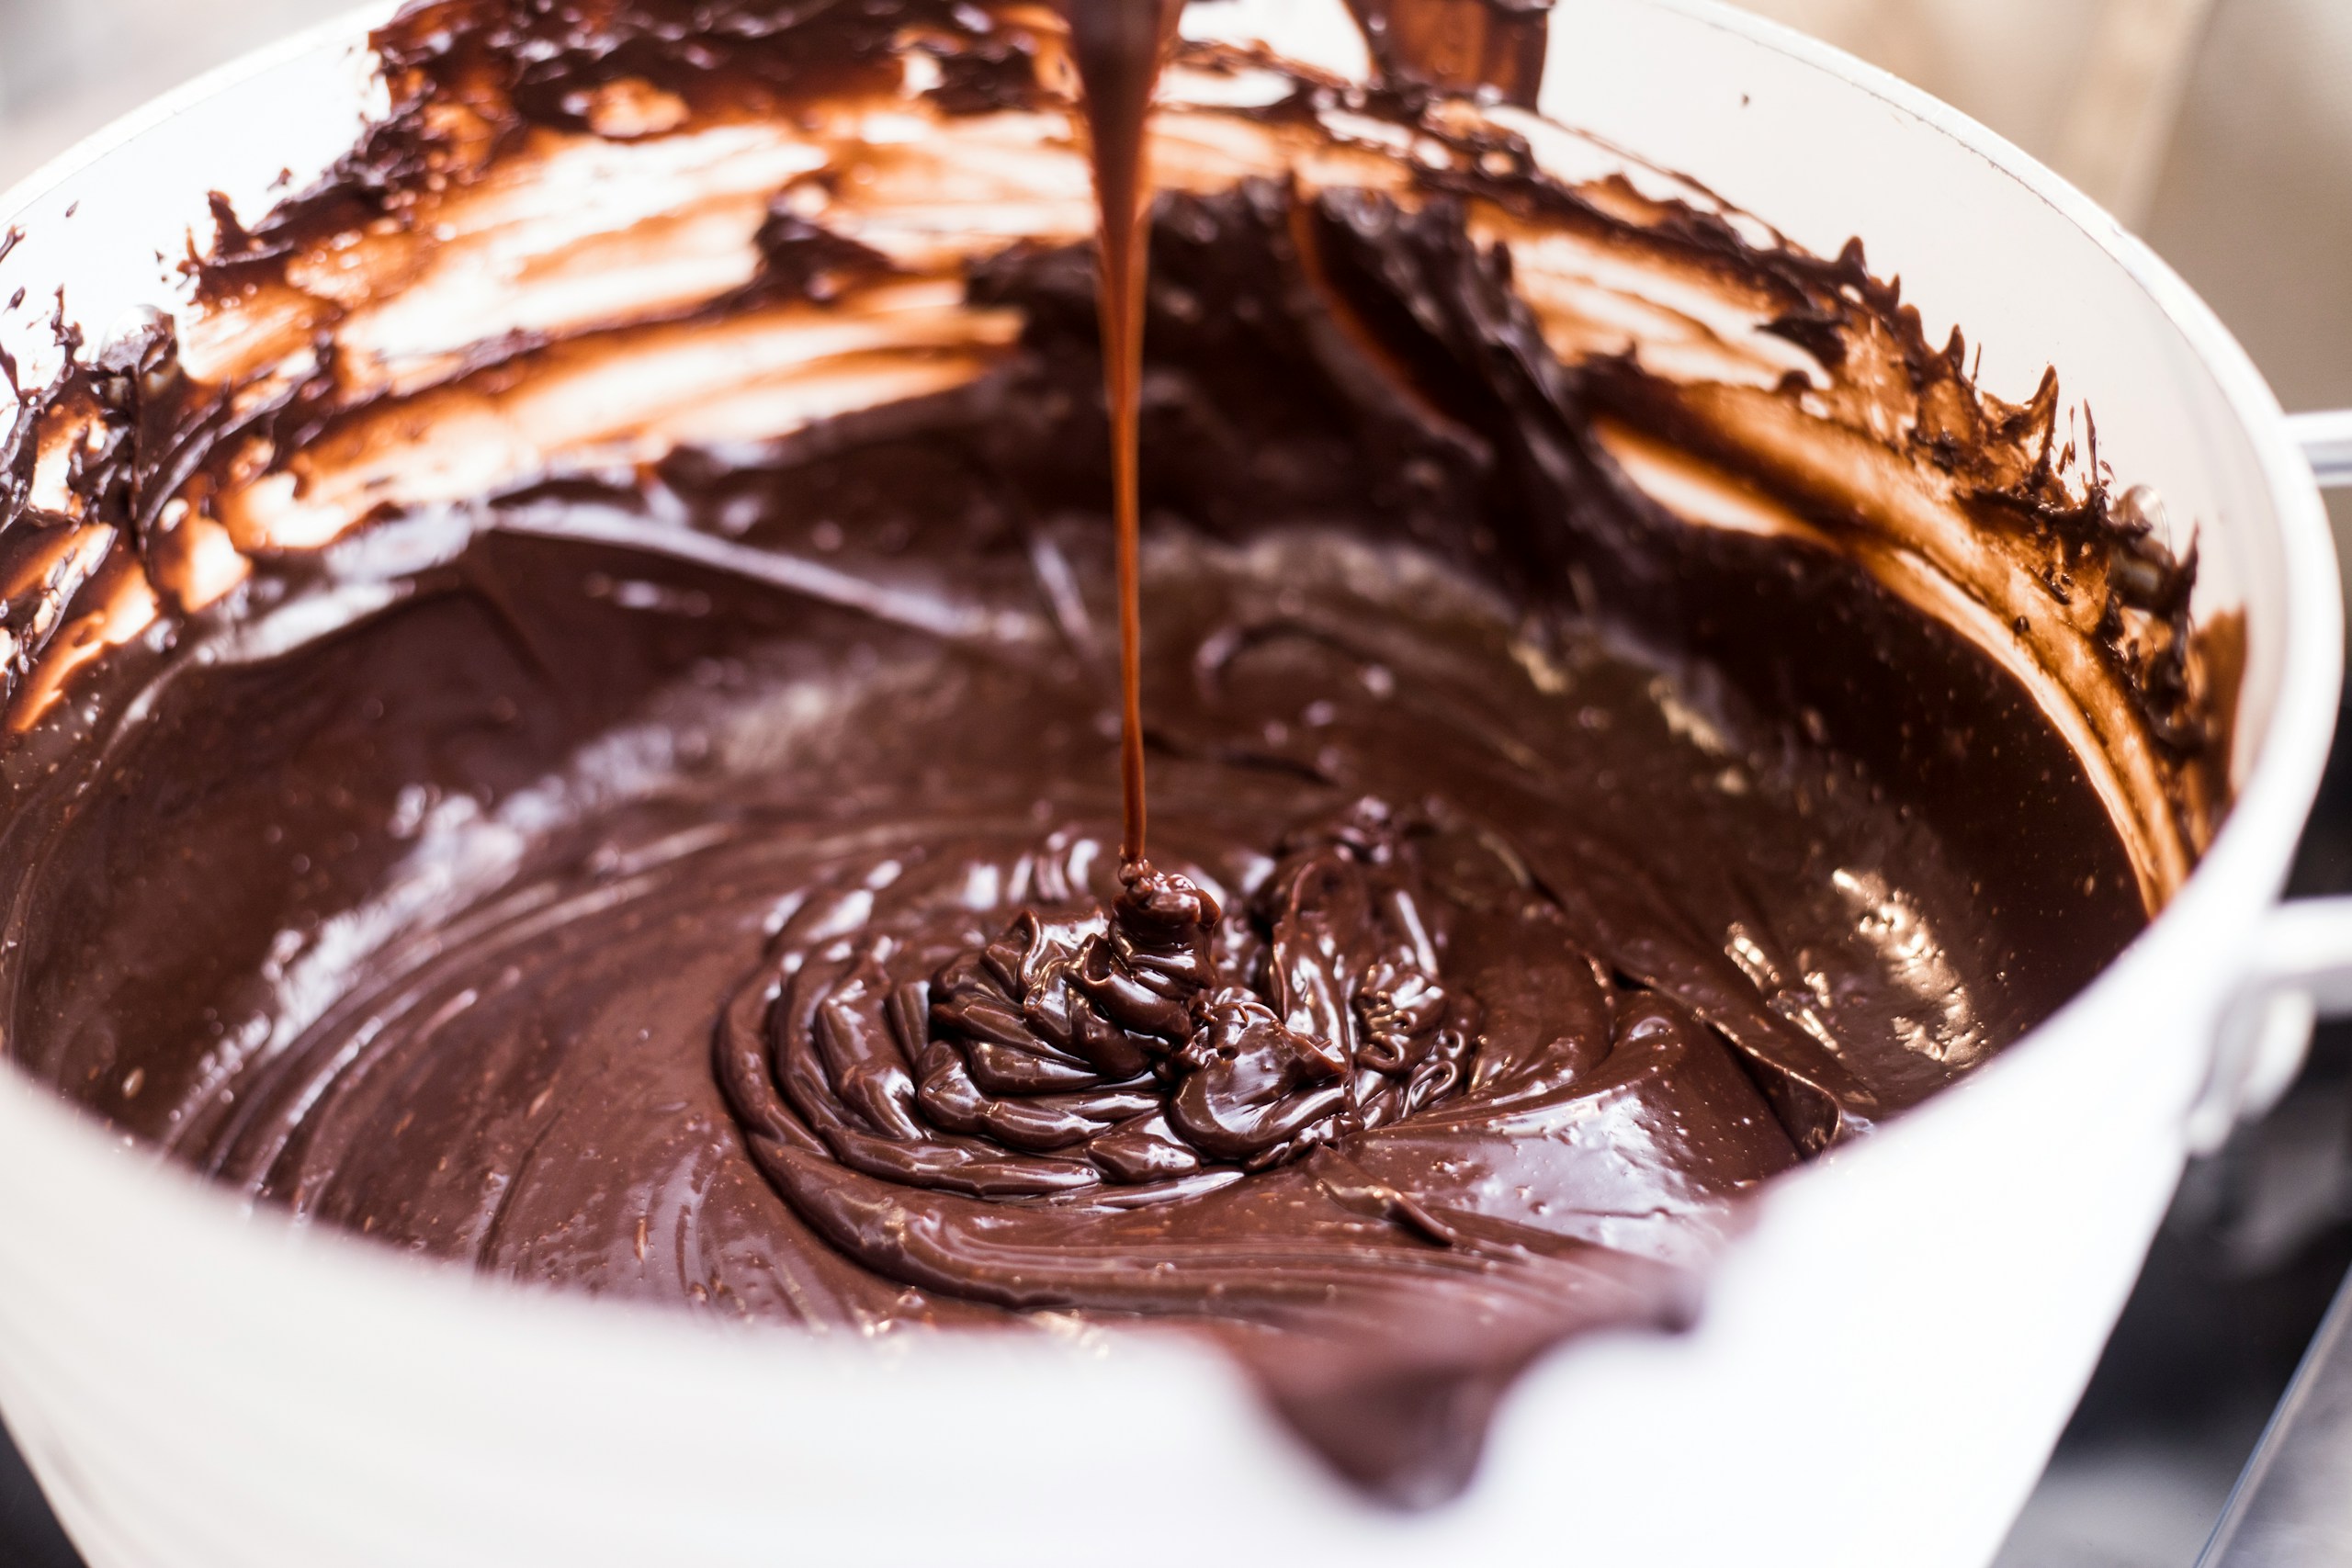
The batter should be thick but slowly fall off the spatula, not run like water.
Step 5: Bake and Check for Doneness
Transfer the batter into your prepared cake pan and smooth the top with a spatula. Slide it into the oven and bake for about 30–35 minutes. Start checking around 30 minutes using these cues:
- Toothpick Test: The toothpick should come out clean or with a few moist crumbs.
- Spring Back: Lightly press the center. It should bounce back when you do so.
- Edges: The edges should pull slightly from the pan.
The top should look set with no shiny batter spots.
Step 6: Let the Cake Cool
Once baked, remove the pan from the oven and set it on a heat-proof surface. Let the cake cool in the pan for 10–15 minutes, then use an offset spatula or knife to release the edges. Flip onto a cooling rack and let it cool completely before frosting.
The cake at room temperature should feel warm to the touch, not hot.
Step 7: Frost or Swirl Peanut Butter
When the cake is fully cool, prepare the peanut butter frosting. Gradually add milk to the powdered sugar and peanut butter while mixing until you reach a spreadable consistency.
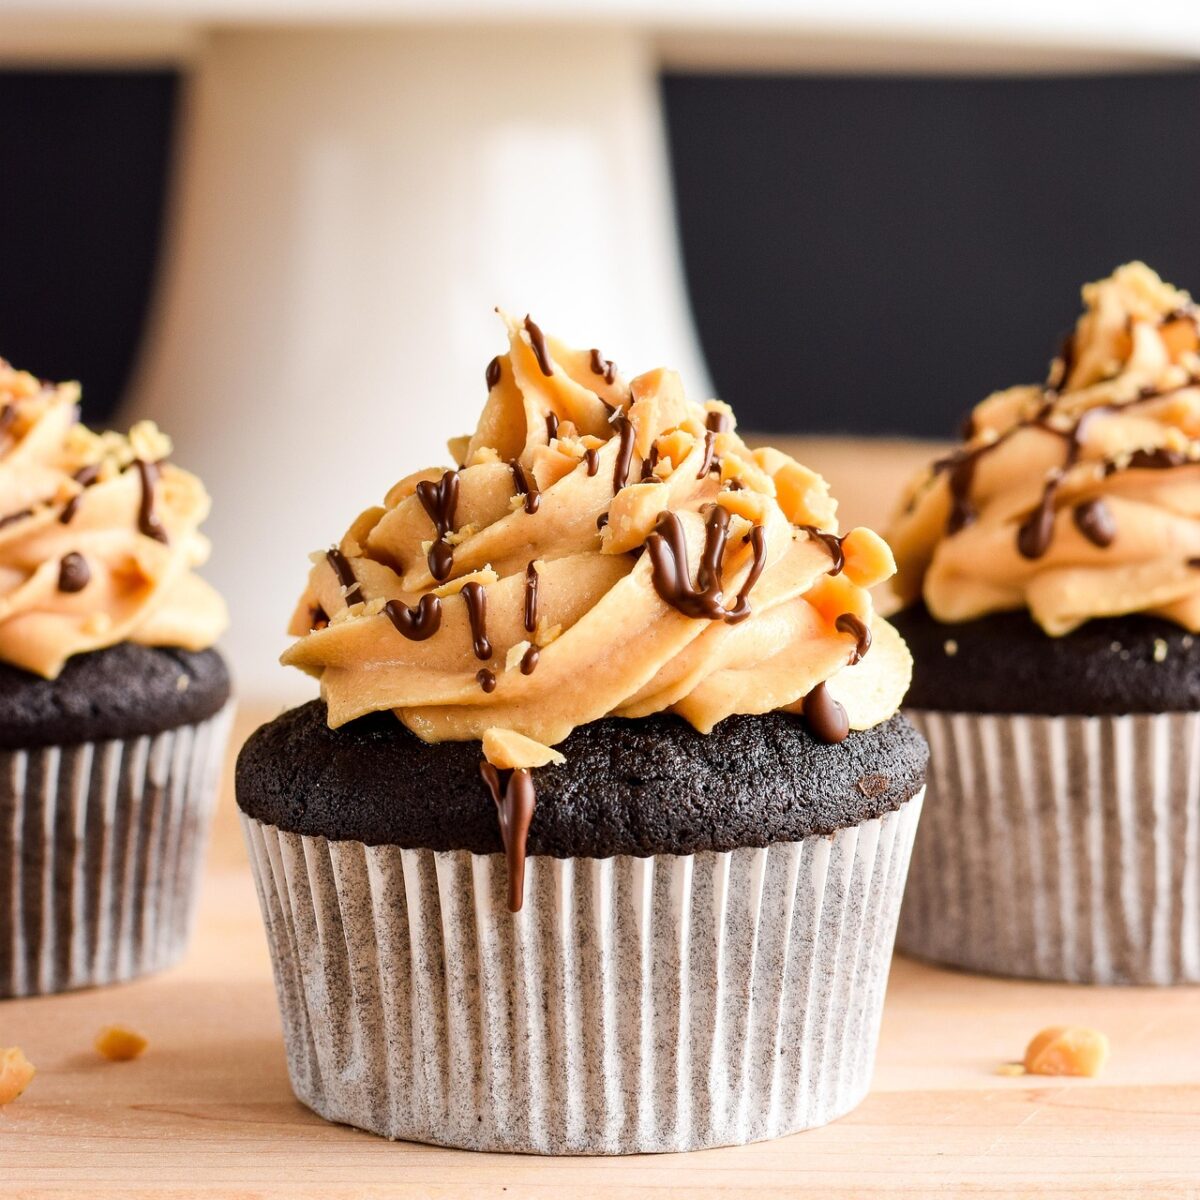
Use an offset spatula to spread or swirl the frosting over the top (start in the center and work outward in gentle arcs).
A glossy, even frosting with soft waves or peaks looks best. Serve your delicious Peanut Butter Chocolate Cake!
Baking Cues Every Home Cook Should Know
Once your batter is in the pan and baking, your senses become your best guide, especially if this is your first time with a rich chocolate cake. Paying attention to texture, aroma, and color helps you feel your way to perfect results rather than just relying on a timer.
What the Batter Should Look Like
Right after mixing, the cake batter should be thick and glossy, not runny or lumpy. When you lift your spatula, it should fall slowly in a wide ribbon, not drip like water. This tells you the dry and wet ingredients are in harmony for the right texture.
Aroma Signals Doneness
As it bakes, your kitchen will start to smell like deep chocolate and warm sweetness; that’s a cue that you’re past the halfway mark. When the cake nears readiness, the smell becomes richer and slightly nutty from the peanut butter component, a sign that those layers are setting up nicely.
How Color Changes Tell You Something’s Happening
Watch the cake’s surface as it bakes. The top should go from wet and shiny to matte and set. There should be no glossy batter spots, which means the interior structure is firming up.
A slight rise and edges pulling away from the pan also signal that the cake is nearly done. These visual cues are just as important as the toothpick test for understanding texture and doneness.
Would you like a deeper look at how visual texture and layering affect both appearance and mouthfeel in desserts? This article on how textures and layers work together in baking gives great practical insights for home bakers.
How to Store, Freeze & Reheat Your Peanut Butter Chocolate Cake the Right Way
After baking your cake, knowing how to store, freeze, and make it ahead not only keeps it tasting fresh but also saves prep time.

Counter Storage Days
If you plan to eat it soon, you can keep a frosted cake at room temperature for 2–3 days in a cake carrier or under an inverted bowl. Cover the cut sides with plastic wrap to slow drying and protect moisture.
Fridge Storage
For longer freshness, especially in warm weather, place the cake in the fridge. Frosted cakes can stay moist for 3–4 days when chilled, but let them warm slightly before serving so the texture isn’t too firm.
Freezing Layers & Cakes
If you want to save layers for later or bake ahead, wrap cooled, unfrosted layers tightly and freeze them for up to 2 months. You can also freeze a frosted cake; just wrap it gently after firming the icing first.
Reheating Tips
Thaw frozen cakes overnight in the fridge, then bring to room temperature before serving to preserve texture and flavor.
Frosting Storage
Keep leftover frosting in an airtight container in the fridge for 3–5 days. If it thickens after chilling, whisk in a splash of non-dairy milk to restore spreadability.
This guide on storing and freezing cakes can be a helpful reference if you need more tips on keeping desserts fresh and moist.
The Secret to Well-Balanced Chocolate & Peanut Butter Taste
One of the biggest challenges with this dessert is balancing the two bold flavors so neither one overwhelms the other. Without intention, chocolate can easily dominate a recipe and bury the peanut butter notes that make this cake special.
Avoid Chocolate Dominance
In many desserts, chocolate can easily overpower peanut butter, leaving the nutty notes faint or buried. That’s why this cake is built to let both flavors shine without one masking the other.
Frosting vs Mixing
Instead of blending peanut butter into the batter where it can get lost, this recipe highlights it in a frosting or visible swirl. Placing the peanut flavor on top ensures it stays distinct and noticeable alongside the rich chocolate base.
Boosting Peanut Butter Safely
To strengthen peanut butter flavor without imbalance, a touch of salt and just the right amount of sugar help both elements complement each other. This balance prevents bitterness from cocoa and supports a smooth, harmonious taste experience.
Check this no-bake dessert out for another chocolate-peanut butter twist that showcases balanced layers and texture.
Troubleshooting Guide
Even the best bakers run into trouble sometimes. On that note, these are the most common issues you might hit, and exactly how to fix them so your next slice is perfect.
Cake Dry
Overbaking is the number one reason cakes dry out. If the cake is already dry, brush the slices with a simple syrup (1:1 sugar + water) while still warm to restore moisture. For next time, start checking doneness a few minutes early.
Cake Sinks in the Middle
An underbaked center collapses as it cools. Fixing this requires you to be sure your oven is at the right temperature and give the cake the time it needs.
To check if the center is done, insert a toothpick; it should come out with moist crumbs, not wet batter. Try not to open the oven door too soon, as that can interrupt the baking process.
Peanut Butter Flavor Weak
If the peanut butter doesn’t shine through, make your peanut butter frosting layer thicker. Putting peanut flavor on top instead of just in the batter keeps it noticeable.
Chocolate Bitter
Too much unsweetened cocoa can taste sharp. Reduce the amount slightly or add a bit more sugar to balance bitterness without losing the deep chocolate taste.
Frosting Too Thick or Too Thin
If the frosting is too thick, add 1 teaspoon of non-dairy milk at a time until spreadable. But if it’s too thin, add more powdered sugar gradually until it holds its shape.
Creative Twists for This Peanut Butter Chocolate Cake
Once you’ve mastered the base recipe, these fun twists and adaptations help you bake the cake for different occasions and dietary needs.
Gluten-Free Version
Use a reliable gluten-free flour blend in place of all-purpose flour. Expect a slightly more tender crumb, but all the chocolate + peanut satisfaction.
Cupcake Format
Divide batter into lined muffin tins and bake until centers spring back. This is an easy way to make party-ready portions.
Sheet Cake
Pour the batter into a sheet pan for a larger, thinner cake that’s great for gatherings.
Peanut Butter Swirl
Skip the frosting and swirl dollops of peanut butter throughout the batter before baking for visual appeal and flavor contrast.
Extra Chocolate Boost
Fold in a handful of chocolate chunks or drizzle melted chocolate on top for even more chocolate intensity.
Baking Questions Answered (FAQs)
You’ve seen how this cake comes together; now take a look at the answers to the most common baking questions, based entirely on how this recipe is written and tested. And if you don’t see your question here, feel free to ask it in the comments. I’m happy to help!
Why Doesn’t This Recipe Use Eggs?
Eggs aren’t necessary here. Applesauce (or sweet potato) provides moisture and light binding, while apple cider vinegar reacts with baking soda to create lift. This combination keeps the cake tender without traditional eggs.
Can I Add An Egg If I Want To?
Yes. If you prefer a slightly lighter, more traditional crumb, you can add 1 egg and reduce the applesauce slightly. The cake will still bake beautifully.
When Is Cocoa Added?
Cocoa powder goes in Step 2 with the dry ingredients, blended evenly before the wet ingredients are added.
Can I Add Chocolate Chips?
This version does not include chocolate chips; they aren’t in the ingredient list and would alter texture and balance.
What Type Of Peanut Butter Works Best?
Natural peanut butter works well in this recipe, just stir it thoroughly before measuring so the oil is fully incorporated. Avoid very runny peanut butter for the frosting, as it can make it too thin. Traditional no-stir peanut butter will create a slightly sweeter, thicker frosting.
More Desserts You’ll Love
If you’re here for chocolate and peanut butter goodness, explore other delicious picks that match this flavor vibe:
- Peanut Butter Chocolate Delight — a rich, decadent dessert where silky peanut butter meets deep chocolate.
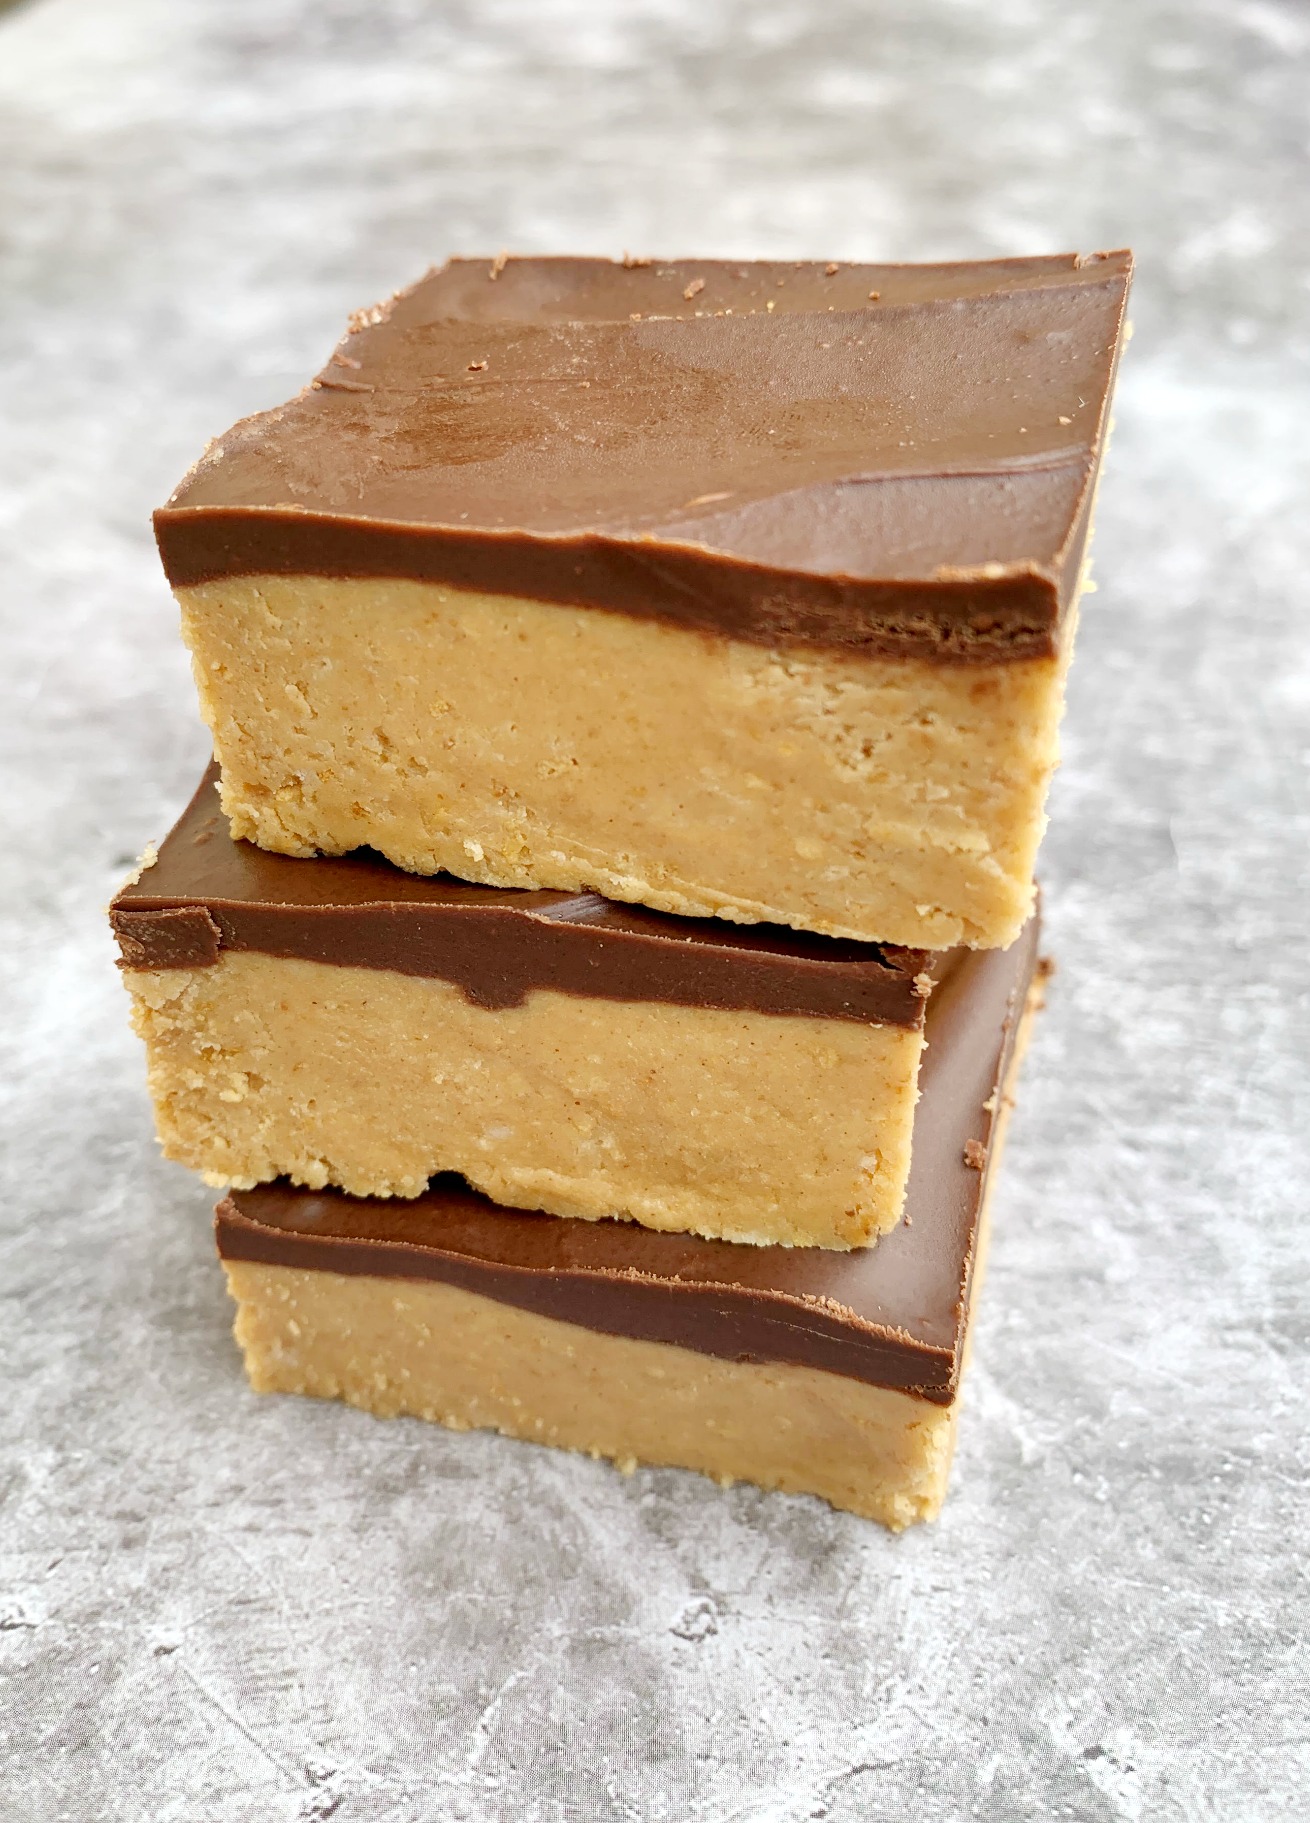
- Chocolate Peanut Butter Brownie Bites (Vegan + Gluten-Free) — perfect bite-sized treats with bold flavor.
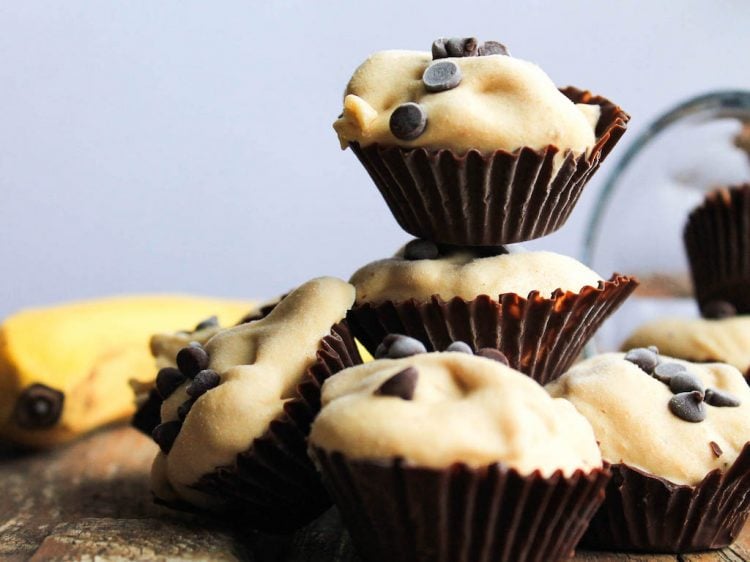
- Frozen Peanut Butter Banana Chocolate Cups — a refreshing, easy sweet snack for warm days.
- Chocolate Brownie Cake — classic, quick baking with maximum chocolate impact.
Whether you’re baking for a party, a holiday, or just a serious chocolate craving, there’s something here worth saving for later.
Let Us Know in the Comments!
Tried this cake? Tell us how it turned out! Did you swirl or frost the peanut butter, and which flavor stole the show? Share your experience in the comment section below to help other bakers bake it even better.