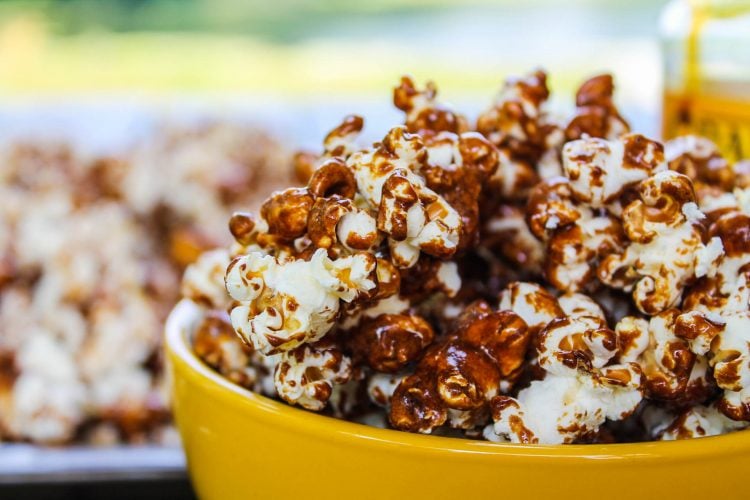
An old-fashioned caramel corn recipe is meant to give that homemade fair-style popcorn with a deep molasses caramel flavor. But most batches fail similarly.
The caramel stays sticky rather than crisp, the sugar burns before it coats, and the popcorn ends up uneven, leaving some pieces soaked and others bare.
Table of Contents

Our version resolves those issues. In the next section, we’ll explain how you can achieve crunchy, glossy, and evenly coated caramel popcorns without any uncertainty or risk of overcooking.
If you want a softer, spiced variation later, try our Vegan Pumpkin Spice Popcorn. However, this article focuses on getting the classic texture right.
Quick Recipe Snapshot
Before you start gathering your ingredients, below is a quick overview of what to expect from this recipe.
| Detail | Info |
|---|---|
| Prep Time | 30 minutes |
| Cook Time | 40 minutes |
| Texture | Crunchy (baked) or slightly sticky (no bake) |
| Flavour | Sweet with a slightly smoky molasses depth |
| Difficulty | Easy |
Ingredients & Substitutions
After gathering your ingredients, you must learn how the key ingredients in this old-fashioned caramel corn recipe actually work, and what happens if you swap them. To help you understand each component’s function, let’s break down the main elements below, beginning with popcorn kernels.
Ingredients Quick Scan List
The list below offers a quick look at what goes into this recipe. After the list, we’ll explain the role of each ingredient, so you know why it matters.
- Popcorn kernels
- Coconut oil
- Molasses
- Dark brown sugar
- Salt
- Cinnamon
- Baking soda
- Pure vanilla extract
Popcorn Kernels
This recipe uses freshly popped kernels. Fresh popcorn gives a dry surface, which helps the caramel stick properly.
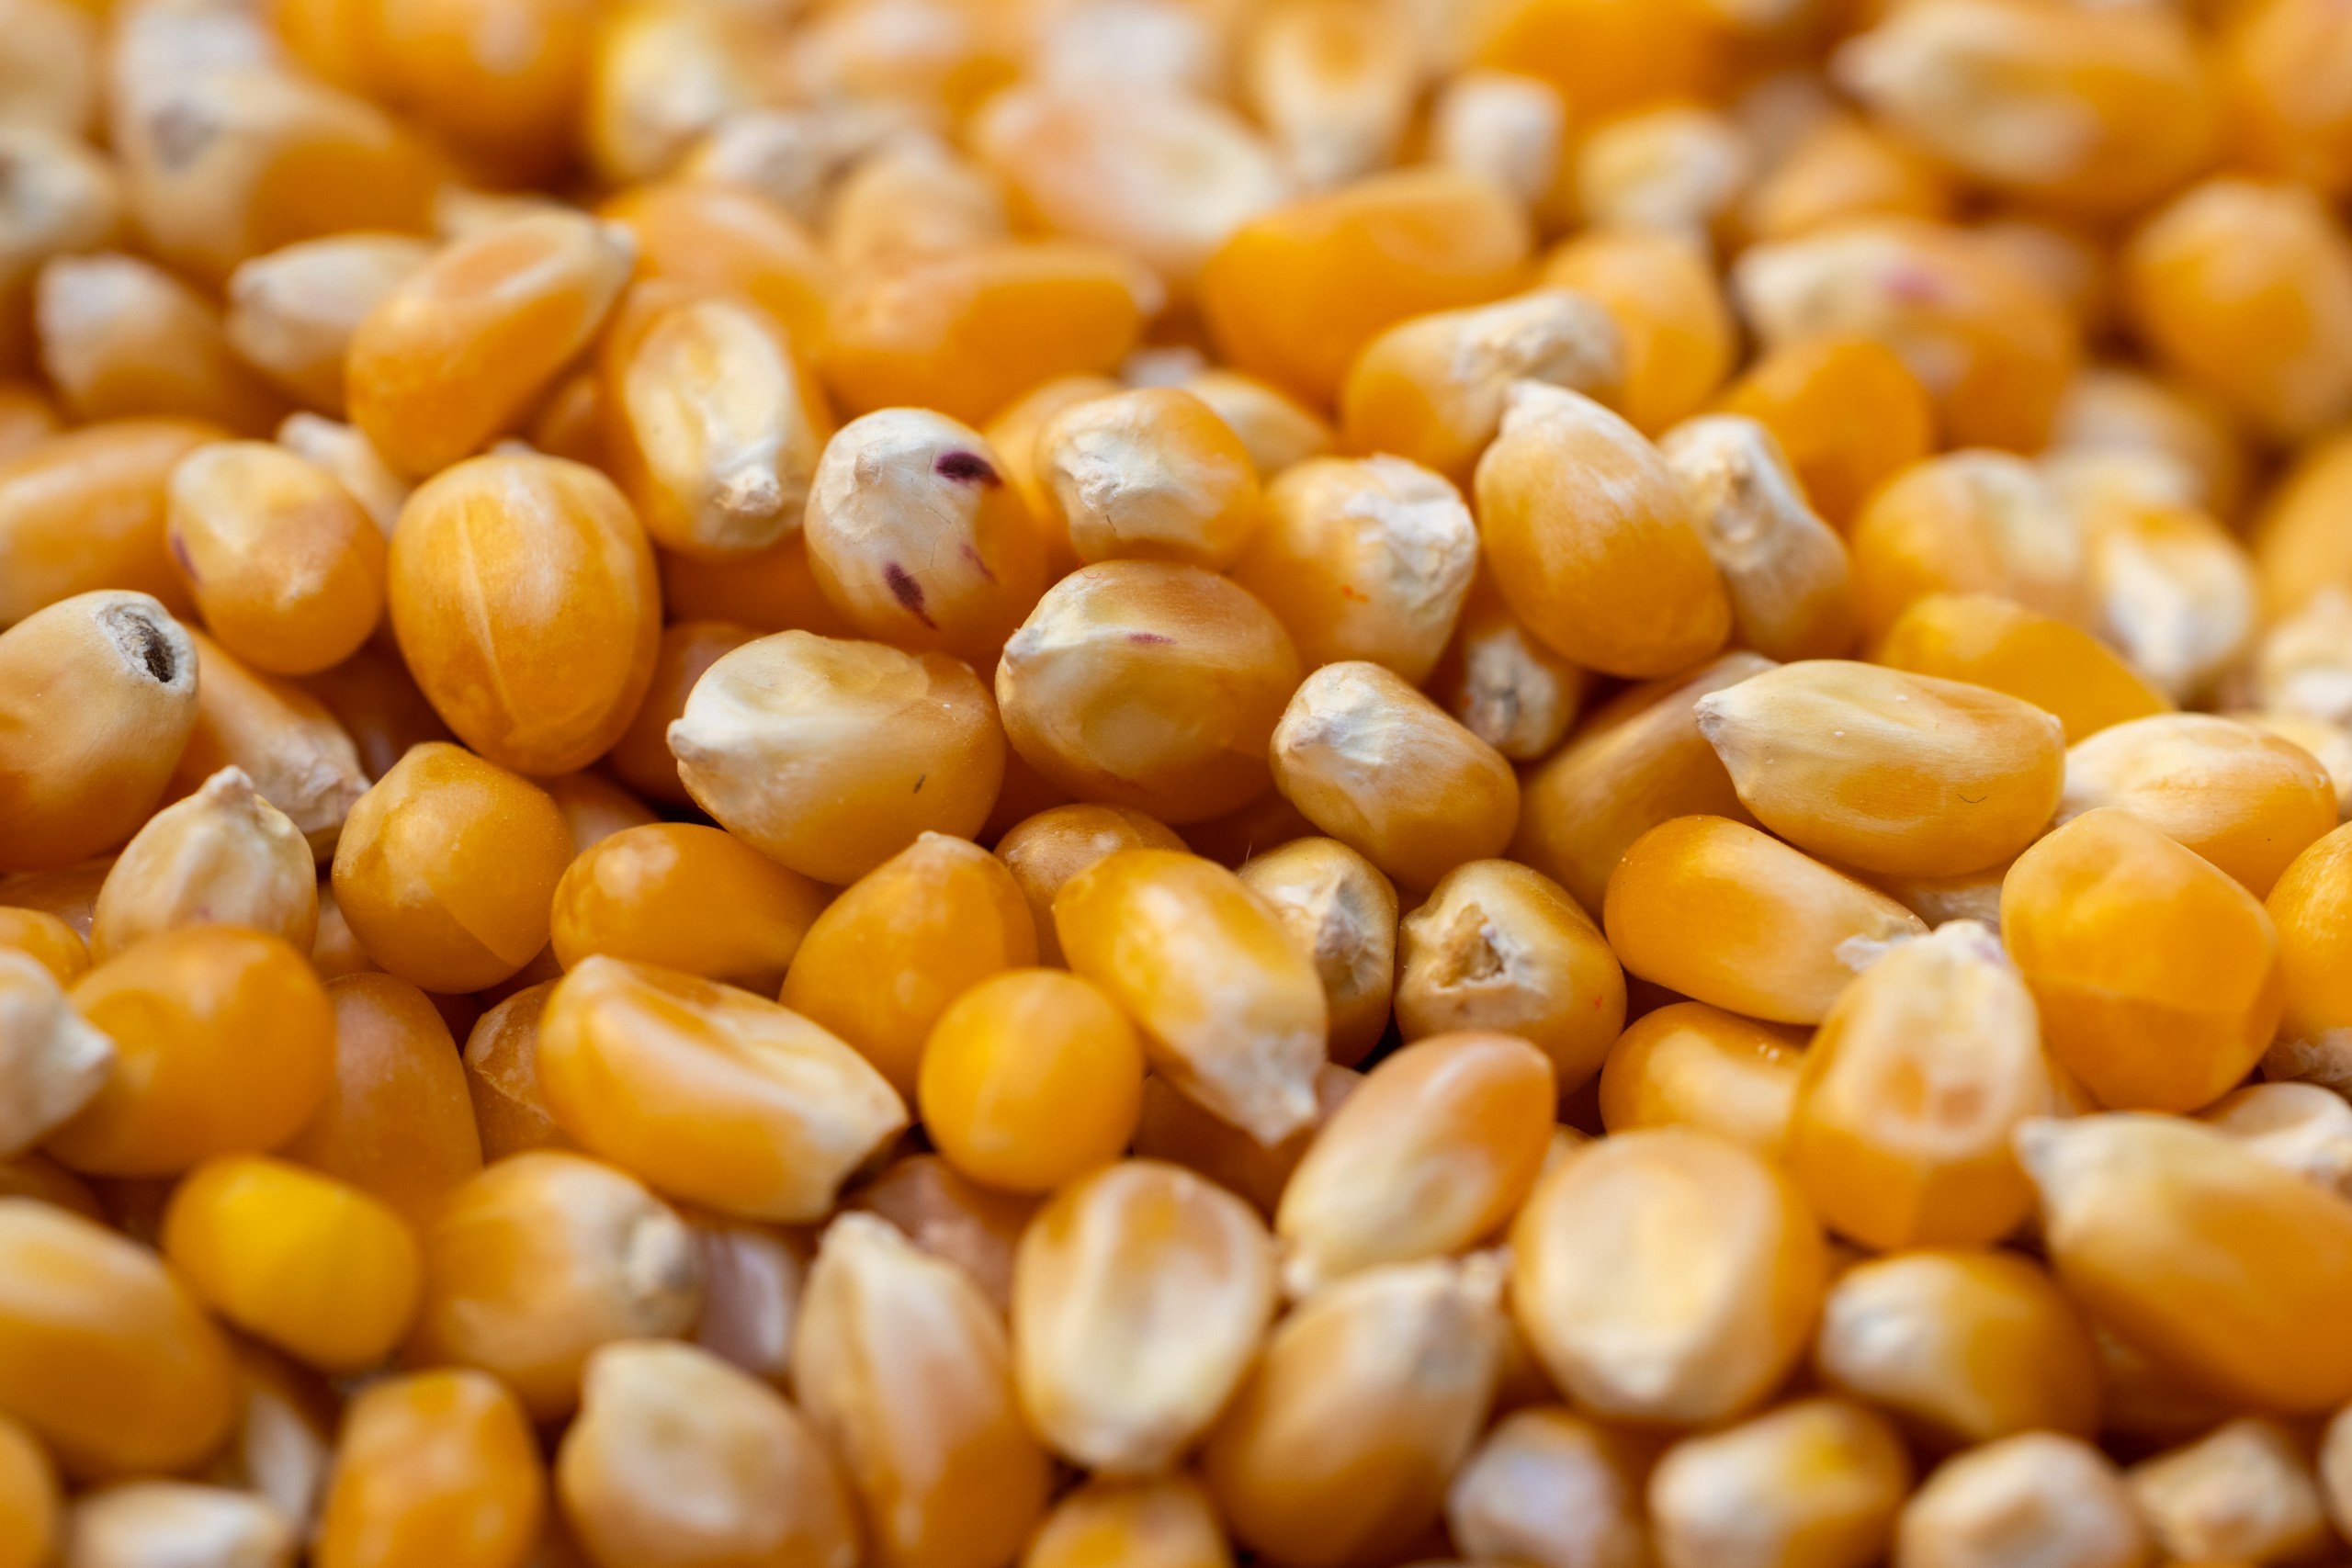
If you substitute with microwave popcorn, expect a softer, slightly greasy coating that won’t crisp as well. Air-popped or stovetop popcorn is the most reliable option.
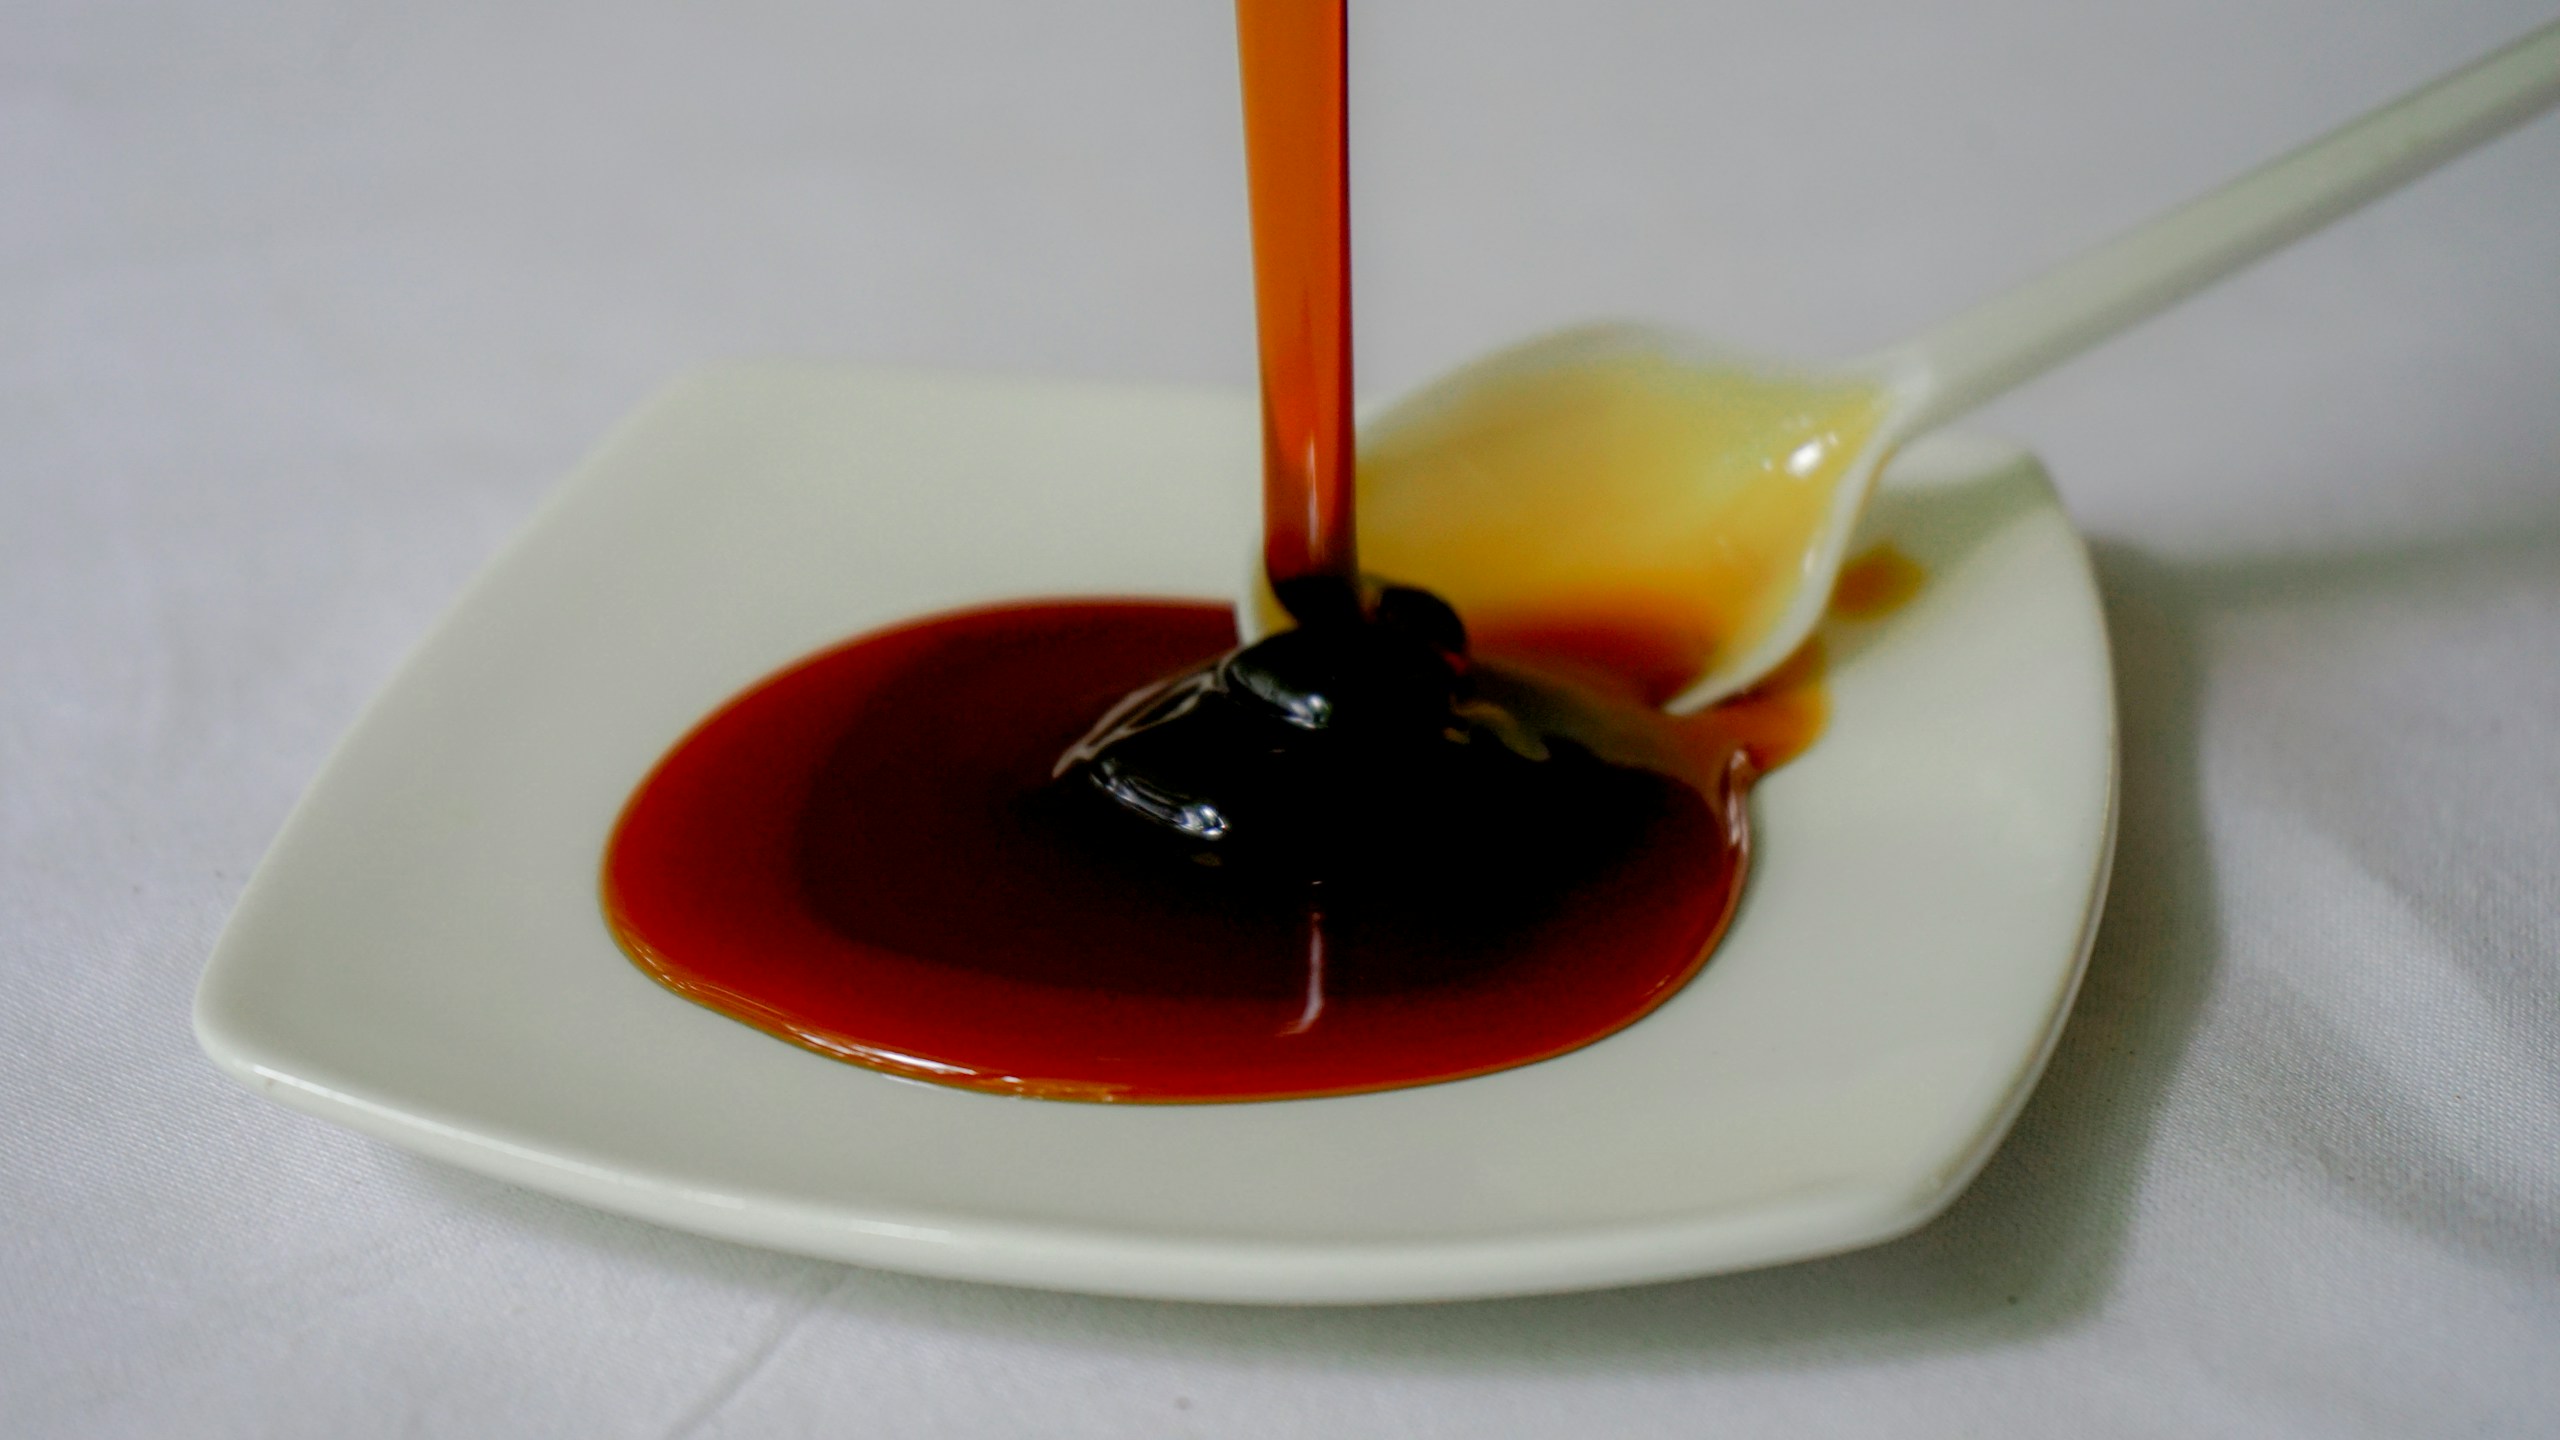
Molasses
Molasses adds a bold, slightly smoky flavor that sets it apart from standard caramel corn. You can substitute with honey or maple syrup, but the result will be lighter, sweeter, and less complex.
Would you like to try a different flavor direction entirely? Check out our Salted Maple Popcorn.
Dark Brown Sugar
Brown sugar builds the caramel base and adds moisture. Also, it creates that slightly chewy interior before the oven crisps it.
Using white sugar instead will make the caramel harder and more brittle, with less depth.
Coconut Oil
Coconut oil replaces butter and helps create a crisp finish. It also keeps the coating clean and firm after baking.
If you substitute it with butter, the caramel may taste richer, but it can turn slightly softer and less crunchy.
Baking Soda
Baking soda makes the coating lighter and easier to spread. Skipping it results in a dense, harder coating that can clump rather than spread evenly.

Printable Old-Fashioned Caramel Corn Recipe Card
Ingredients
- ¾ cup popcorn kernels , about 14 cups popped
- ¼ cup coconut oil
- ½ cup molasses
- ¼ cup dark brown sugar
- ½ teaspoon salt
- ½ teaspoon cinnamon
- ½ teaspoon baking soda
- ½ teaspoon pure vanilla extract
Instructions
- Preheat oven to 250 degrees and line a large rimmed baking pan with parchment paper.
- Pop popcorn in a large stovetop pan, then transfer it to a large bowl. Do not use microwave popcorn!
- Combine coconut oil, molasses, and dark brown sugar in a small saucepan over low heat. Stir in salt and cinnamon. Bring to a boil for 3 – 5 minutes, stirring constantly.
- Remove from heat and quickly stir in soda and extract; it will bubble!
- Quickly pour over your reserved popcorn and stir to combine.
- Spread on a parchment-lined pan.
- Place in the oven and bake for 45 minutes to an hour, and stir every 15 minutes.
- Remove from the oven to the wire racks to cool before serving.
Notes
- Do not use vegan butter; coconut oil produces a crispier, crunchier popcorn.
Doneness Cues
- Caramel coating should look glossy, not wet.
- Popcorn should feel dry to the touch, not sticky.
- There should be no pooling of caramel at the bottom of the pan.
Success Tips
- Stir every 15 minutes to avoid uneven coating.
- Do not skip baking because this is what creates crunch.
- Work quickly after adding baking soda before the caramel thickens.
Storage
- Store in an airtight container for up to 1–2 weeks.
- Keep away from humidity to prevent stickiness.
- If soft, reheat briefly in a low oven to restore crunch.
Nutrition (Estimated)
These estimates below are based on standard ingredient inputs using nutrition calculators:- Calories: ~200–210 kcal
- Carbohydrates: ~32g
- Fat: ~8–10g
- Sugar: ~18–22g
- Protein: ~1–2g
Nutrition
Why This Old-Fashioned Caramel Corn Recipe Works
This old-fashioned caramel corn recipe is designed to control how the coating behaves from start to finish, not just how it tastes.

Molasses Adds Depth
Molasses gives the caramel a deeper, slightly smoky flavor that plain sugar cannot provide. This creates a more balanced coating instead of a one-dimensional sweetness.
Baking Soda Provides the Airy, Even Coating
Baking soda reacts with the hot caramel, creating tiny air bubbles. This makes the mixture lighter and easier to spread, so it coats the popcorn more evenly before it sets.
Oven Finish Locks in the Crunch
After coating, the oven step stabilizes the caramel and ensures it sets properly around each kernel.
Should you want to explore a flavor-focused variation, try our Vegan Chai Spiced Popcorn.
How To Make Old Fashioned Caramel Corn Recipe (Step by Step Instructions)
Once you have everything ready, follow the steps below in the order listed. Each one focuses on a single action, so you can control texture and avoid common mistakes.
Step 1: Preheat the Oven
Preheat your oven to 250°F and line a large baking pan with parchment paper.
You’re looking for steady, low heat; this is what dries out the caramel later, giving it a crisp finish.
Step 2: Pop the Popcorn
Pop the kernels and transfer them to a large bowl, removing any unpopped pieces.
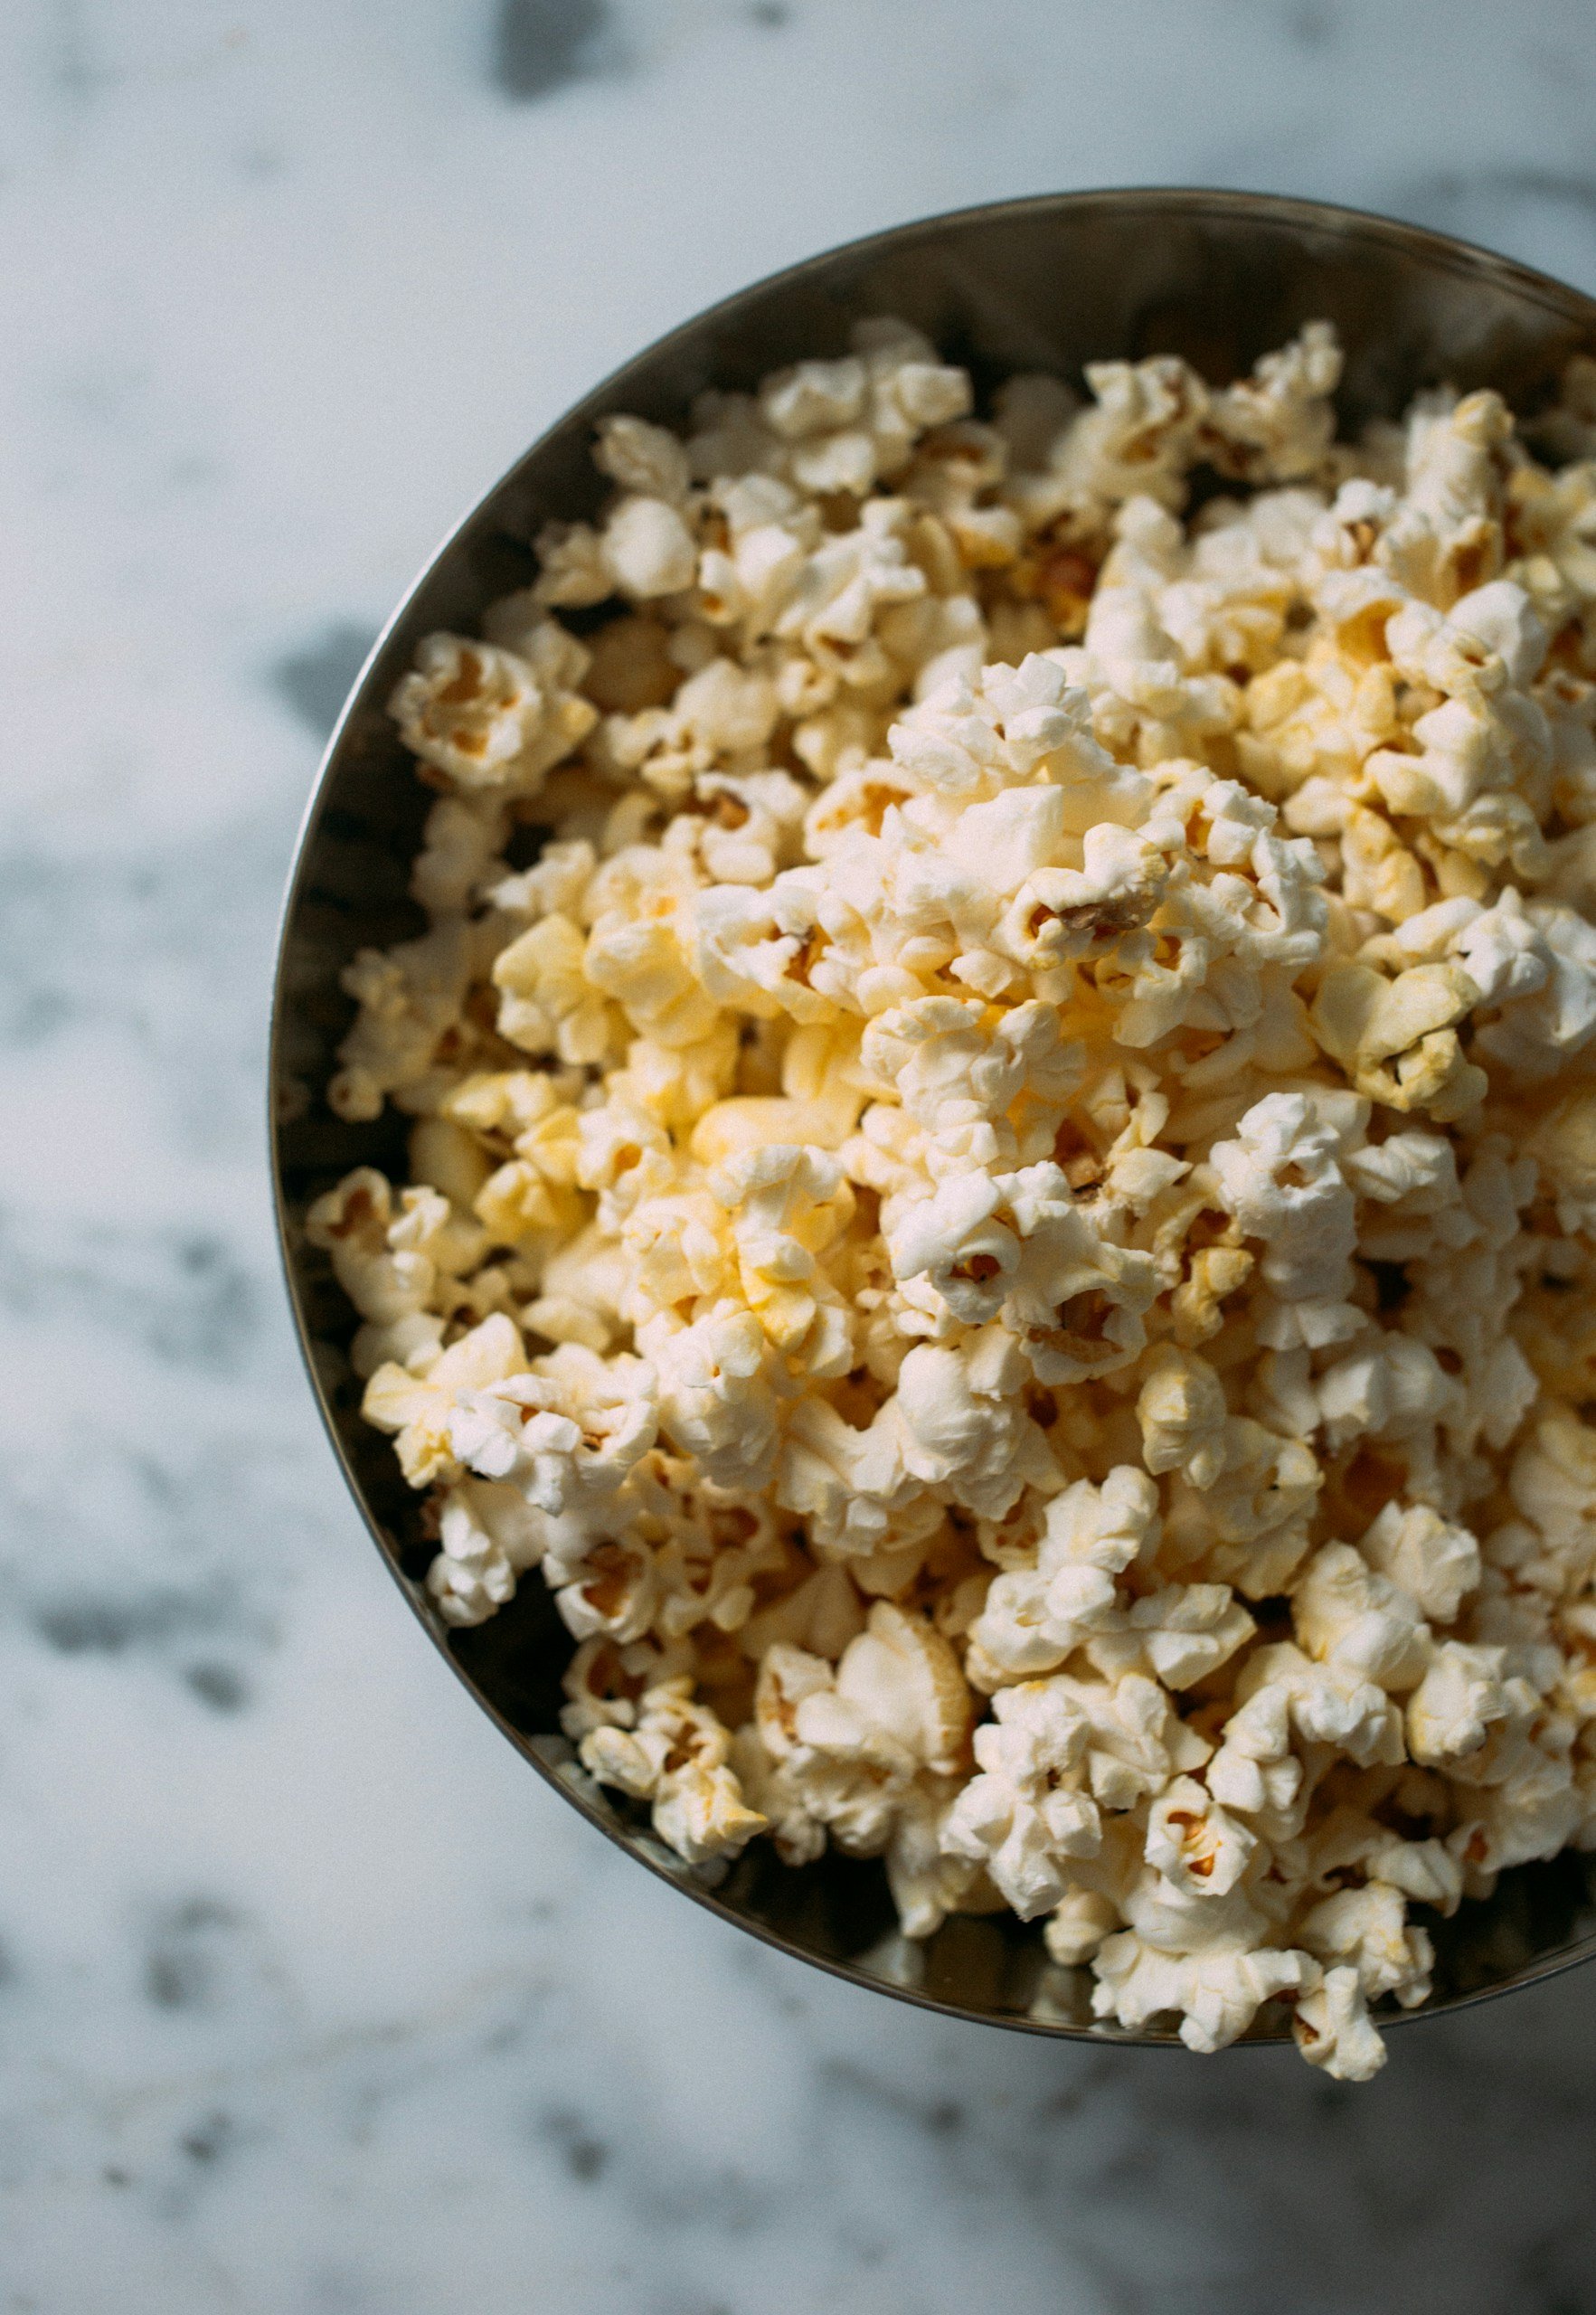
The popcorn should feel light and dry, not oily; this helps the caramel stick evenly.
Step 3: Make the Caramel
Heat the coconut oil, molasses, and brown sugar in a saucepan, then bring to a boil and cook for 3–5 minutes, stirring.
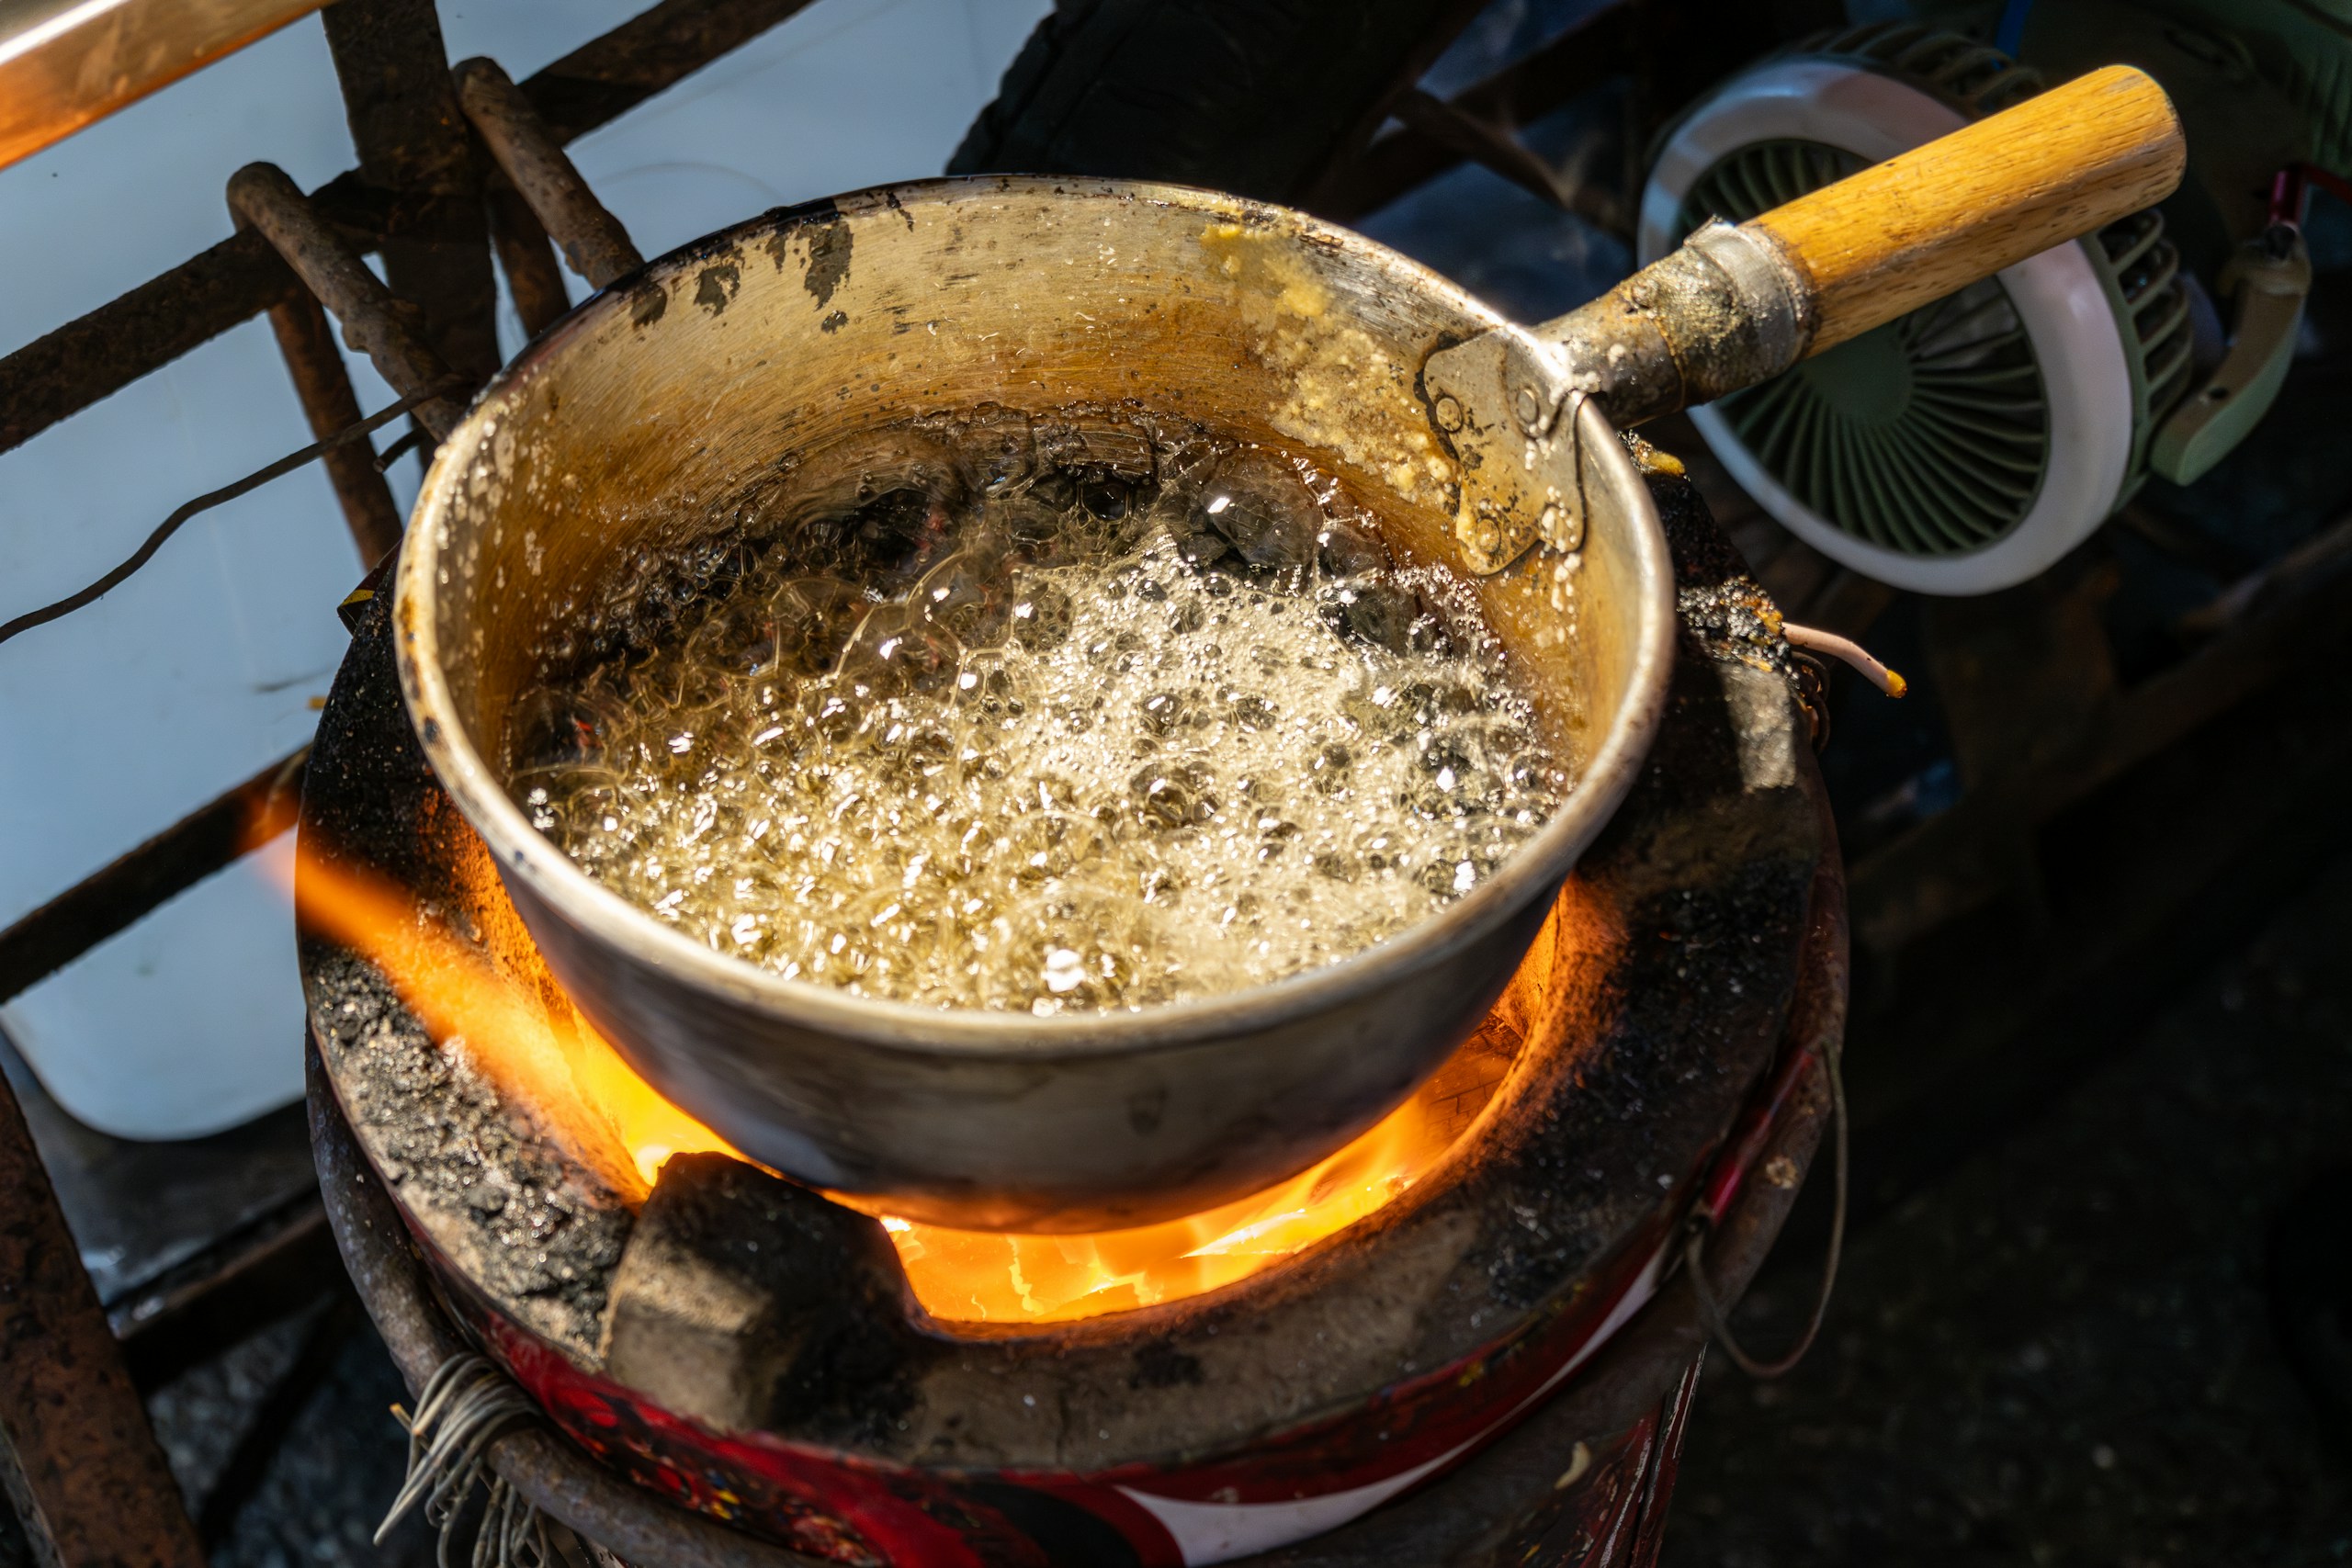
The mixture should turn smooth, glossy, and slightly thick with a deep caramel smell.
Step 4: Add Baking Soda
Remove from heat and stir in baking soda and vanilla. The caramel will foam and lighten in color; this reaction makes the coating airy and easier to spread.
Step 5: Coat the Popcorn
Pour the hot caramel over the popcorn and mix quickly. Coat each piece evenly before the caramel begins to thicken.
Step 6: Bake and Stir
Spread the popcorn on the pan and bake for 45–60 minutes, stirring every 15 minutes.
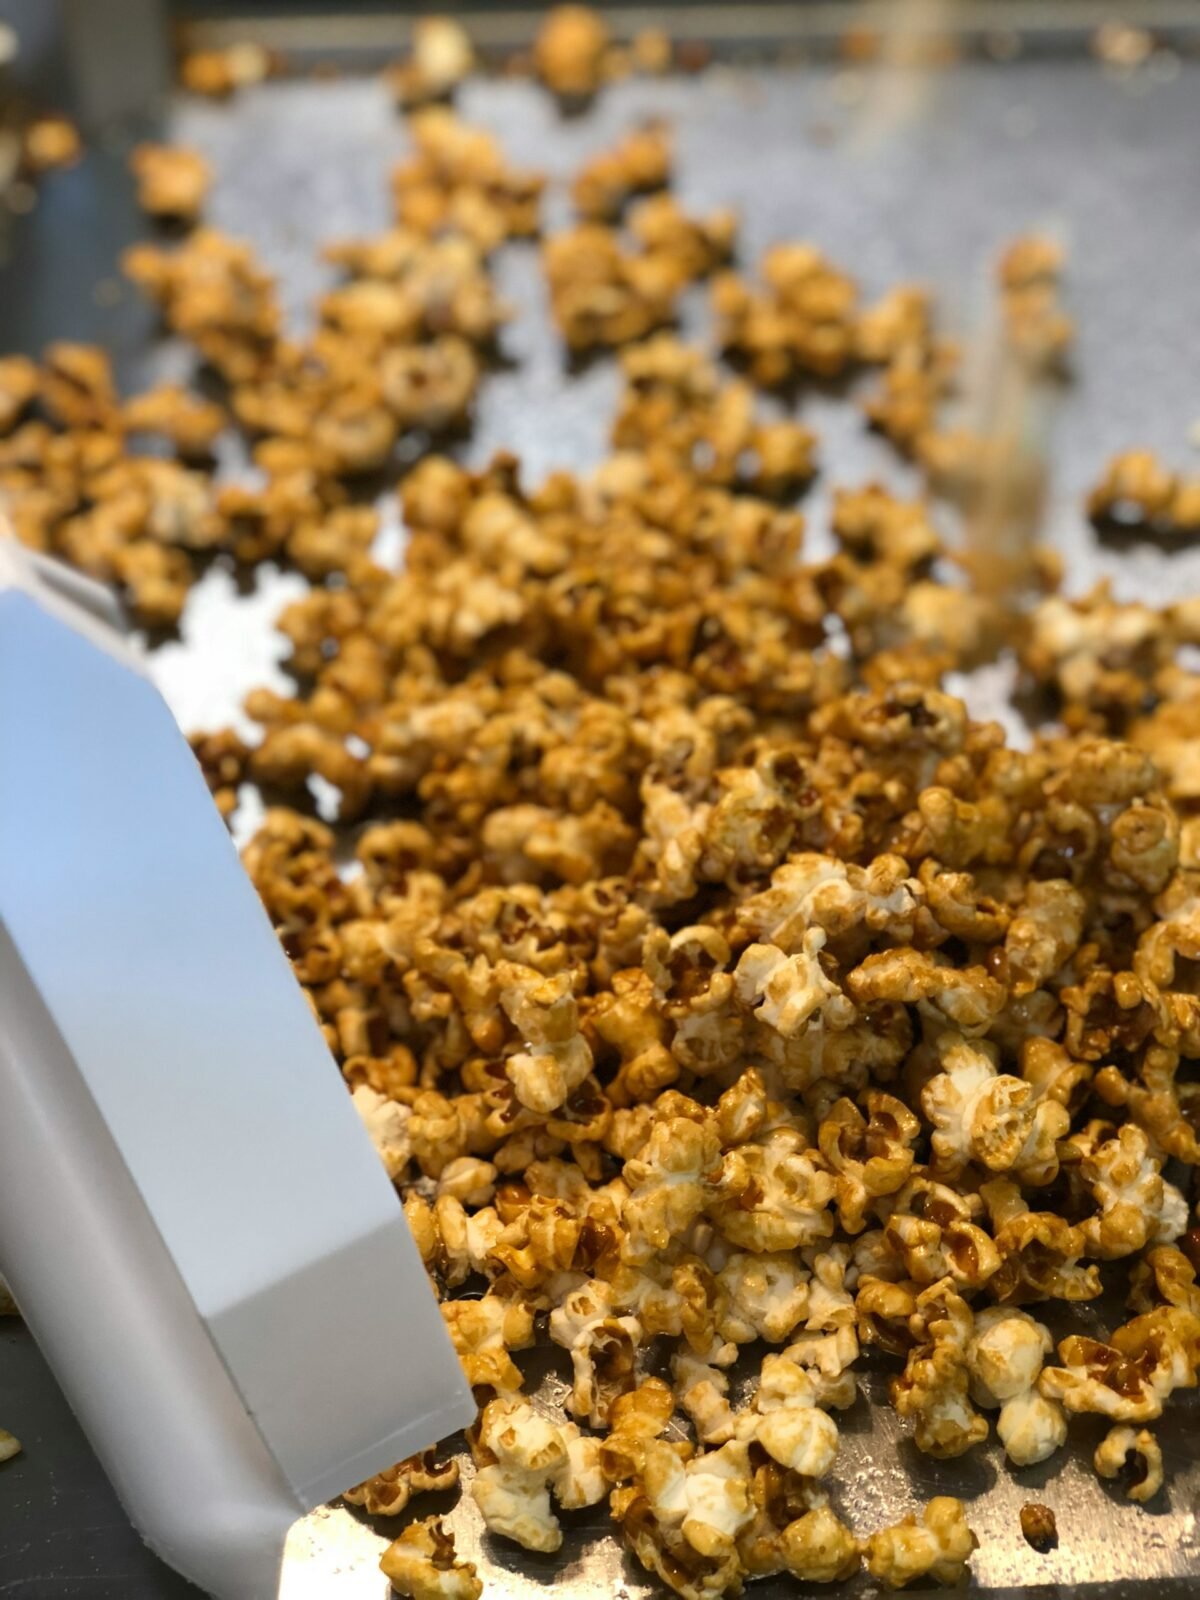
The coating should gradually dry and become firm rather than sticky.
Step 7: Cool Completely
Remove from the oven and let it cool on a rack.
As it cools, the caramel should harden into a crisp shell; this is when the final texture sets.
Essential Kitchen Tools Required for This Recipe
Before you start, having the right tools makes this recipe much easier to execute without rushing or making mistakes. Each one supports a specific step, especially when working with hot caramel.
- Popcorn Maker or Large Pot – A hot-air popper keeps things light, while a stovetop pot gives you more control over batch size.
- Heavy-Bottom Saucepan – A thick-bottom saucepan prevents hot spots that can burn sugar before it fully dissolves.
- Large Mixing Bowl – A large bowl helps you coat the popcorn evenly before the caramel hardens.
- Silicone Spatula or Wooden Spoon – Silicone spatulas are ideal because they scrape the pan clean and prevent waste.
- Large Baking Sheet – A wide baking sheet lets you spread the popcorn into a thin layer, so it dries evenly rather than clumping.
- Parchment Paper – Keeps the caramel from pooling and burning on the tray.
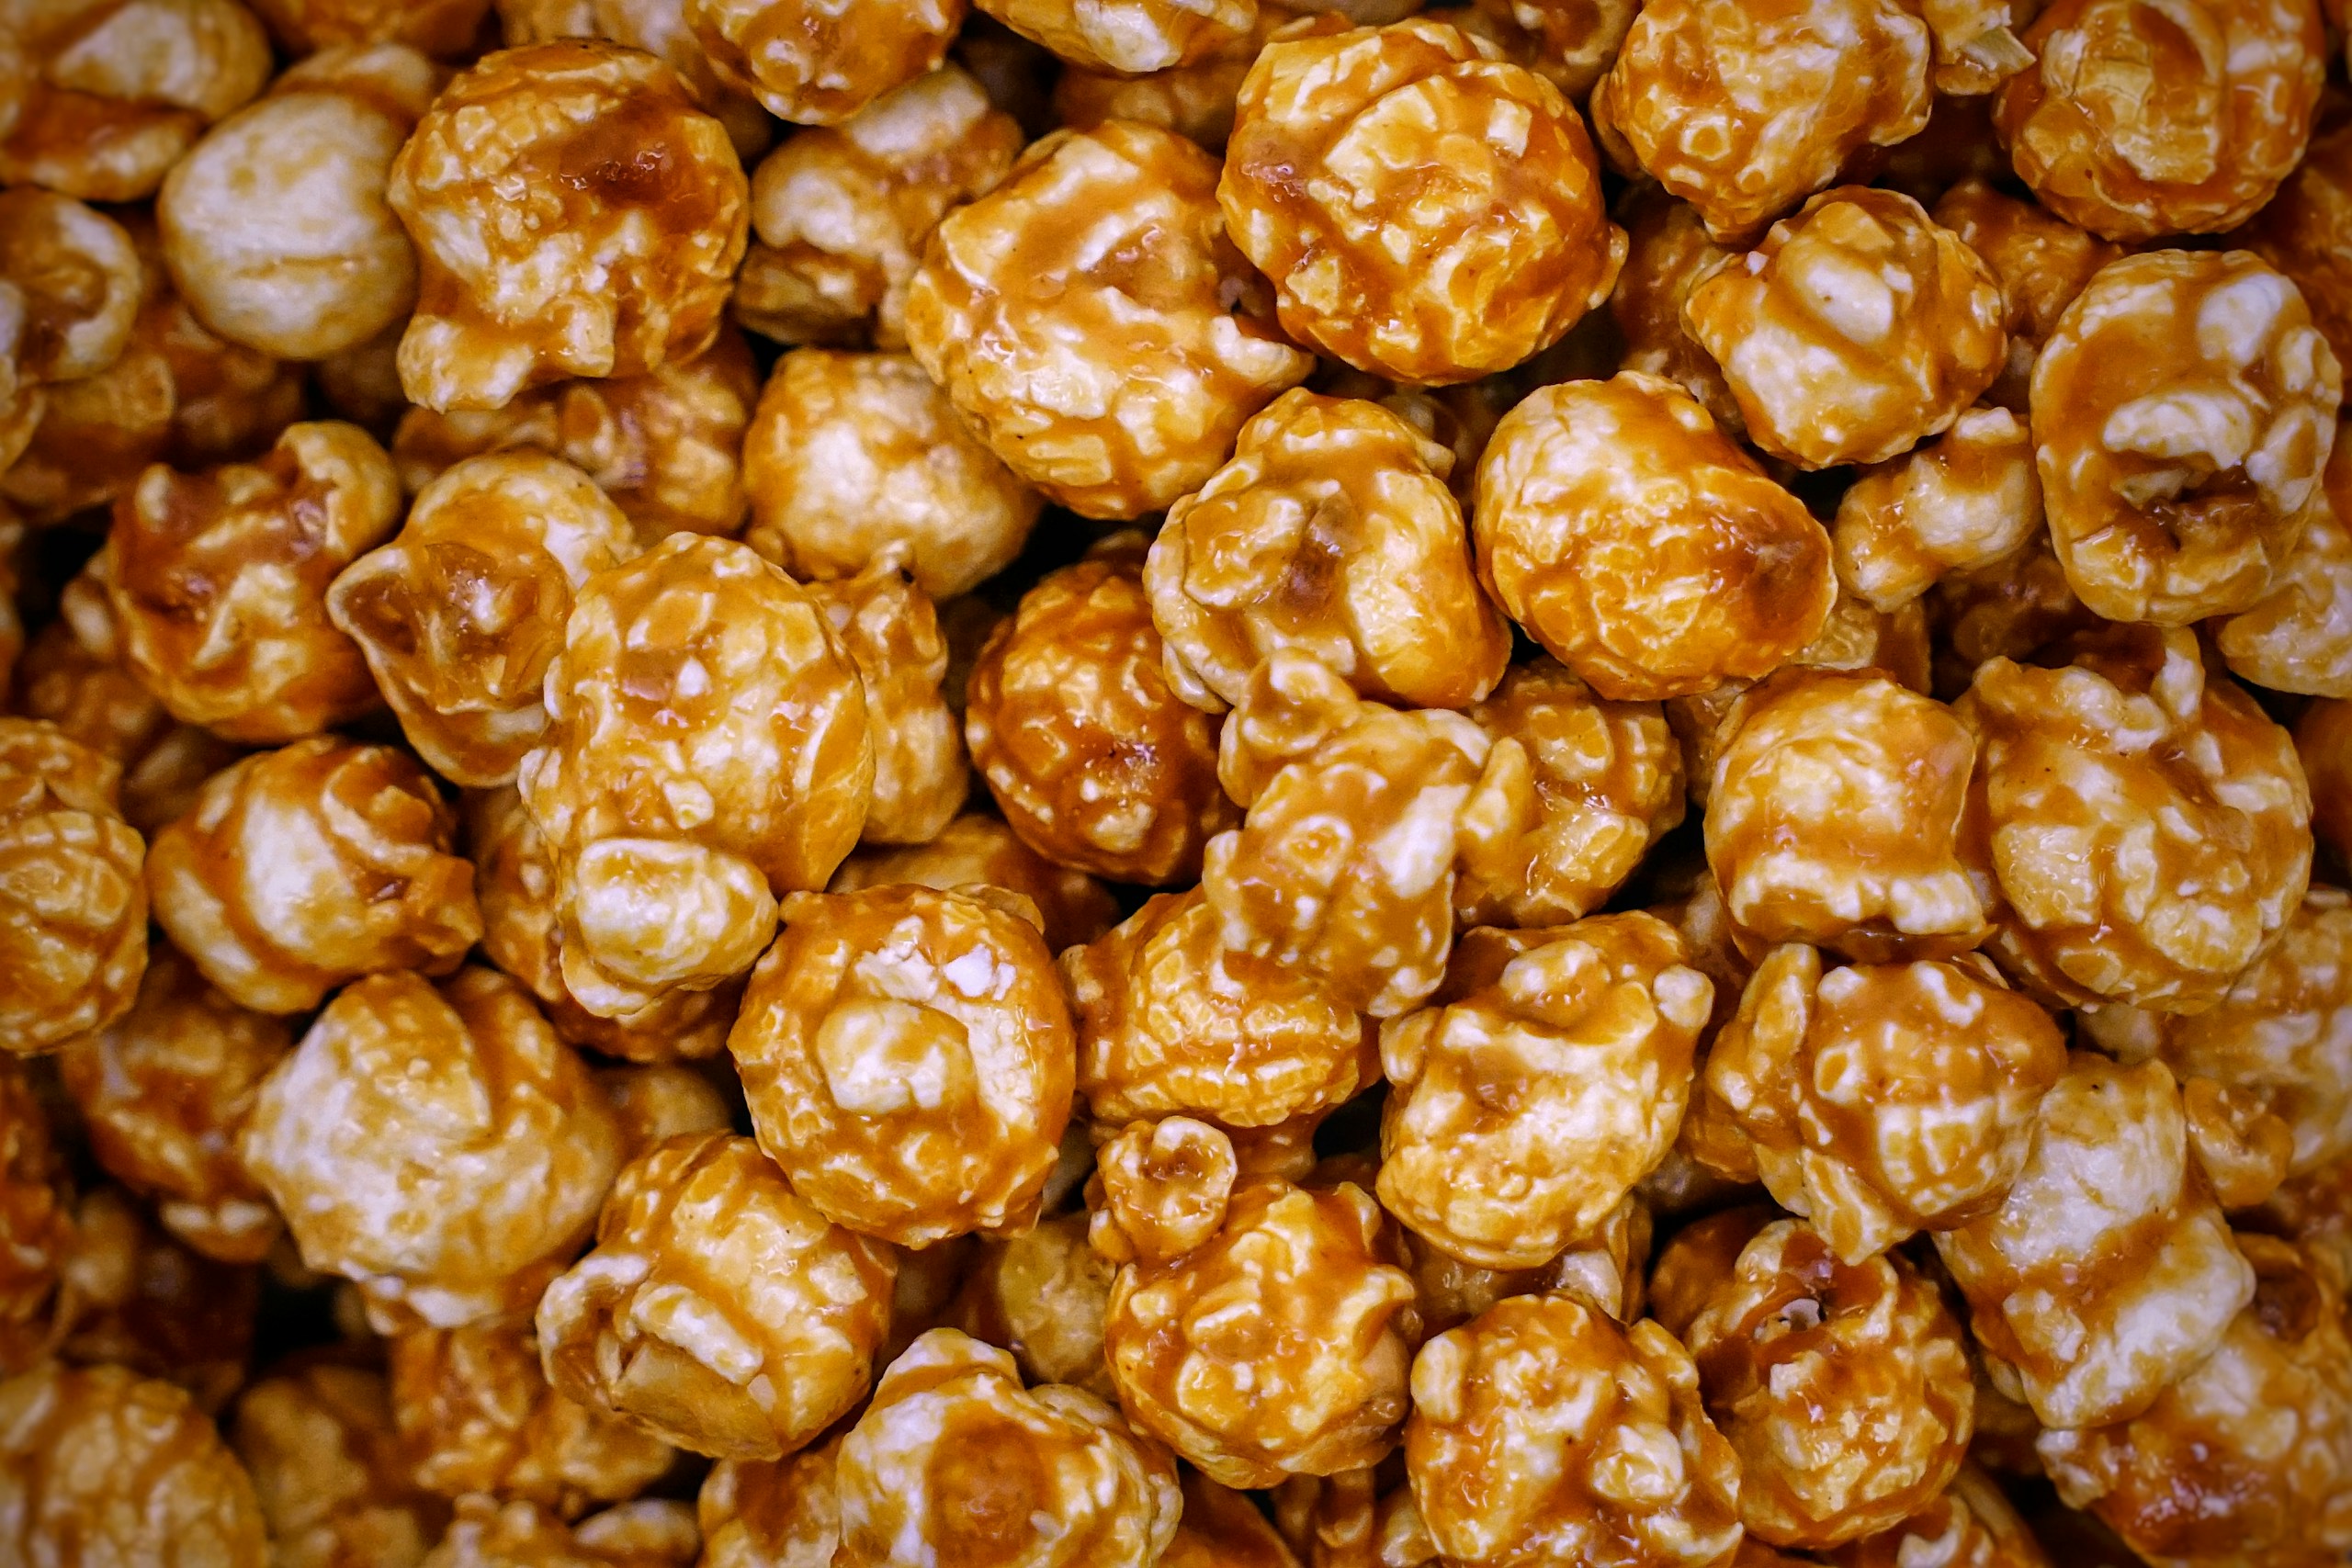
How Caramel Coating Works
To get consistent results, you need to understand what actually controls caramel’s texture.

Sugar Stages Control Texture
As sugar heats, it moves through stages that determine how firm it becomes. Lower stages produce softer coatings, while higher stages create a brittle structure.
Why Caramel Hardens
As caramel cools, sugar molecules reorganize into a solid structure. This is what forms the shell around each kernel.
Moisture Determines the Final Texture
The most important factor is moisture. As the caramel cooks, water evaporates and the mixture thickens. The less moisture remains, the firmer the final coating becomes.
Why Undercooked Caramel Turns Sticky
If too much moisture remains, the coating cannot fully set. This leaves the caramel soft, tacky, and prone to clumping.
This is the single biggest factor separating sticky caramel corn from a crisp batch.
Do you prefer a softer, flavor-driven variation where texture isn’t as critical? Try our Mexican Hot Cocoa Popcorn.
The Complete Caramel Temperature & Texture Guide
Temperature determines how much moisture remains in the caramel and how firm it becomes after cooling.
| Stage | Temperature | Result |
|---|---|---|
| Soft Ball | 235°F | Sticky |
| Firm Ball | 245°F | Chewy |
| Hard Crack | 300°F | Crunchy |
At lower temperatures, more moisture remains in the mixture, resulting in softer textures.
Meanwhile, at higher temperatures, more water evaporates, allowing the caramel to harden into a brittle coating.
If your goal is a crisp finish, the caramel must move toward the hard-crack stage or be further dried during baking.
Watch the video below to learn the correct temperature stages for making candy.
Molasses Popcorn Balls vs Caramel Corn
Once you’ve mastered this recipe, the next variation is turning it into molasses popcorn balls. The ingredients stay almost the same, but the texture and handling change completely.
Loose vs Shaped
Caramel corn is meant to stay loose. The goal is an even coating on each kernel with a dry, crisp finish.
Molasses popcorn balls are shaped while still warm. Rather than spreading the popcorn out, you press it together into compact rounds before the caramel fully sets.
Texture Differences
Caramel corn is baked longer, which removes more moisture and creates a crunchy, brittle coating.
Molasses popcorn balls are softer and slightly chewy. Because they’re shaped earlier, they retain more moisture, which helps them hold together rather than break apart.
When to Shape Popcorn Balls
Timing is critical, so you must shape the popcorn right after mixing in the caramel, while it’s still warm and flexible.
If you wait too long, the caramel will harden and will not bind properly. Yet, if it’s too hot, it becomes difficult to handle.
How to Turn This Recipe into Popcorn Balls
To convert this recipe, do the following:
- Skip or reduce the baking time.
- Let the caramel-coated popcorn cool slightly.
- Grease your hands lightly.
- Press into firm balls while still warm.
This keeps enough moisture in the coating to act as a binder instead of drying into a crisp shell.
If you want something in between, crunchy but slightly glossy, our Easy Candied Popcorn is a useful variation.
Both styles use the same base, but the final texture depends entirely on when and how you handle the caramel.
Common Mistakes You Should Avoid
The issues below are common, but each one comes down to a specific step in the process.
Why Is My Caramel Corn Sticky?
The caramel did not cook long enough or was not baked sufficiently after coating. Most batches fail because the process is stopped too early.
Why Did My Caramel Burn?
The heat was too high or not controlled during boiling. Caramel can burn quickly once it starts darkening.
Why Is the Coating Uneven?
The caramel was not mixed quickly enough after pouring. Once it starts cooling, it becomes harder to distribute evenly.
Why Is It Chewy Instead of Crunchy?
The coating retained too much moisture due to insufficient cooking or baking. Shortening the oven step almost always results in a softer texture.
Other Variations You Can Try
After nailing the base old-fashioned caramel corn recipe, you can adjust it to match different textures and flavor preferences. Small changes in ingredients or timing create completely different results.
Classic Caramel Corn
Swap molasses with extra brown sugar or light corn syrup to get a lighter, sweeter coating without the deep, smoky notes. The texture stays similar, but the flavor is more straightforward.
Molasses Popcorn Balls
Use the same base, but shape the popcorn while it’s warm instead of baking it fully. This keeps the coating soft enough to hold the popcorn together, resulting in molasses popcorn balls with a slightly chewy texture rather than a crisp one.
Peanut Caramel Corn
Add roasted peanuts after coating the popcorn. The nuts add a contrasting salty, crunchy, and slightly oily element. This contrast balances the sweetness and improves texture variety.
Soft vs Crunchy Versions
For a softer result, reduce or skip the oven time. However, for a crunchier finish, bake longer and stir consistently to remove more moisture. This single adjustment controls whether the coating sets firm or stays slightly chewy.
Spiced Holiday Version
Add cinnamon, nutmeg, or cloves to the caramel while cooking to create a warmer, seasonal flavor that works well for gifting or gatherings. If you want a sweeter, more aromatic variation, our Cinnamon Maple Syrup Popcorn is a natural extension.
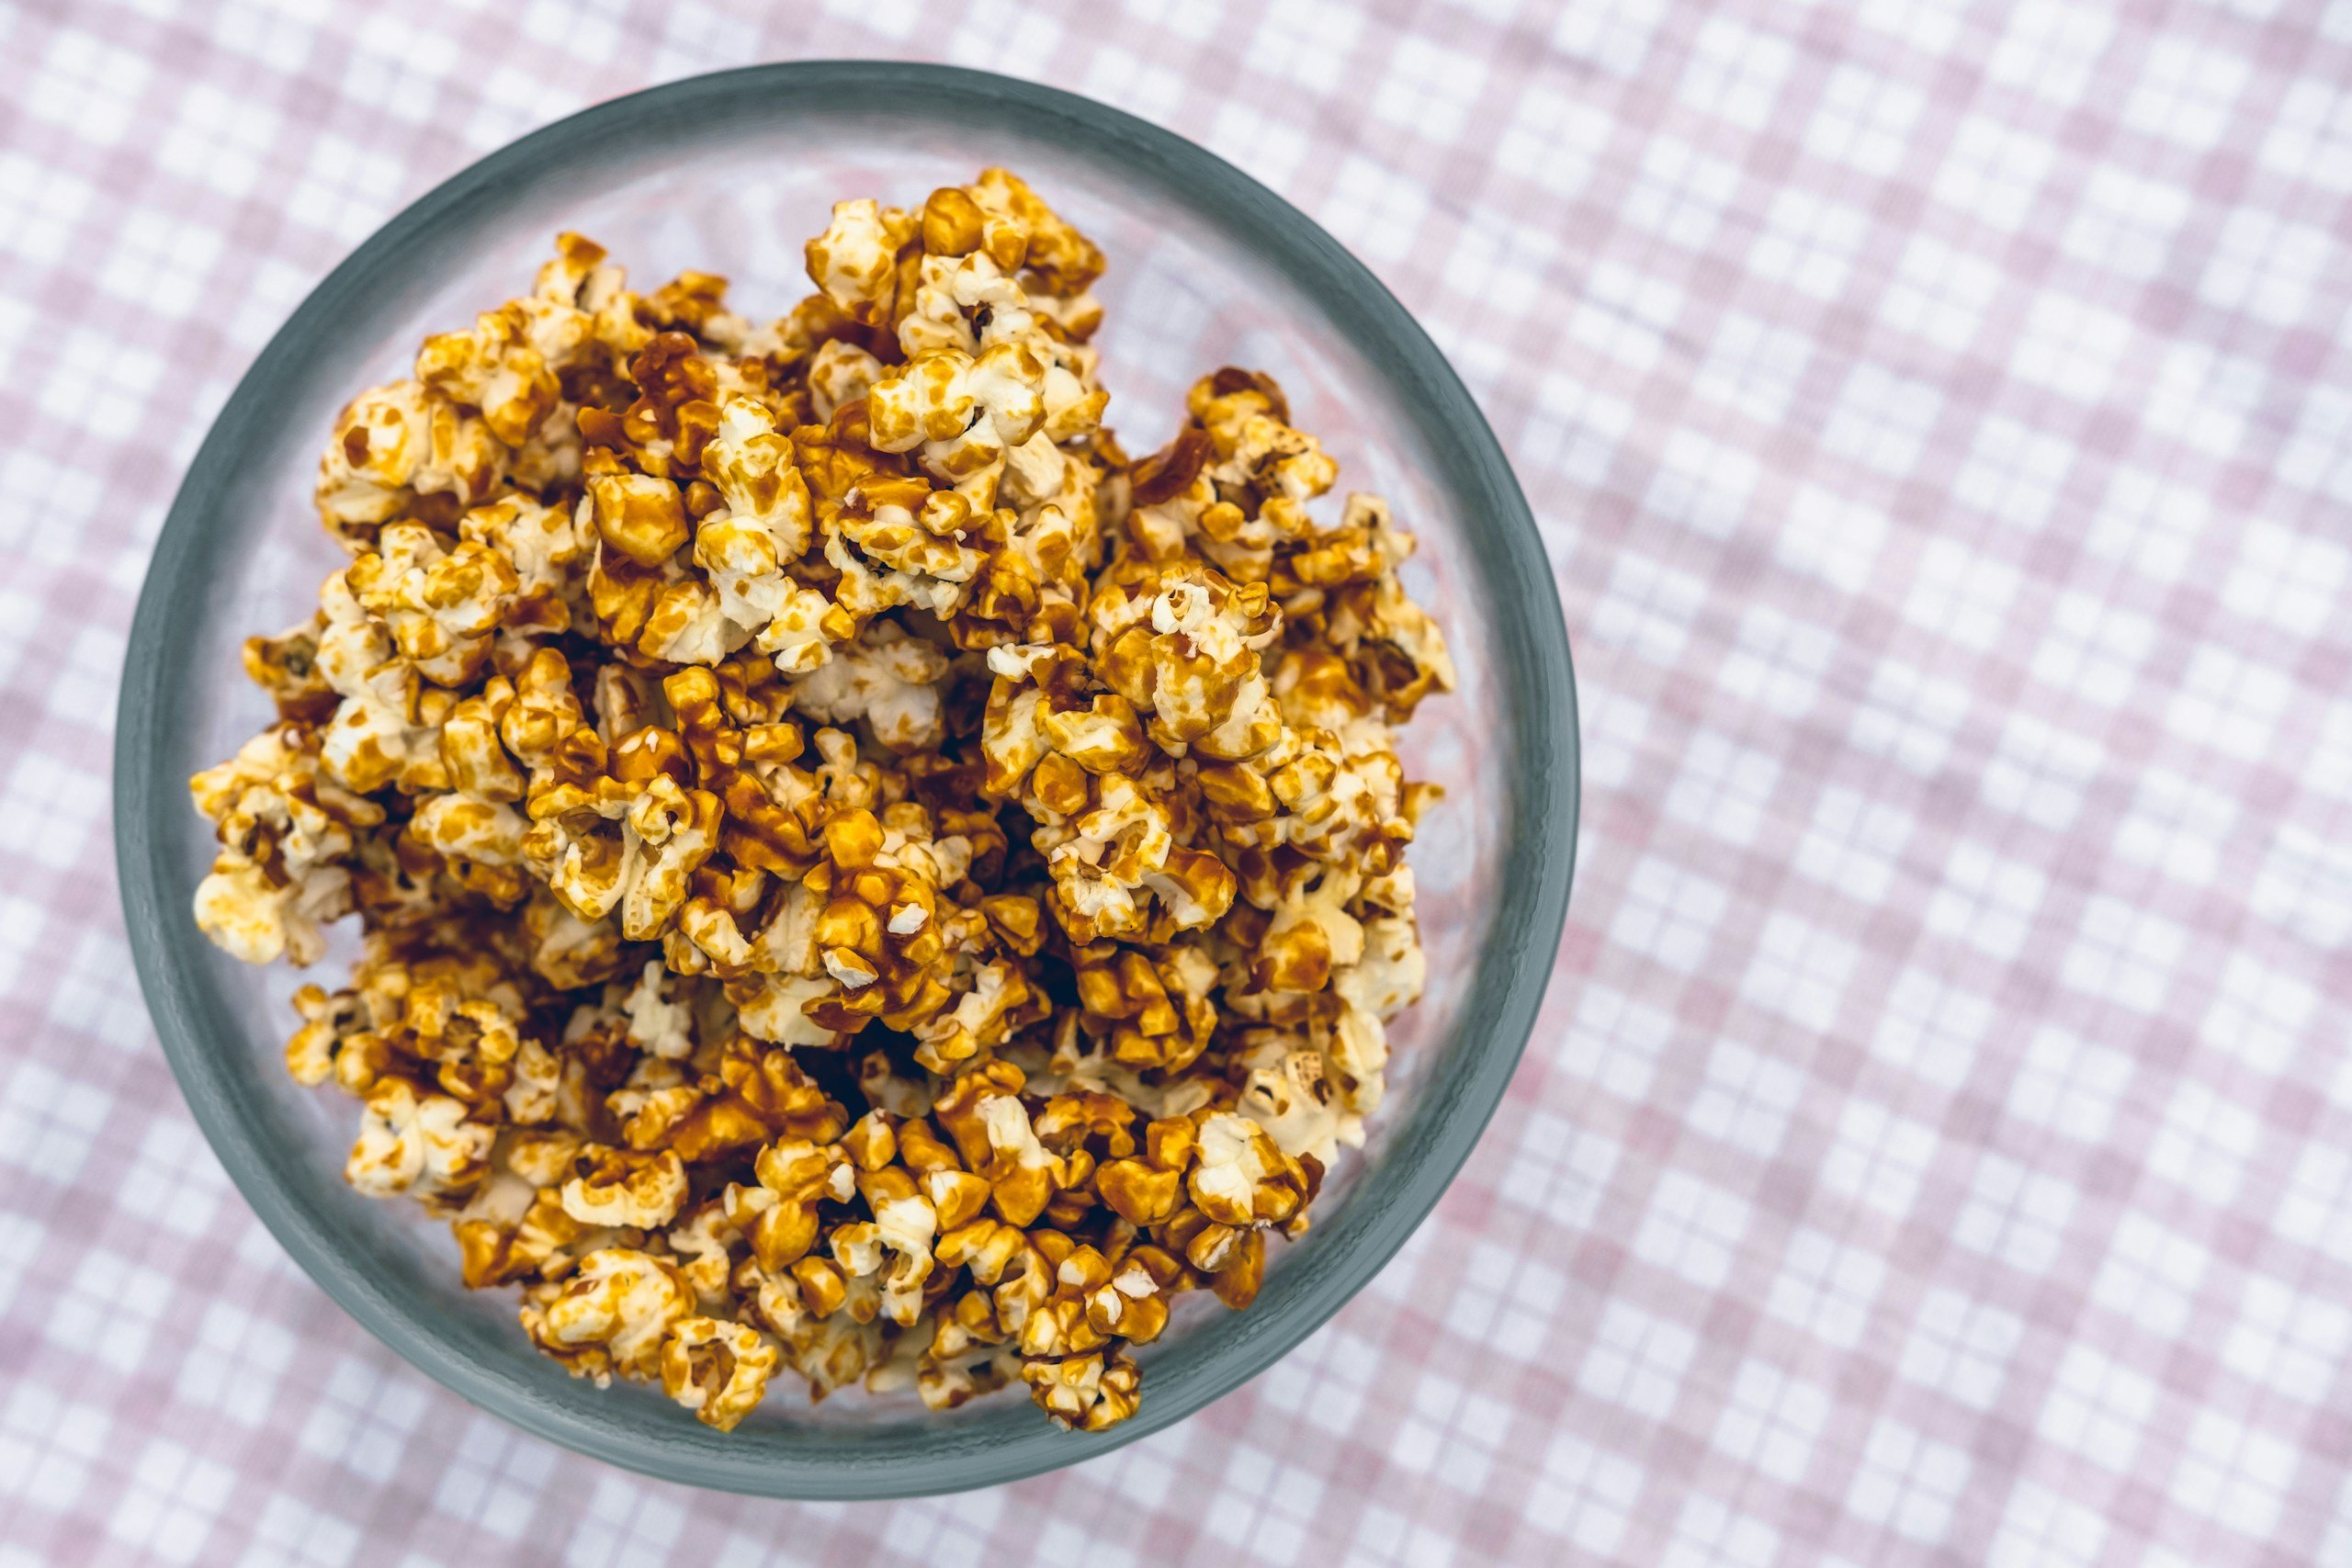
The Best Moments to Serve Old Fashioned Caramel Corn Recipe
Once your batch is ready, this is where it fits best. This caramel corn recipe works for various occasions thanks to its texture, flavor, and shelf life.
Holidays
Caramel corn works well during holidays when you need something easy to make in large batches. It stores well, travels easily, and fits alongside other sweet treats without requiring last-minute prep.
Movie Nights
This is a direct upgrade from plain popcorn. The crunchy coating holds up longer, so it doesn’t go stale quickly while you’re watching. It also eliminates the need for constant seasoning or reheating.
Gifts
Because it stays fresh for up to two weeks, caramel corn is practical for packaging. You can portion it into jars or bags without worrying about it losing texture quickly. It’s simple but still feels homemade and intentional.
Fall Fairs and Gatherings
The flavor profile, sweet with a slightly deep, molasses edge, matches the kind of snacks typically found at fairs. It’s easy to make in large batches, serve to a crowd, and does not require utensils or plates.
Details About Its Shelf Life & How To Store It
Once cooled, store the caramel corn in an airtight container to keep it fresh for 1 to 2 weeks, provided it stays dry.
Avoid Humidity
Exposure to air and moisture will soften the coating over time. Therefore, store it in a cool, dry place away from heat or steam.
How to Re-Crisp Caramel Corn
If the texture softens, spread the popcorn on a baking sheet and heat at 250°F for 10–15 minutes. Allow it to cool completely before storing again.
Baking Tips & Troubleshooting
These adjustments below help refine the final result rather than fix major errors.
Stir Frequency
Stir every 15 minutes during baking to keep the coating evenly distributed and prevent clumping.
Best Pan Type
Use a wide, shallow baking sheet so the popcorn spreads into a thin layer, allowing even drying.
Oven vs Stovetop Finish
The stovetop caramelizes, but the oven determines the final texture. Adjust baking time depending on whether you want a softer or firmer coating.
How Beneficial Is This Recipe Nutritionally?
This old-fashioned caramel corn recipe is both indulgent and functional. While the caramel adds sugar, the popcorn base still delivers meaningful nutritional value when consumed in moderation.
Whole Grain Benefits
- Popcorn is a 100% whole grain, which means it retains fiber, vitamins, and minerals that support overall health. Whole grains like popcorn support better heart health and a more balanced diet.
- Eating popcorn is associated with higher fiber and nutrient intake, which supports digestion and metabolic health.
Antioxidants and Plant Compounds
- Popcorn contains polyphenols, plant compounds linked to improved circulation and reduced inflammation.
- Popcorn is naturally high in fiber, which helps regulate digestion and keeps you fuller for longer.
- Additionally, whole-grain intake is associated with a reduced risk of chronic conditions such as heart disease and type 2 diabetes.
Practically, this means a serving can be more satisfying than many processed snacks, helping control portion sizes.
Balance Matters
The caramel coating increases sugar and calorie content, so this recipe works best as an occasional treat rather than a daily snack.
Who Is This For?
It is ideal for the following sets of people:
- People who are looking for a better alternative to processed snacks.
- Those who want a homemade treat with controlled ingredients.
- Anyone who enjoys whole-grain snacks with added flavor.
Below are the best use cases:
- Occasional desserts or weekend treats.
- Portion-controlled snacking.
- Sharing at gatherings where balance matters.
It is not ideal for the following:
- Strict low-sugar or low-carb diets.
- Daily high-frequency snacking.
Frequently Asked Questions
Below are some common questions home bakers ask about this recipe. If you can’t find yours, ask us in the comments.
Can I Make Caramel Corn Without Baking It?
You can, but the result will be different. Skipping this step gives you a softer, slightly sticky coating instead of a crisp one.
Why Does My Caramel Separate From the Popcorn After Cooling?
This usually happens when the popcorn surface is oily or not fully coated while the caramel is hot. The coating needs a dry surface and quick mixing to bond properly before it sets.
Can I Use Light Brown Sugar Instead of Dark Brown Sugar?
You can do that, but expect a lighter flavor. Dark brown sugar adds more depth because of its higher molasses content. Using light brown sugar will still work, but the caramel will taste less rich.
How Do I Prevent Unpopped Kernels From Ruining the Batch?
Always sift through your popcorn before adding caramel. Even a few unpopped kernels can cause uneven coating and make mixing difficult once the caramel thickens.
Can I Double this Recipe Without Affecting the Results?
You can, but you need to adjust how you bake it. Spread the popcorn across multiple baking sheets instead of stacking it in one pan. Overcrowding traps moisture, preventing the coating from crisping evenly.
What’s the Best Way to Break Apart Clumped Caramel Corn?
Let the popcorn cool completely first. Once the caramel hardens, gently break it apart with your hands. Trying to separate it while it’s warm can cause the coating to stretch rather than snap cleanly.
Similar Recipes To Try
Did you enjoy this recipe? We’ve listed a few more options that build on similar flavors or techniques below. Each one offers a slightly different take, so you can explore new textures and combinations without starting from scratch.
- Try a lighter version with Healthy-ish Caramel Popcorn Made with Maca Powder for a more balanced sweetness.
- For a fruity twist, Cherry Chip Popcorn (Vegan + Gluten Free) adds a different flavor profile while keeping the same snack format.
- If you prefer something seasonal, Candied Eggnog Popcorn brings a richer, dessert-style coating.
- For a stronger, nuttier contrast, Peanut Butter Caramel Corn (GF + V) builds on the same caramel base, adding depth.
- And if you want something completely different to pair alongside it, Corn and Cucumber Picnic Salad offers a fresh, savory balance.
Each of these recipes brings something a little different to the table, making it easy to keep trying new flavors without stepping too far from what you already enjoy.
Tell Us How Yours Went
If you tried this recipe, share how it turned out. Did yours come out crunchy or slightly chewy? Did you adjust the baking time or try one of the variations? Drop your experience, questions, or fixes in the comments.
Your feedback can help others get better results on their first try.